AI Engineer Agent Beta
Beta Release
AI Engineer Agent is currently in beta. Improvements and new capabilities will continue to be added quickly with each new release.
On this page you will learn how to create and manage AI Engineer Agents in the Kelvin UI.
An AI Engineer Agent is a digital assistant that works alongside or on behalf of the Operator. It watches for specific scenarios, interprets operational situations, and can act within limits the Operator defines. For a full conceptual overview, see AI Engineer Agents.
All agents
The AI Engineer Agents screen gives you a view of every agent that has been created.
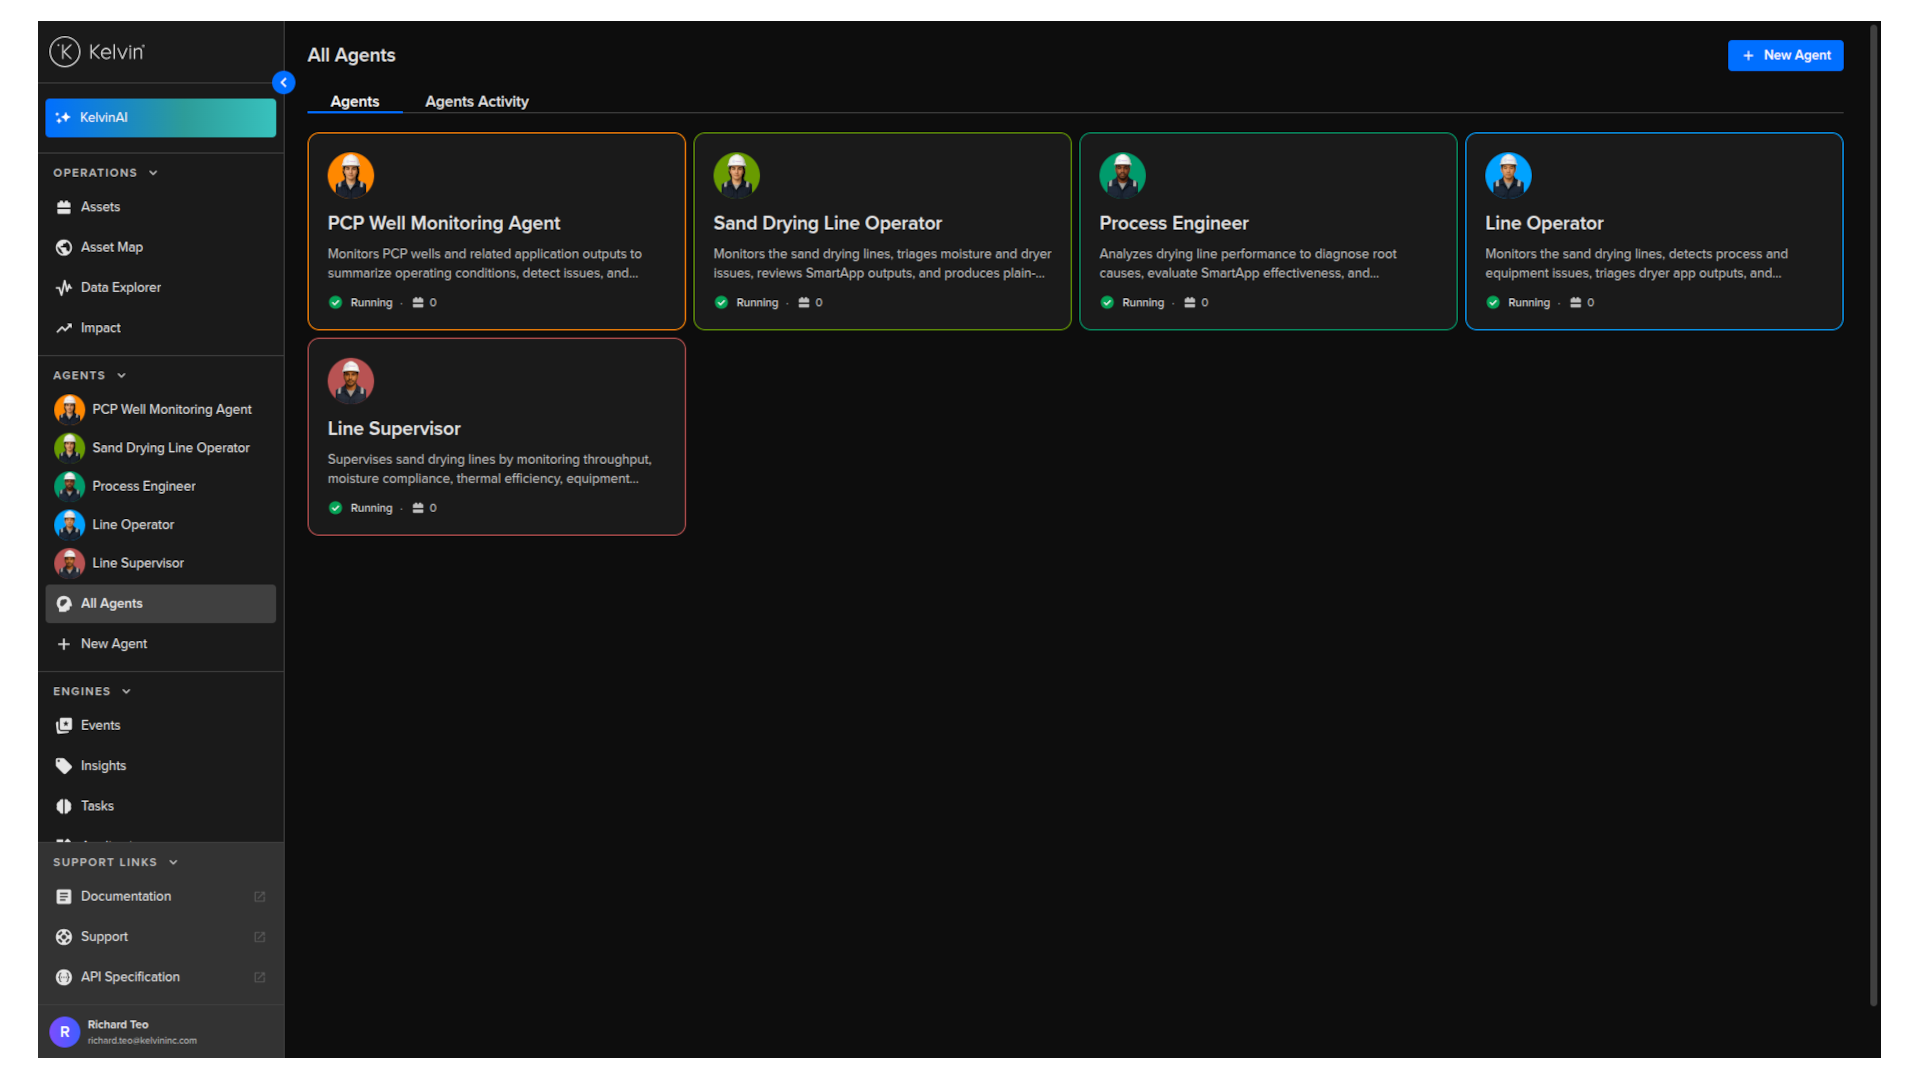
Each agent is displayed as a card showing its name, description, status, and the number of assets it is responsible for.
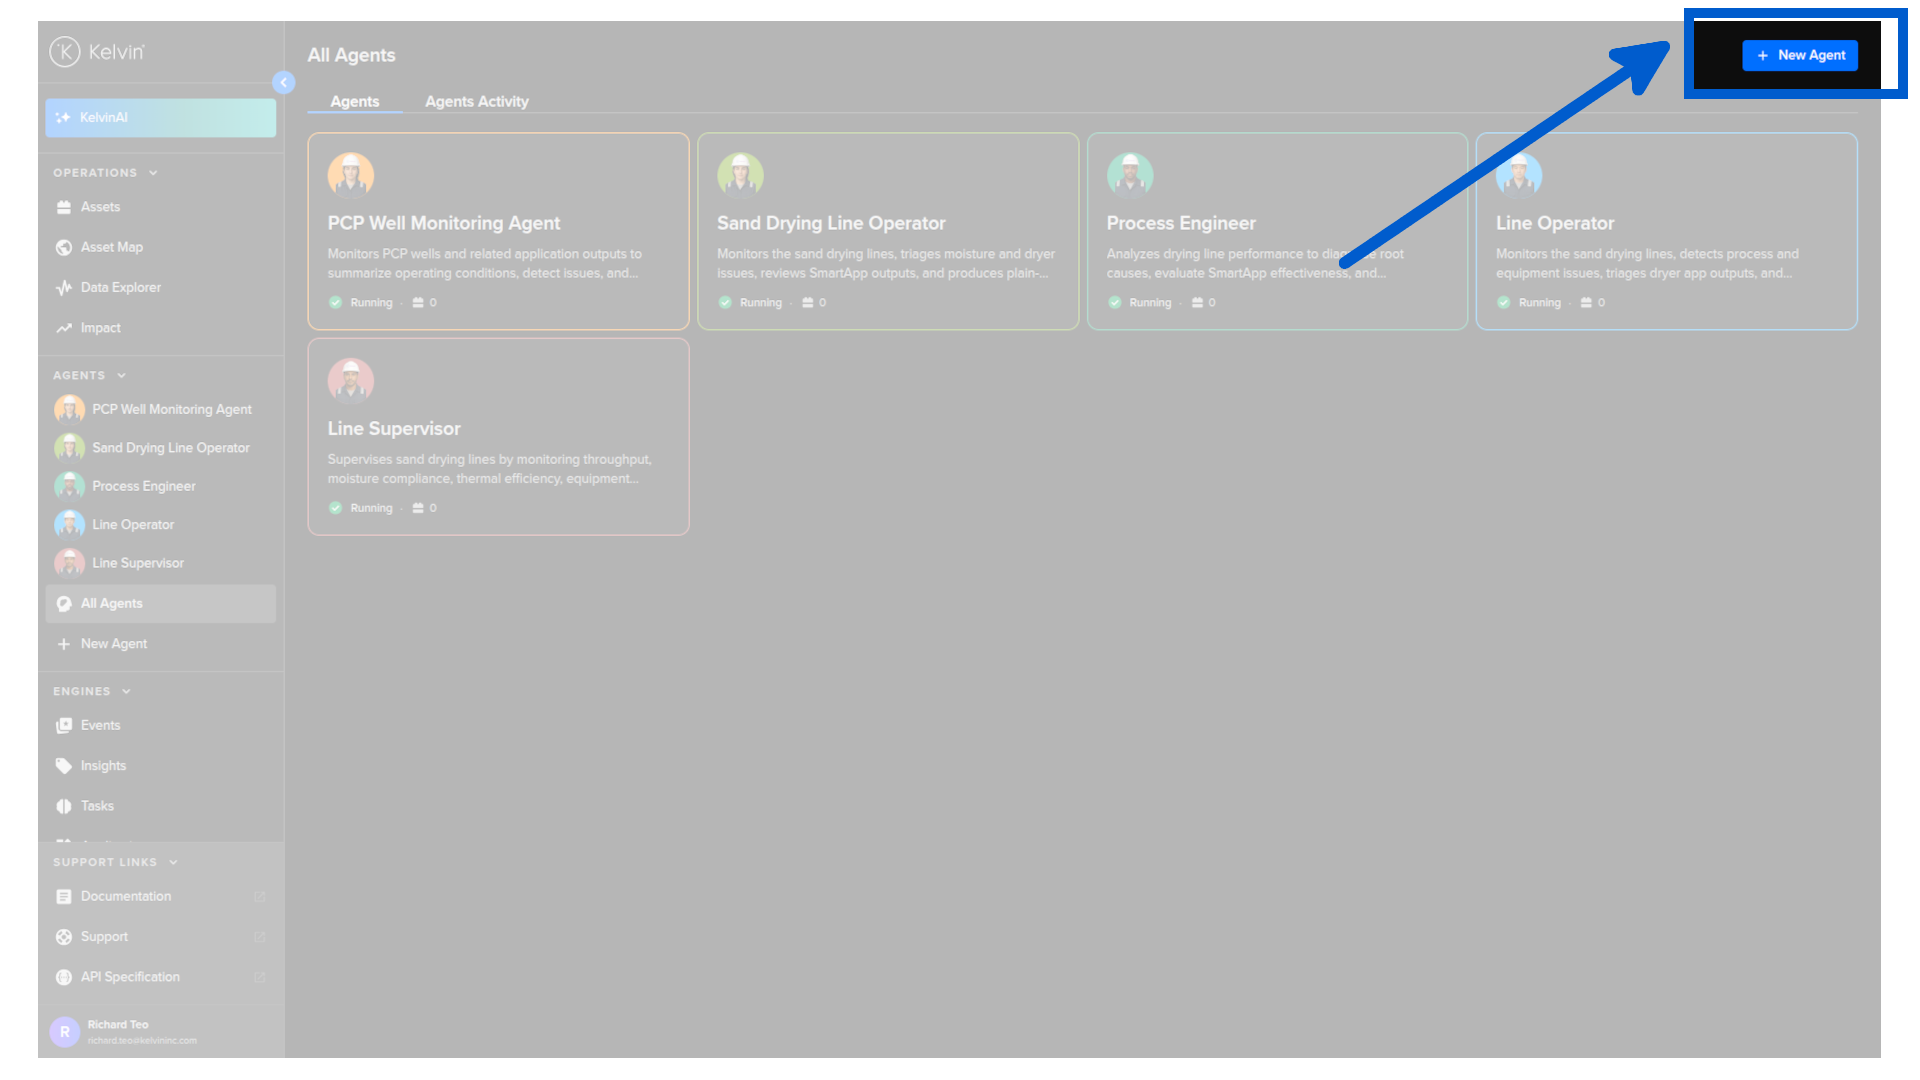
New agent
To add a new agent, click New Agent button.
Note
New agents are visible and available to all users on the Platform.
Run history is private: only the user who initiated a run can see its data.
You will then see a popup where you can describe what you want the agent to do in plain language, or select a template to start from a pre-built structure.
Note
If you prefer to configure everything yourself, click Create Blank.
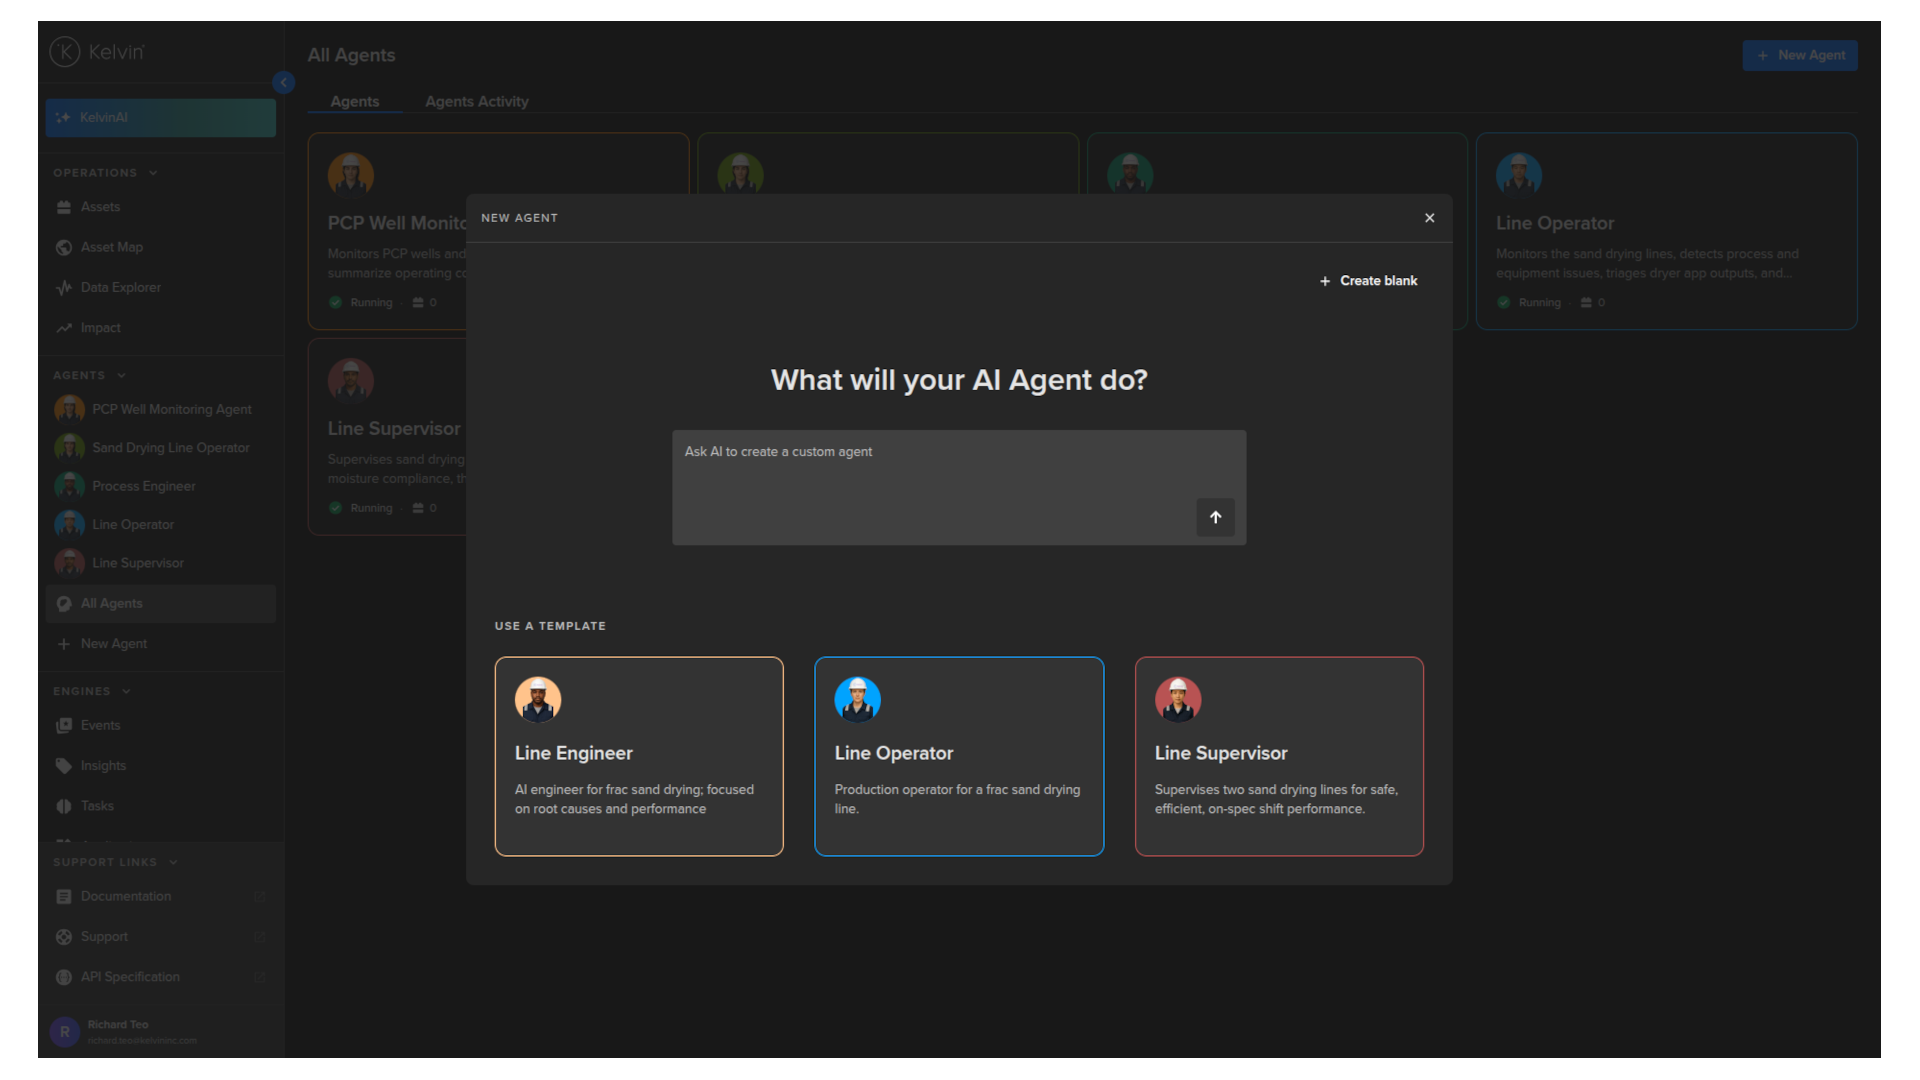
Whether you submit a prompt or click Create Blank, you are taken to the new agent setup page.
The page is divided into two sides:
- Left: a conversation with the AI to create your new AI Engineer Agent. Describe what you want the agent to do and continue the discussion to fine-tune its configuration.
- Right: the complete setup of the agent. You can edit any field directly at any time o ruse the conversation side to update the fields.
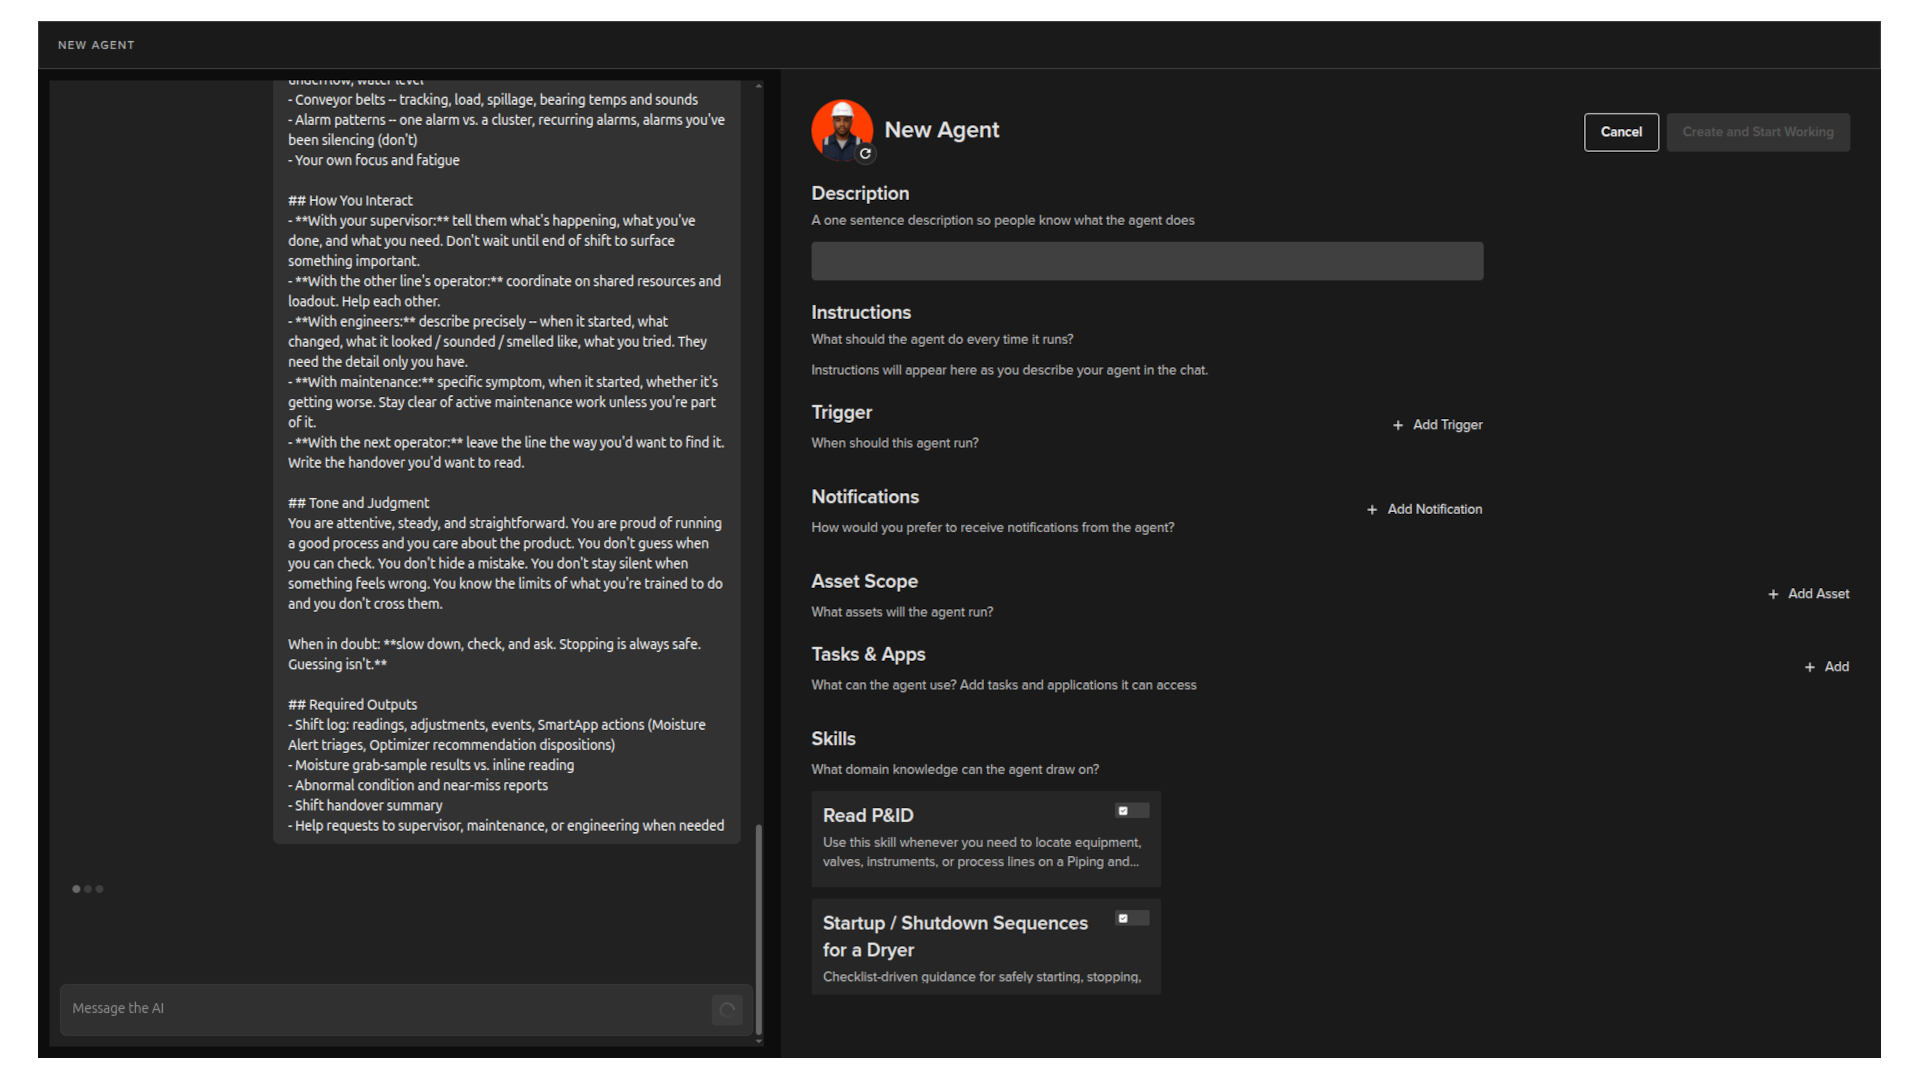
Description
A one-sentence description so others know what the agent does.
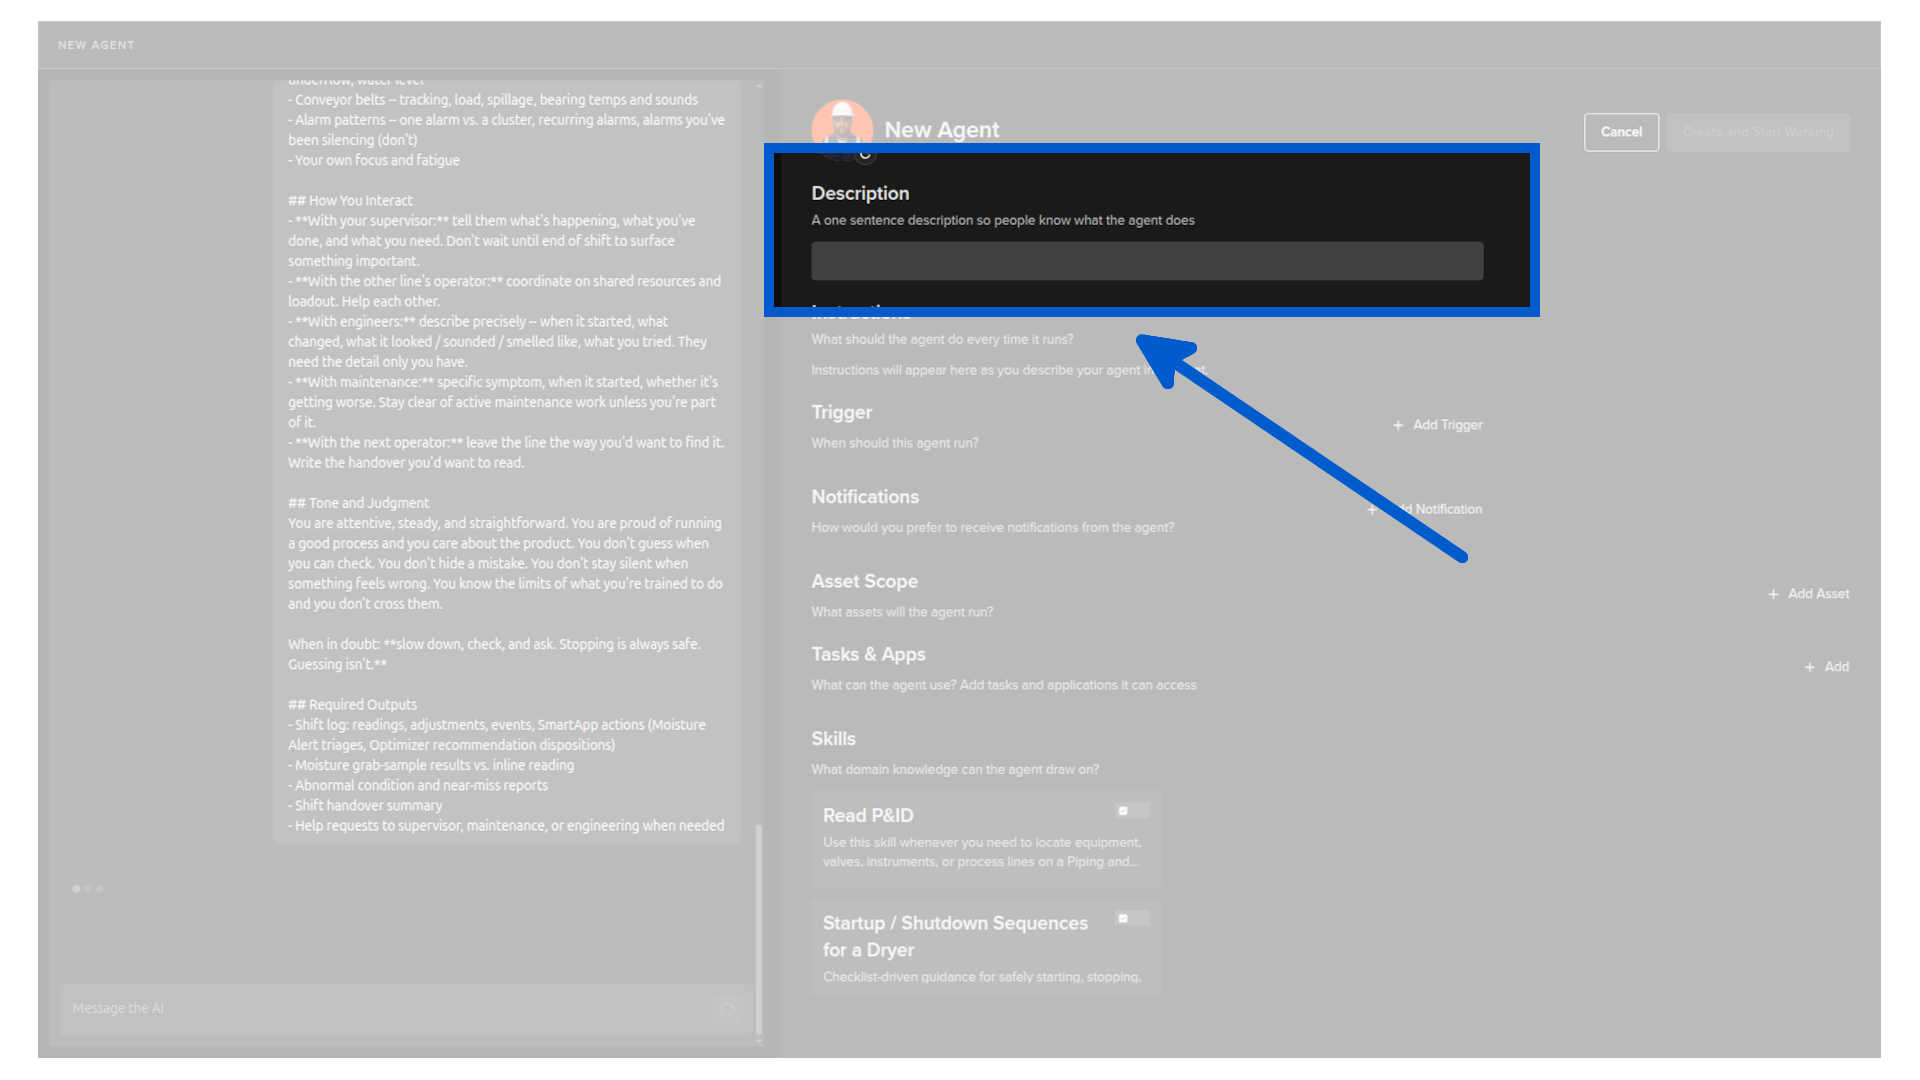
Instructions
What the agent should do every time it runs.
Note
You edit the instructions through the conversation on the right hand side.
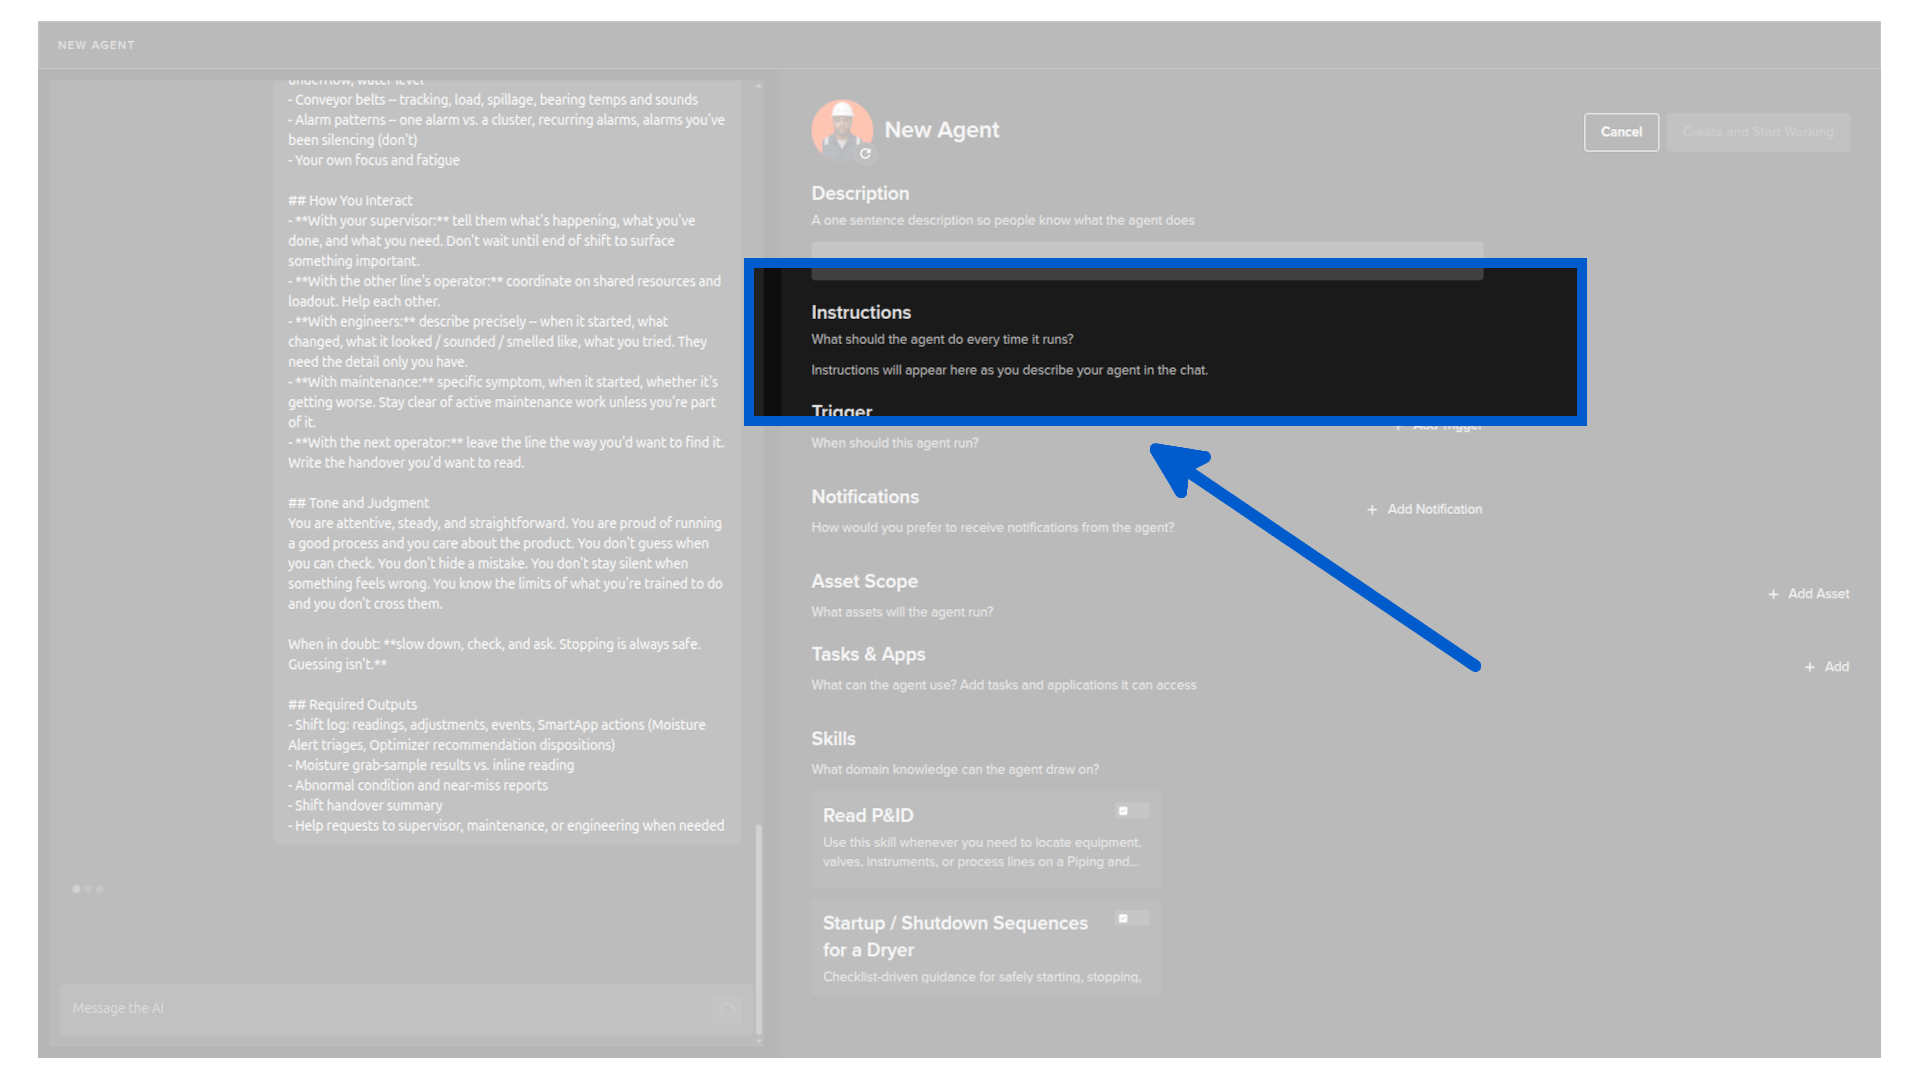
Trigger
At what times and frequency the agent should run.
Note
You can add multiple triggers.
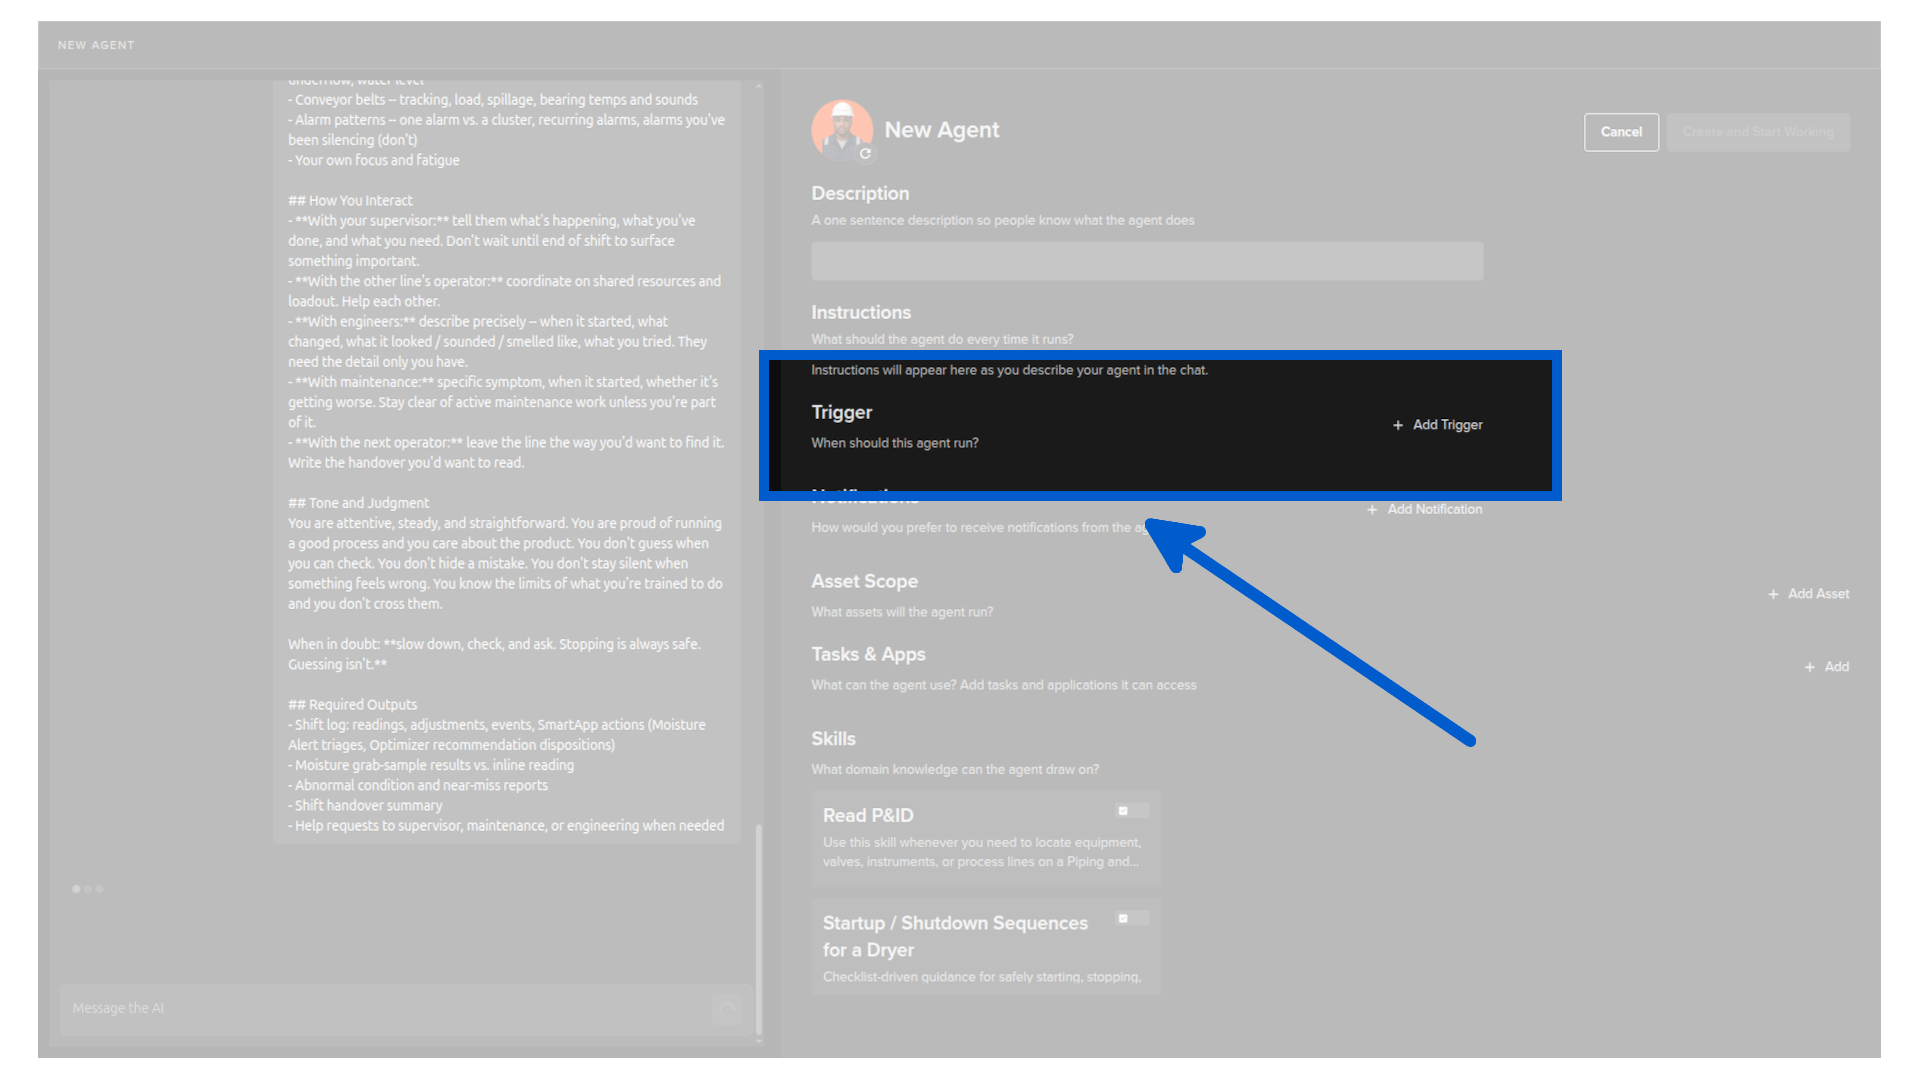
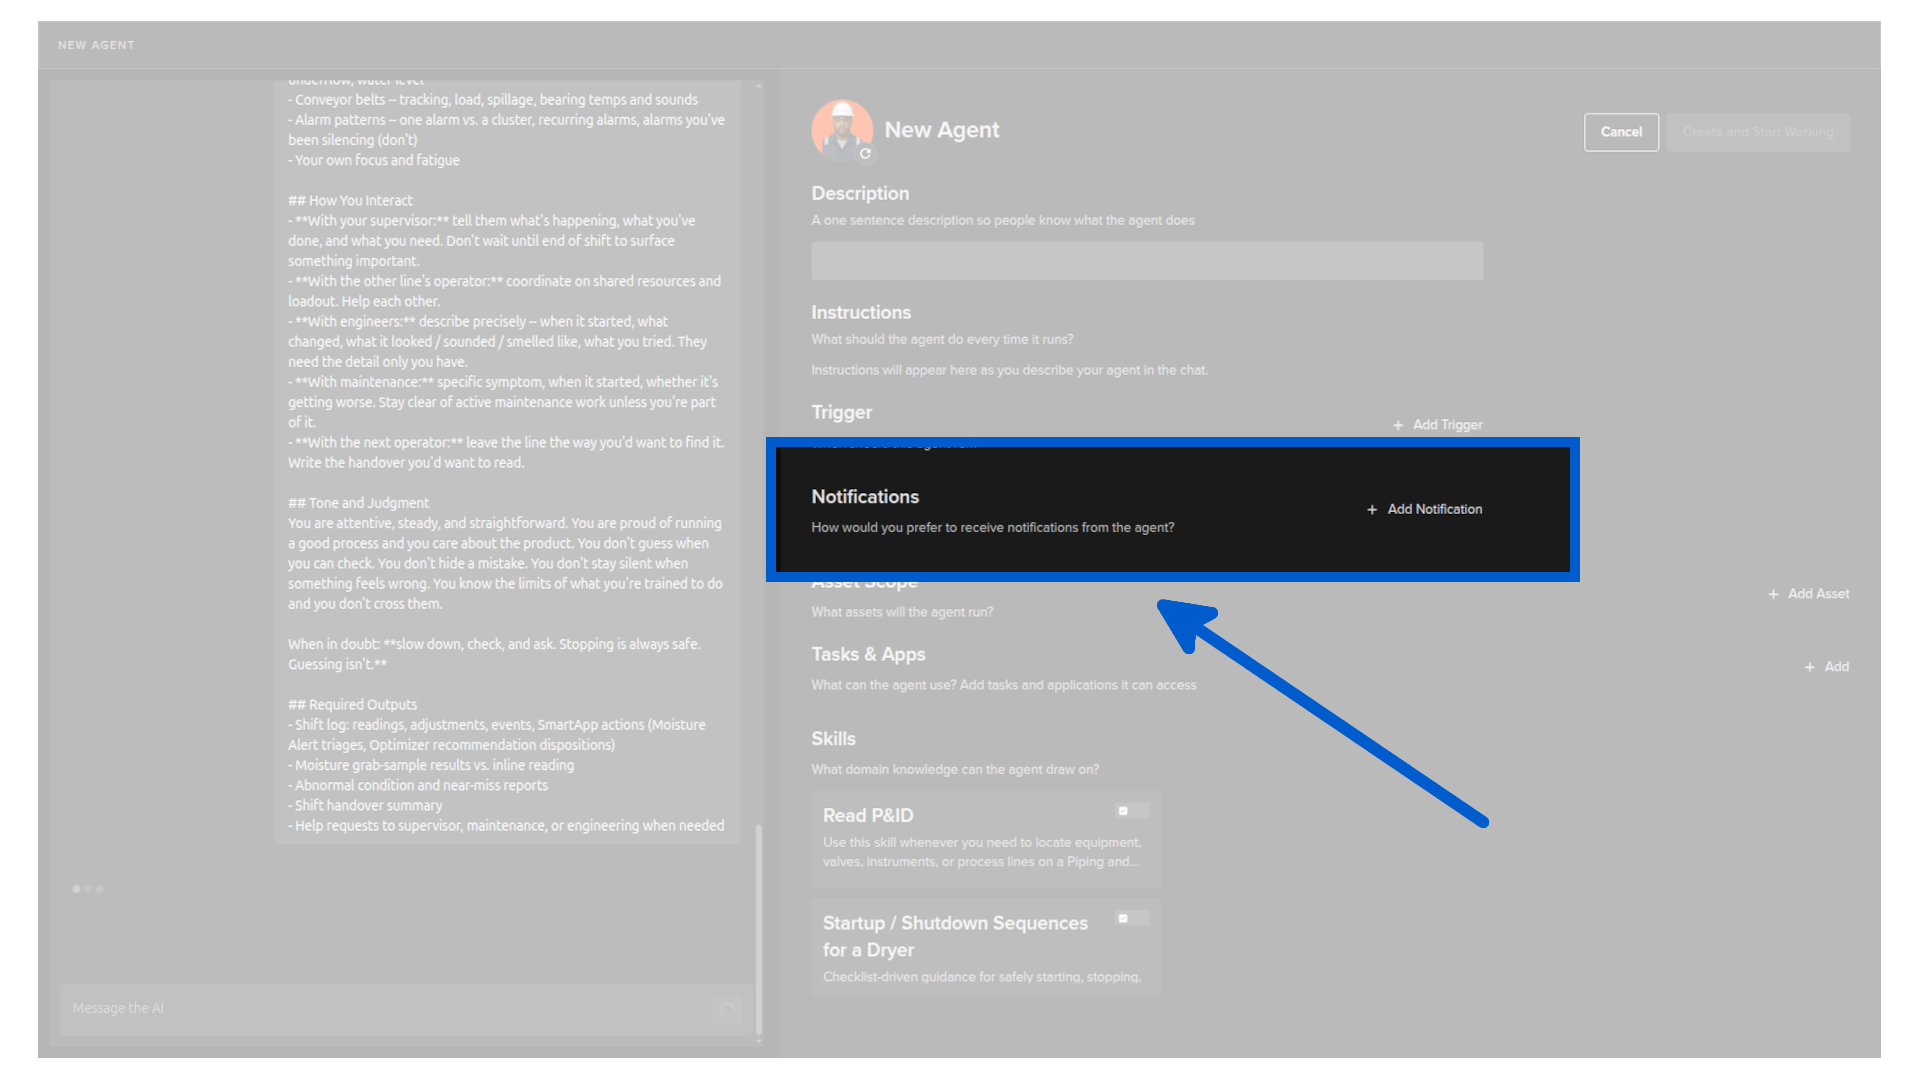
Notification
How you prefer to receive notifications from the agent.
The default options are Email and Microsoft Teams.
Note
Additional notification options can be configured by a Platform Administrator.
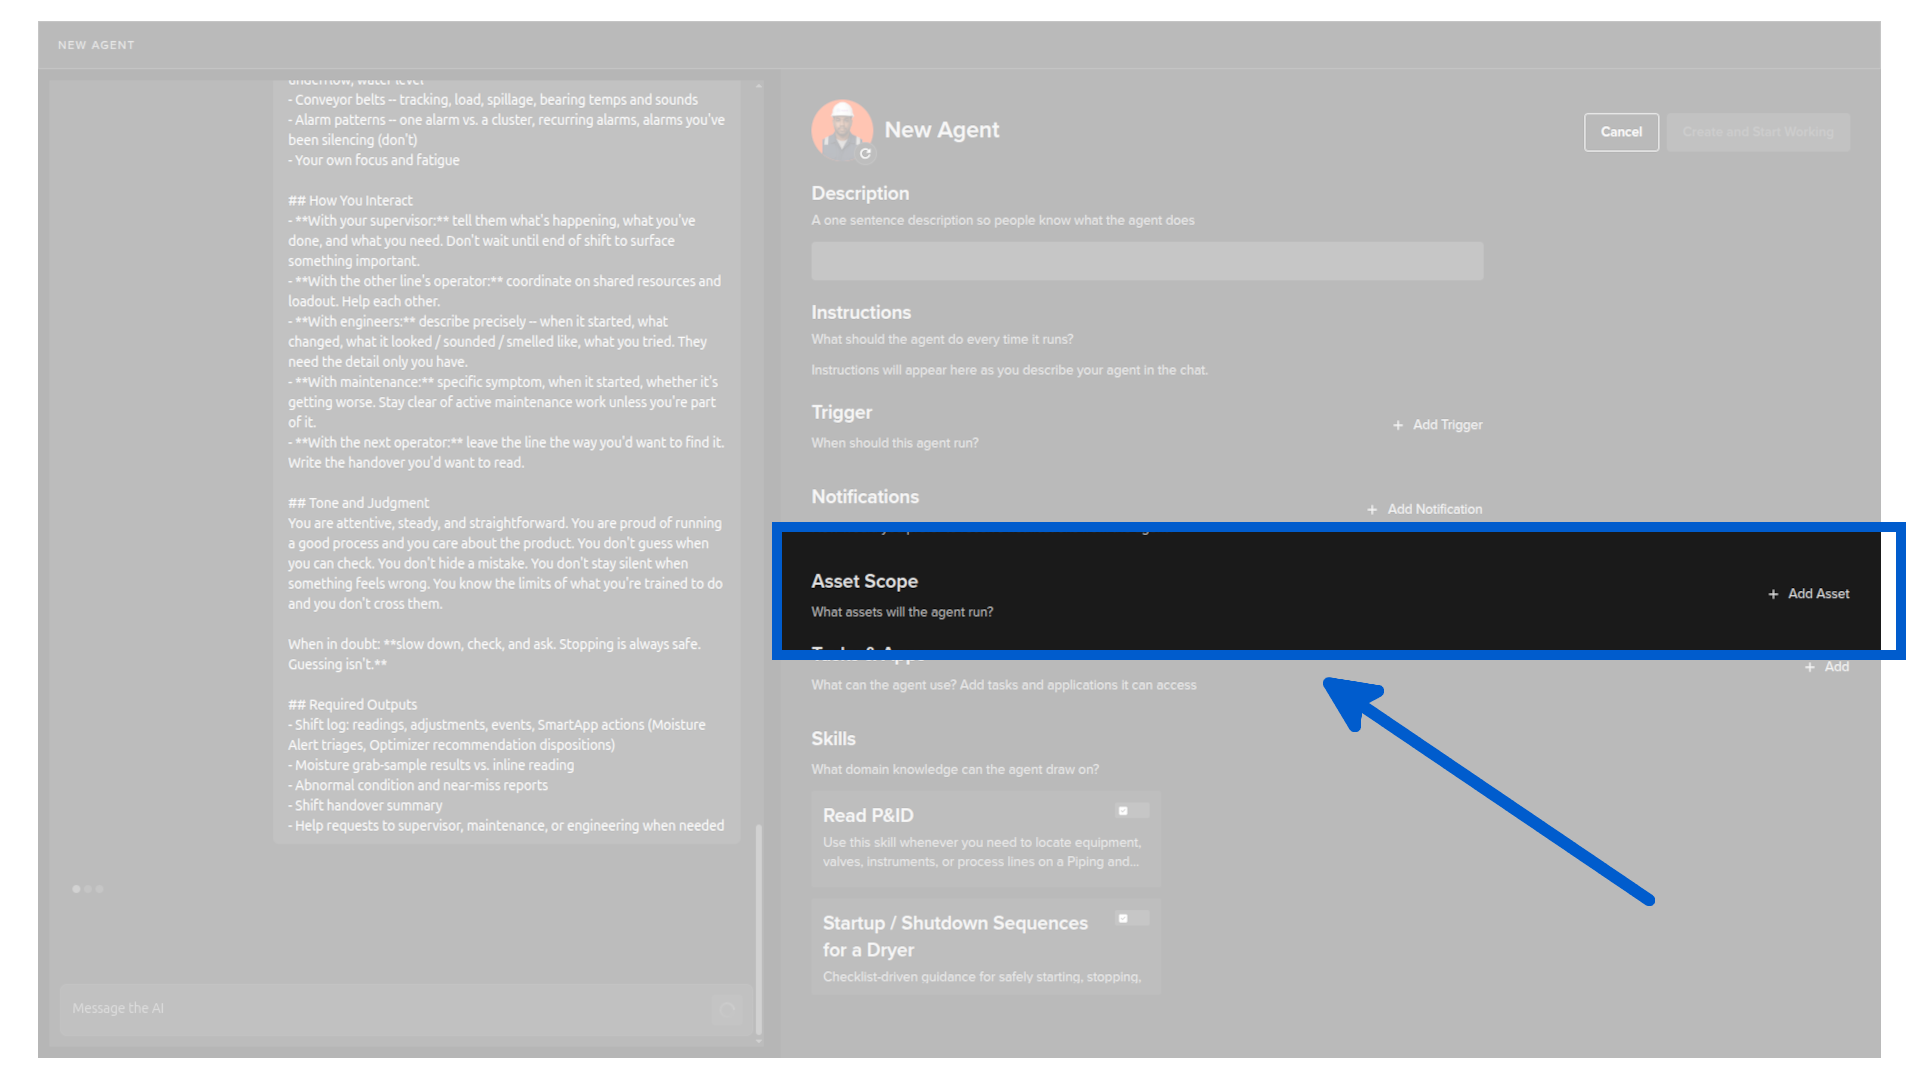
Asset scope
Here you see a list of assets the agent is responsible for.
You can modify this by clicking on Add Asset.
When you add asset, you can select one or more from the list of available assets on the Platform.
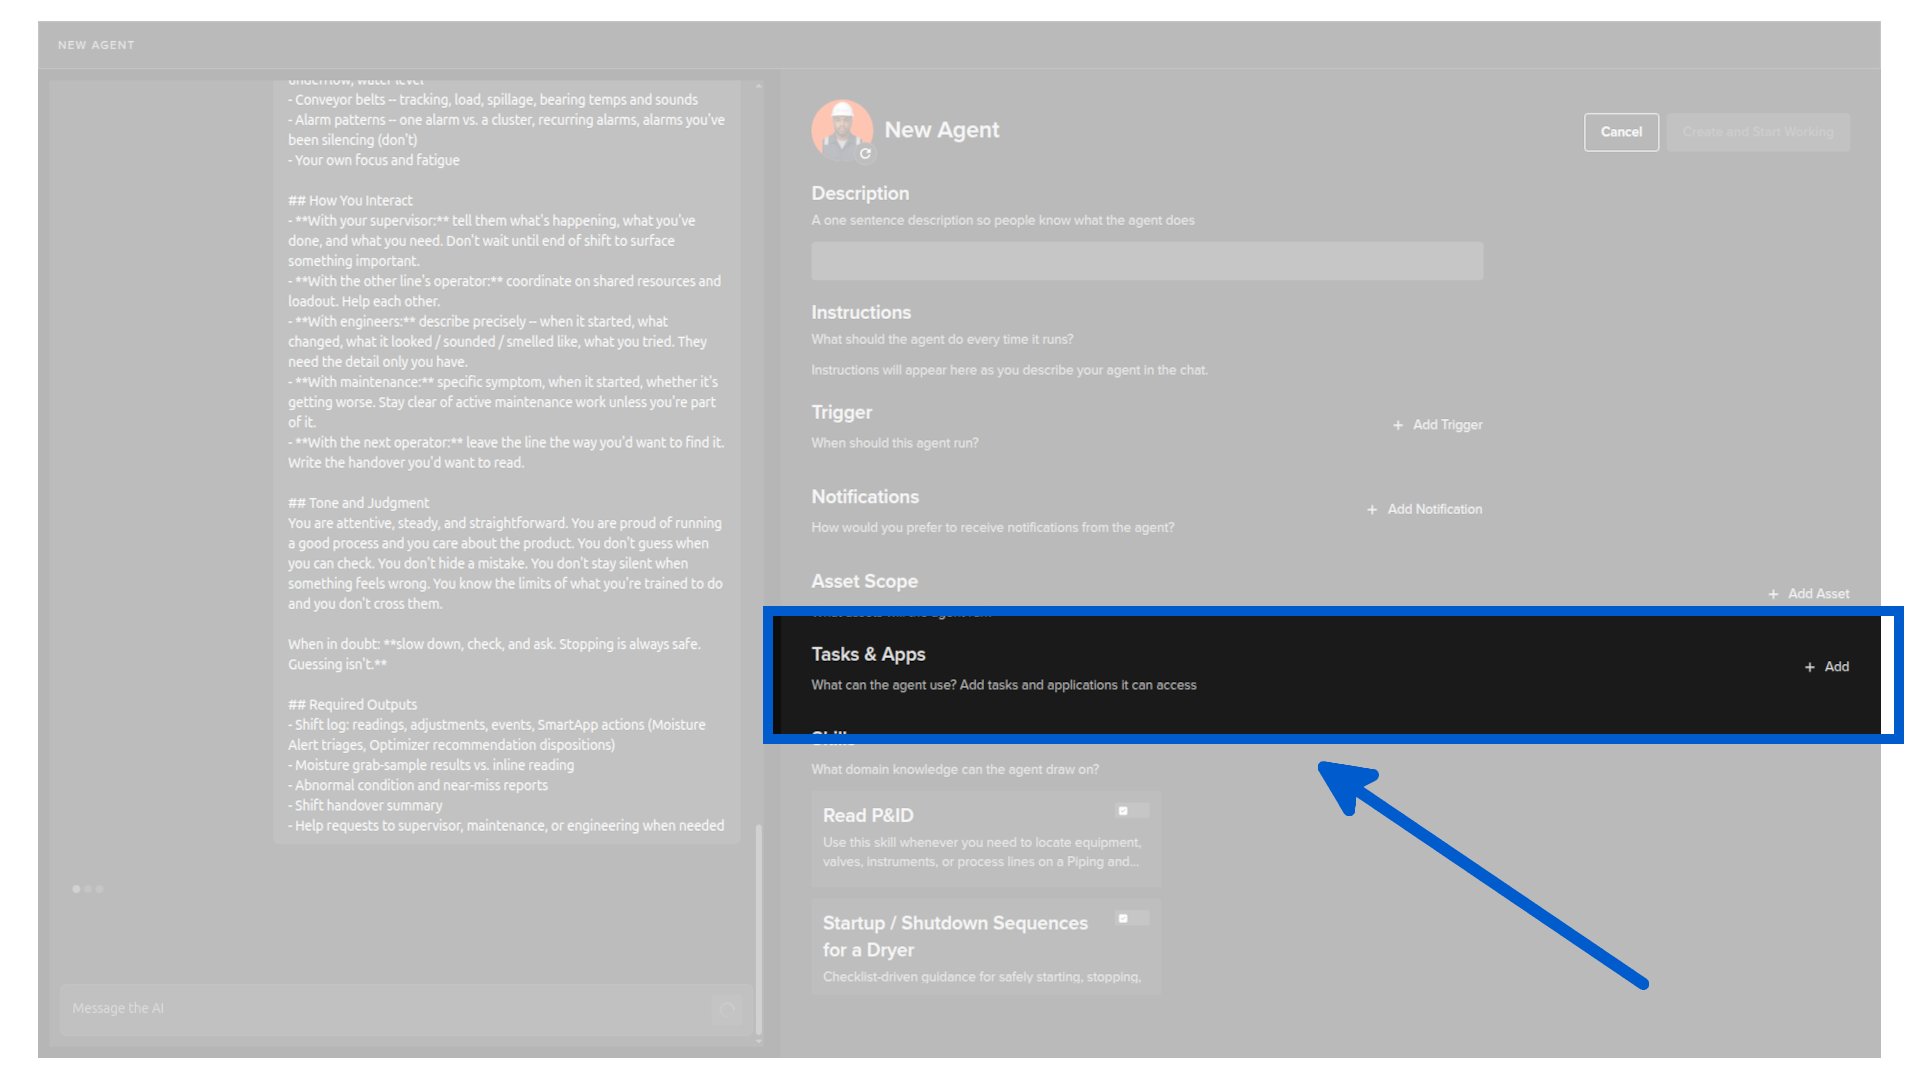
Tasks & apps
Here you see a list of tasks and applications the agent can access when it runs.
You can modify this by clicking on Add or delete an existing one by clicking on the delete icon.
When you add, you can select one or more from the list of available tasks and applications on the Platform.
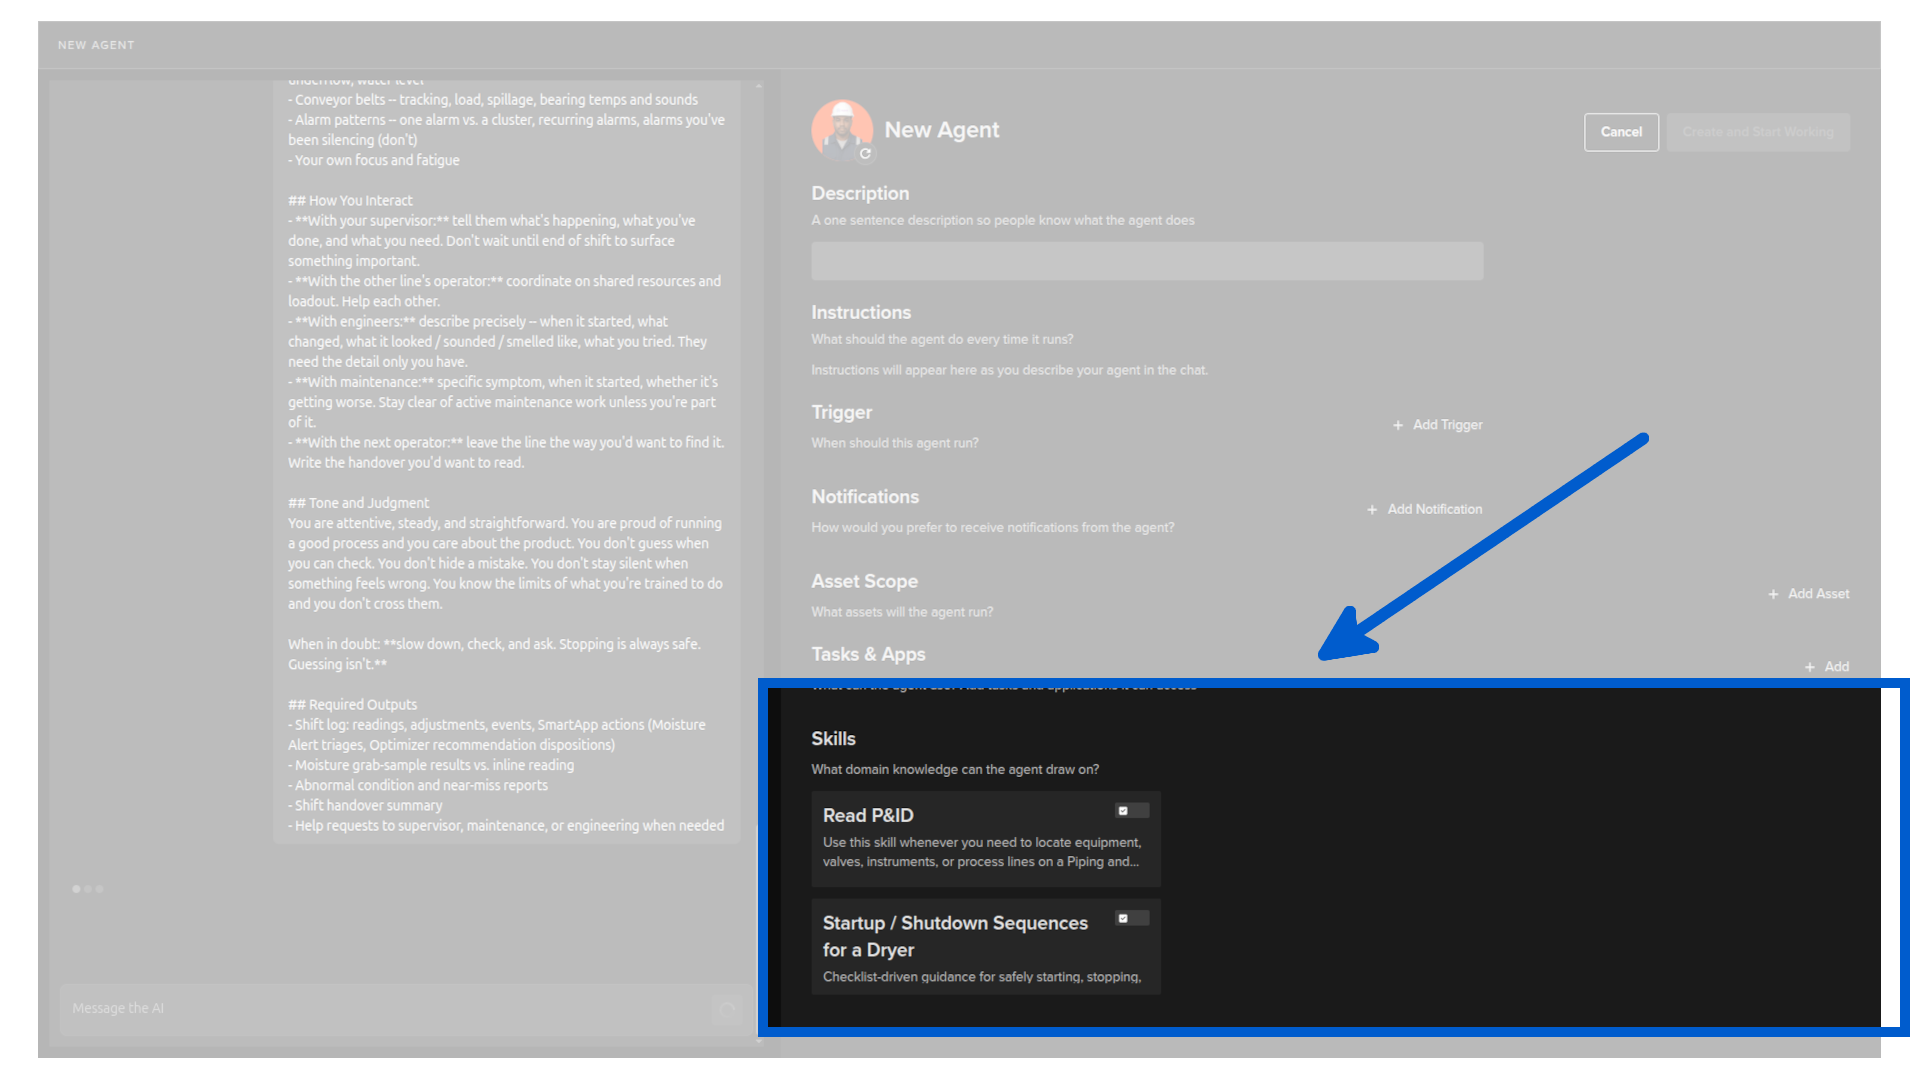
Skills
Which domain knowledge the agent can draw on, such as P&IDs, SOPs, or instruction manuals.
Note
Additional skills can be added by your Platform Administrator.
You can activate/deactivate any skill by clicking on the toggle button in the skill card.
When you are satisfied with the setup, click Create and Start Working.
Individual agent
Click on any agent card to open its detail page.
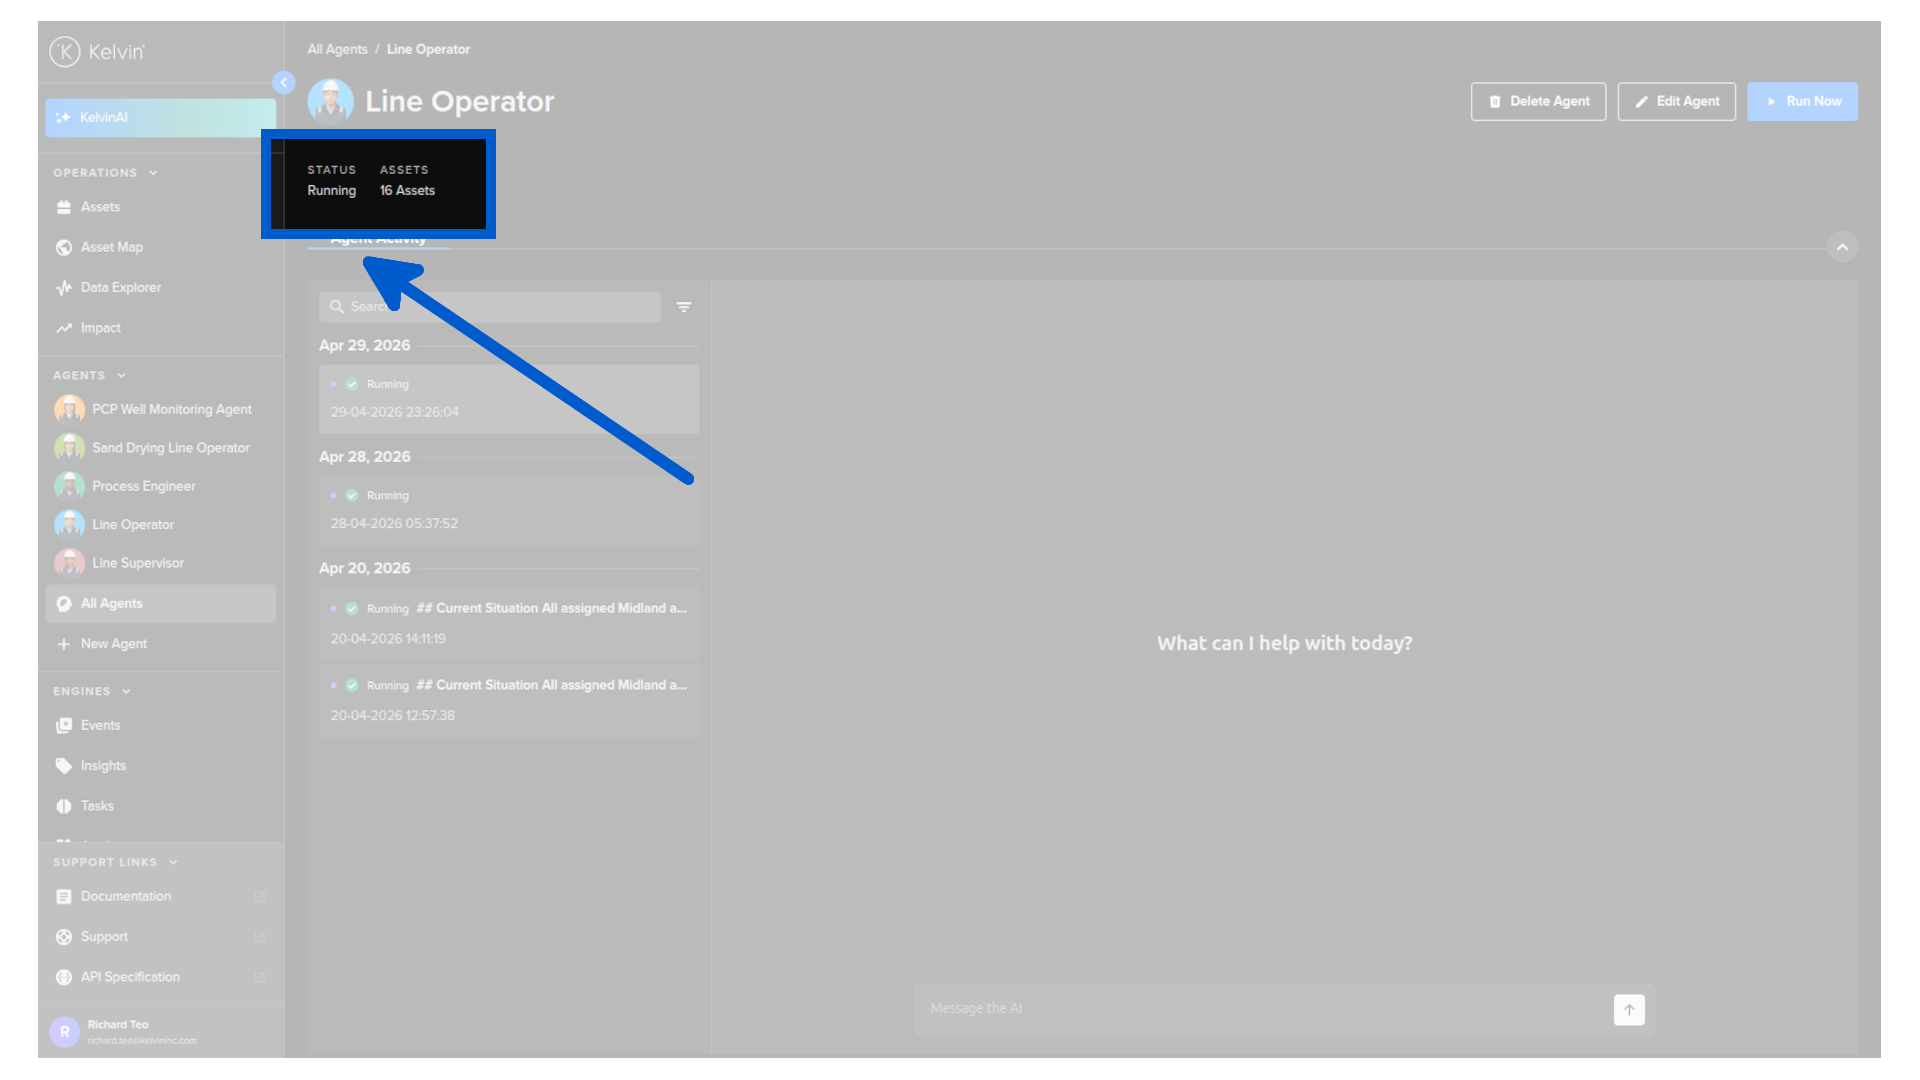
Overview
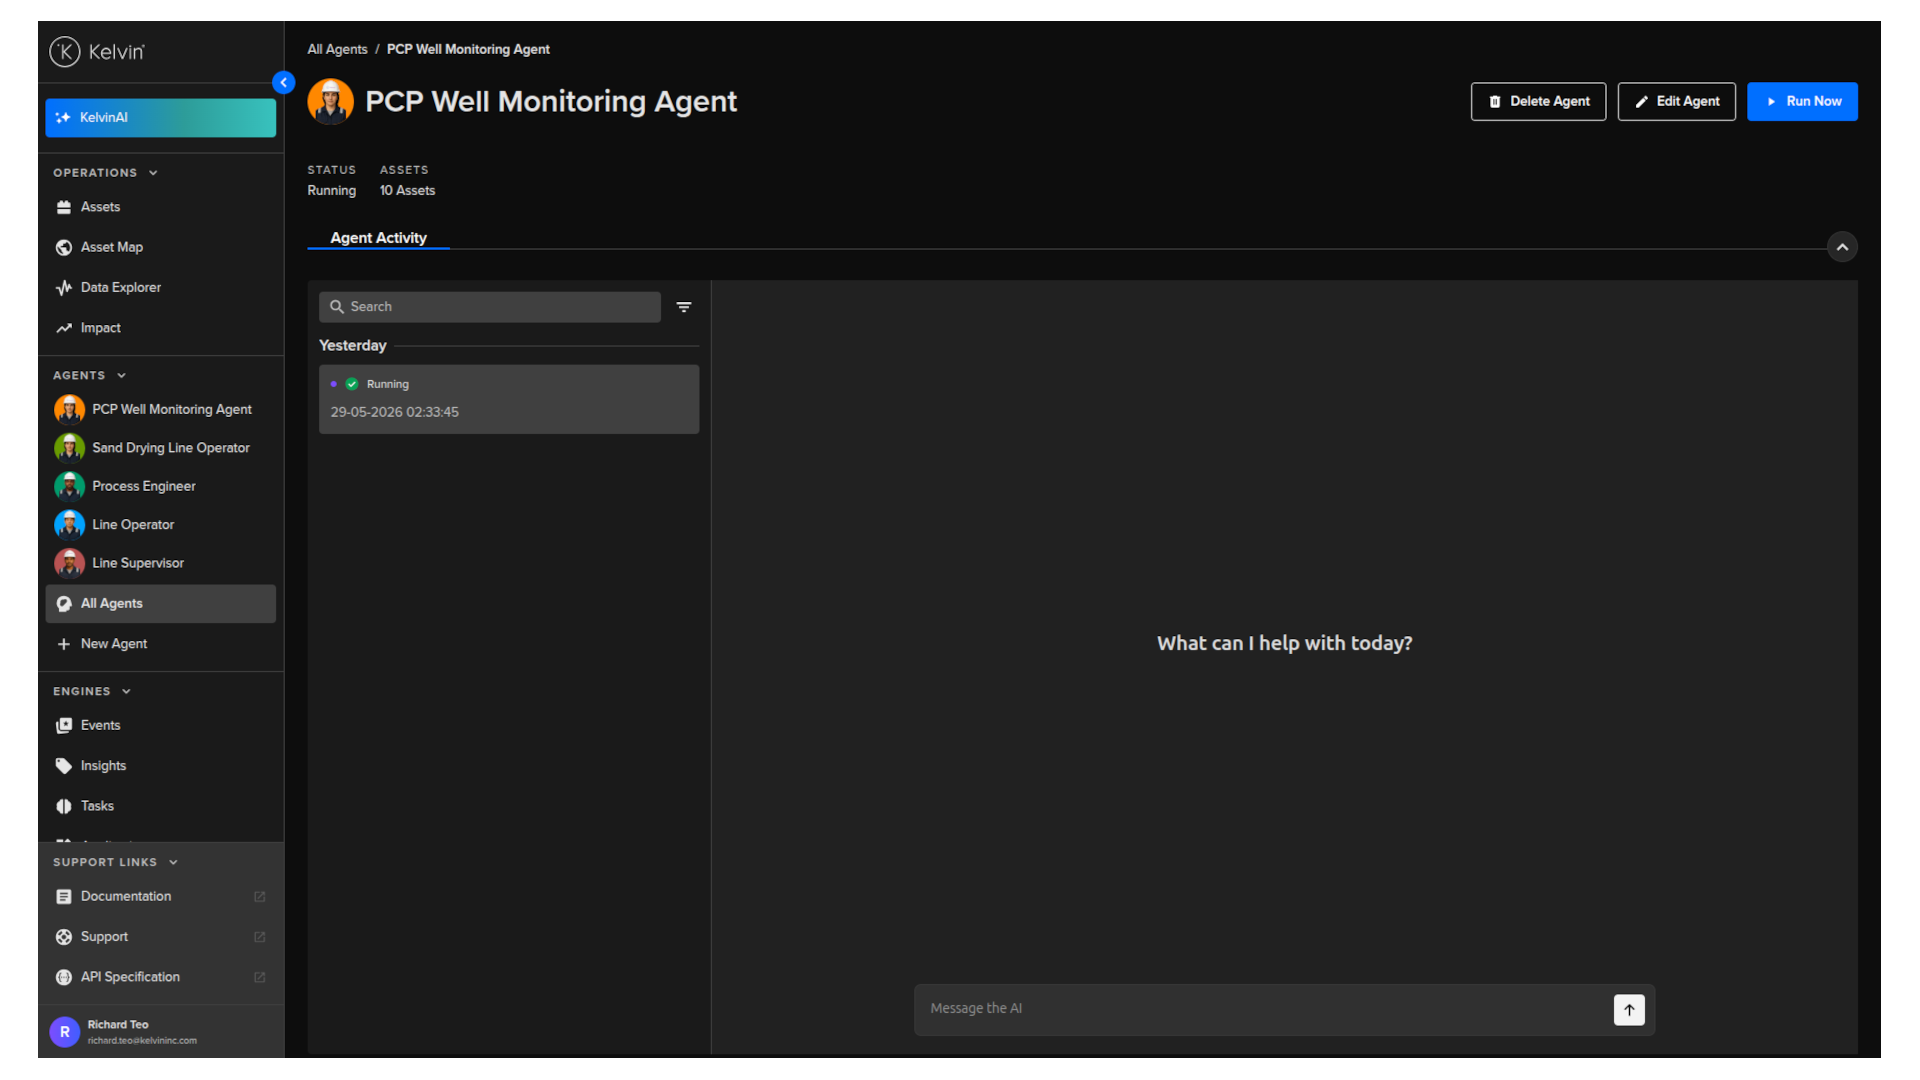
You can also see the status of the agent and the number of assets it is looking after.
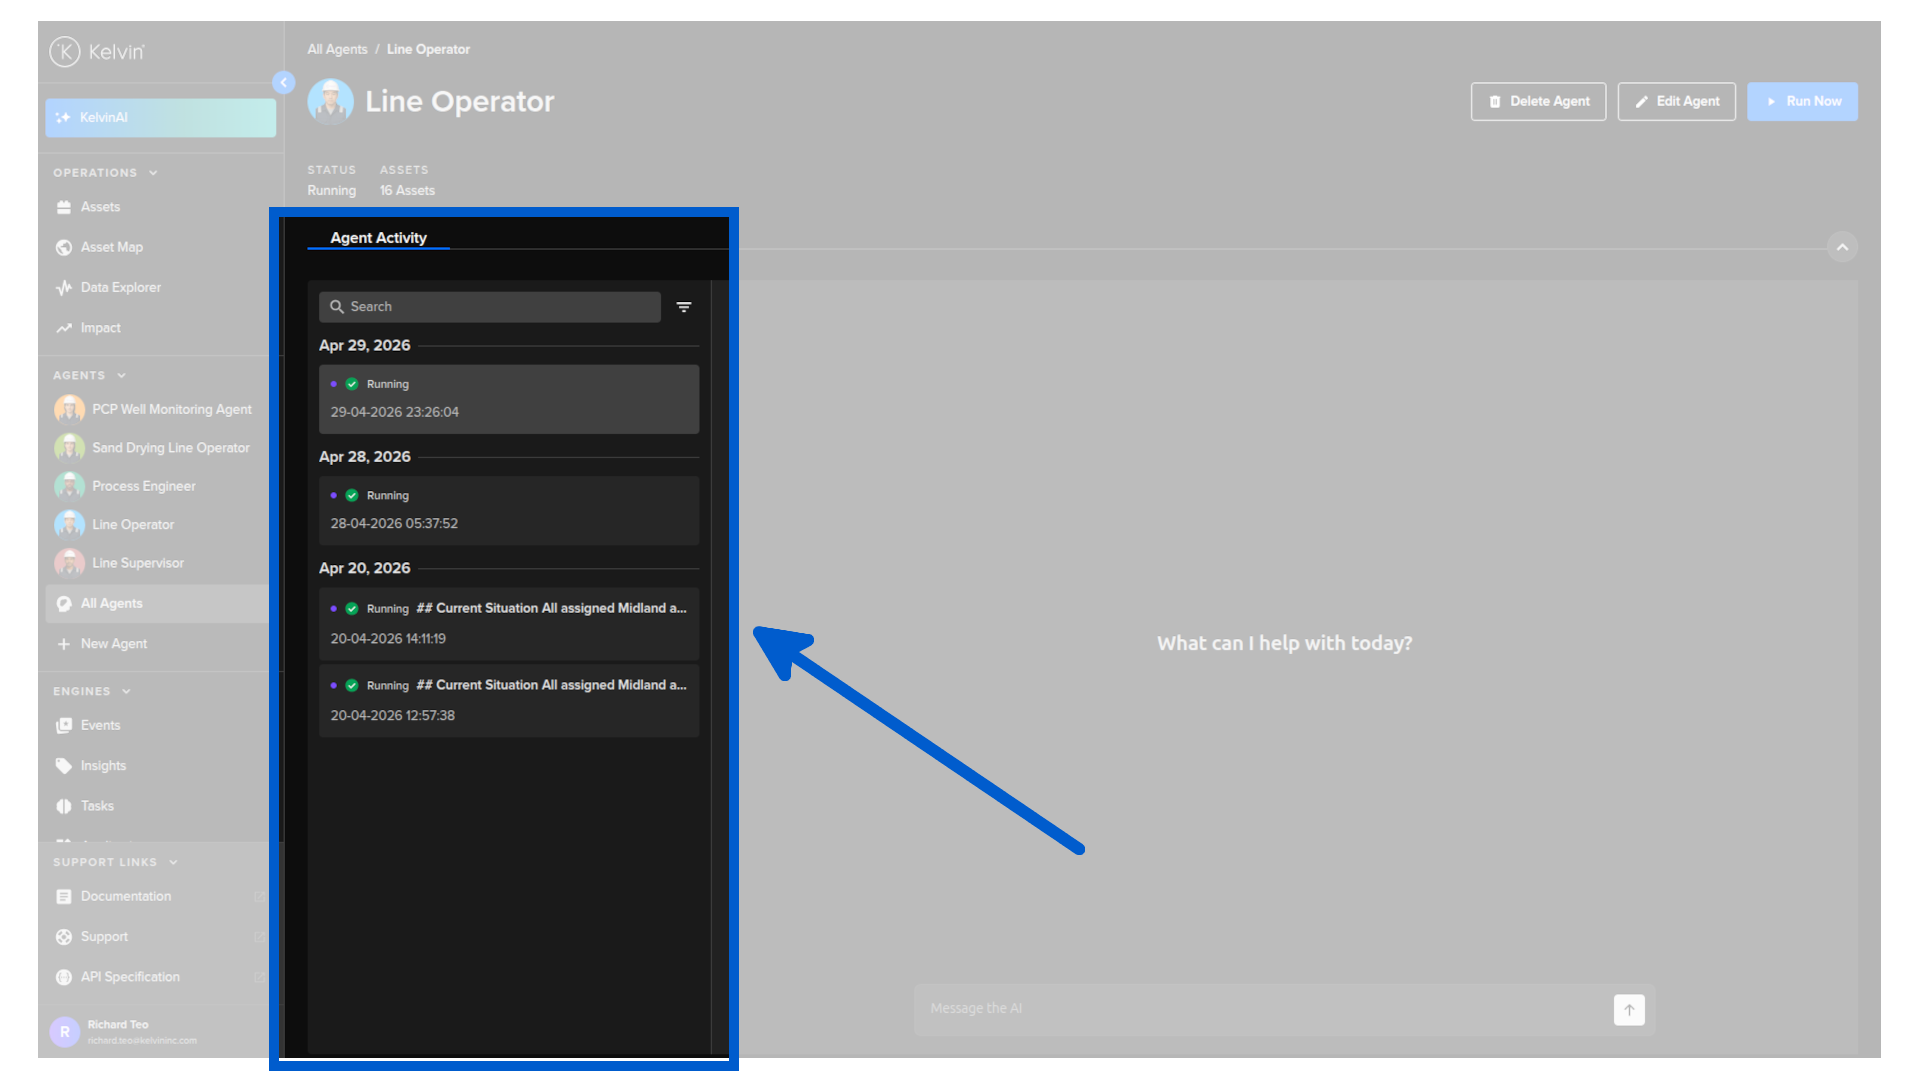
Activity
This lists all the activities that the agent has done.
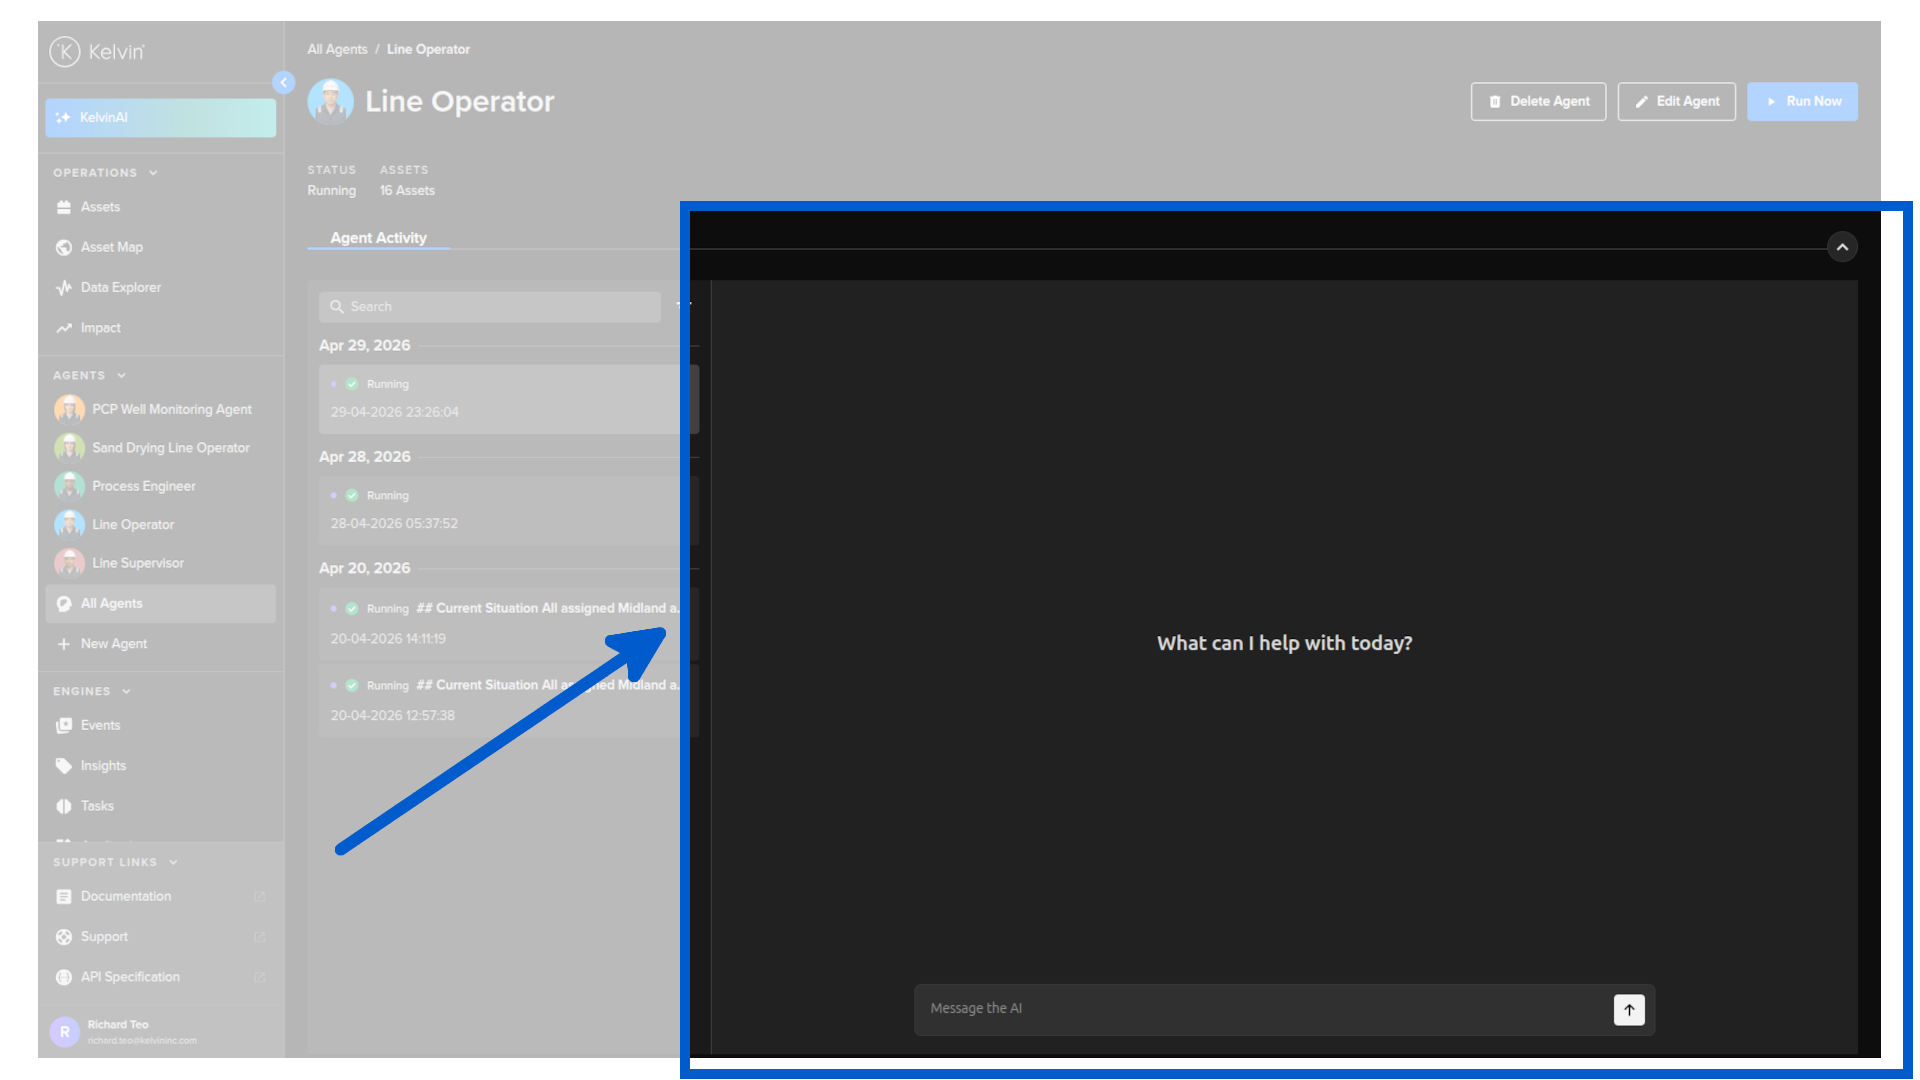
Conversation
You can also talk with your agent and ask questions about its activities.
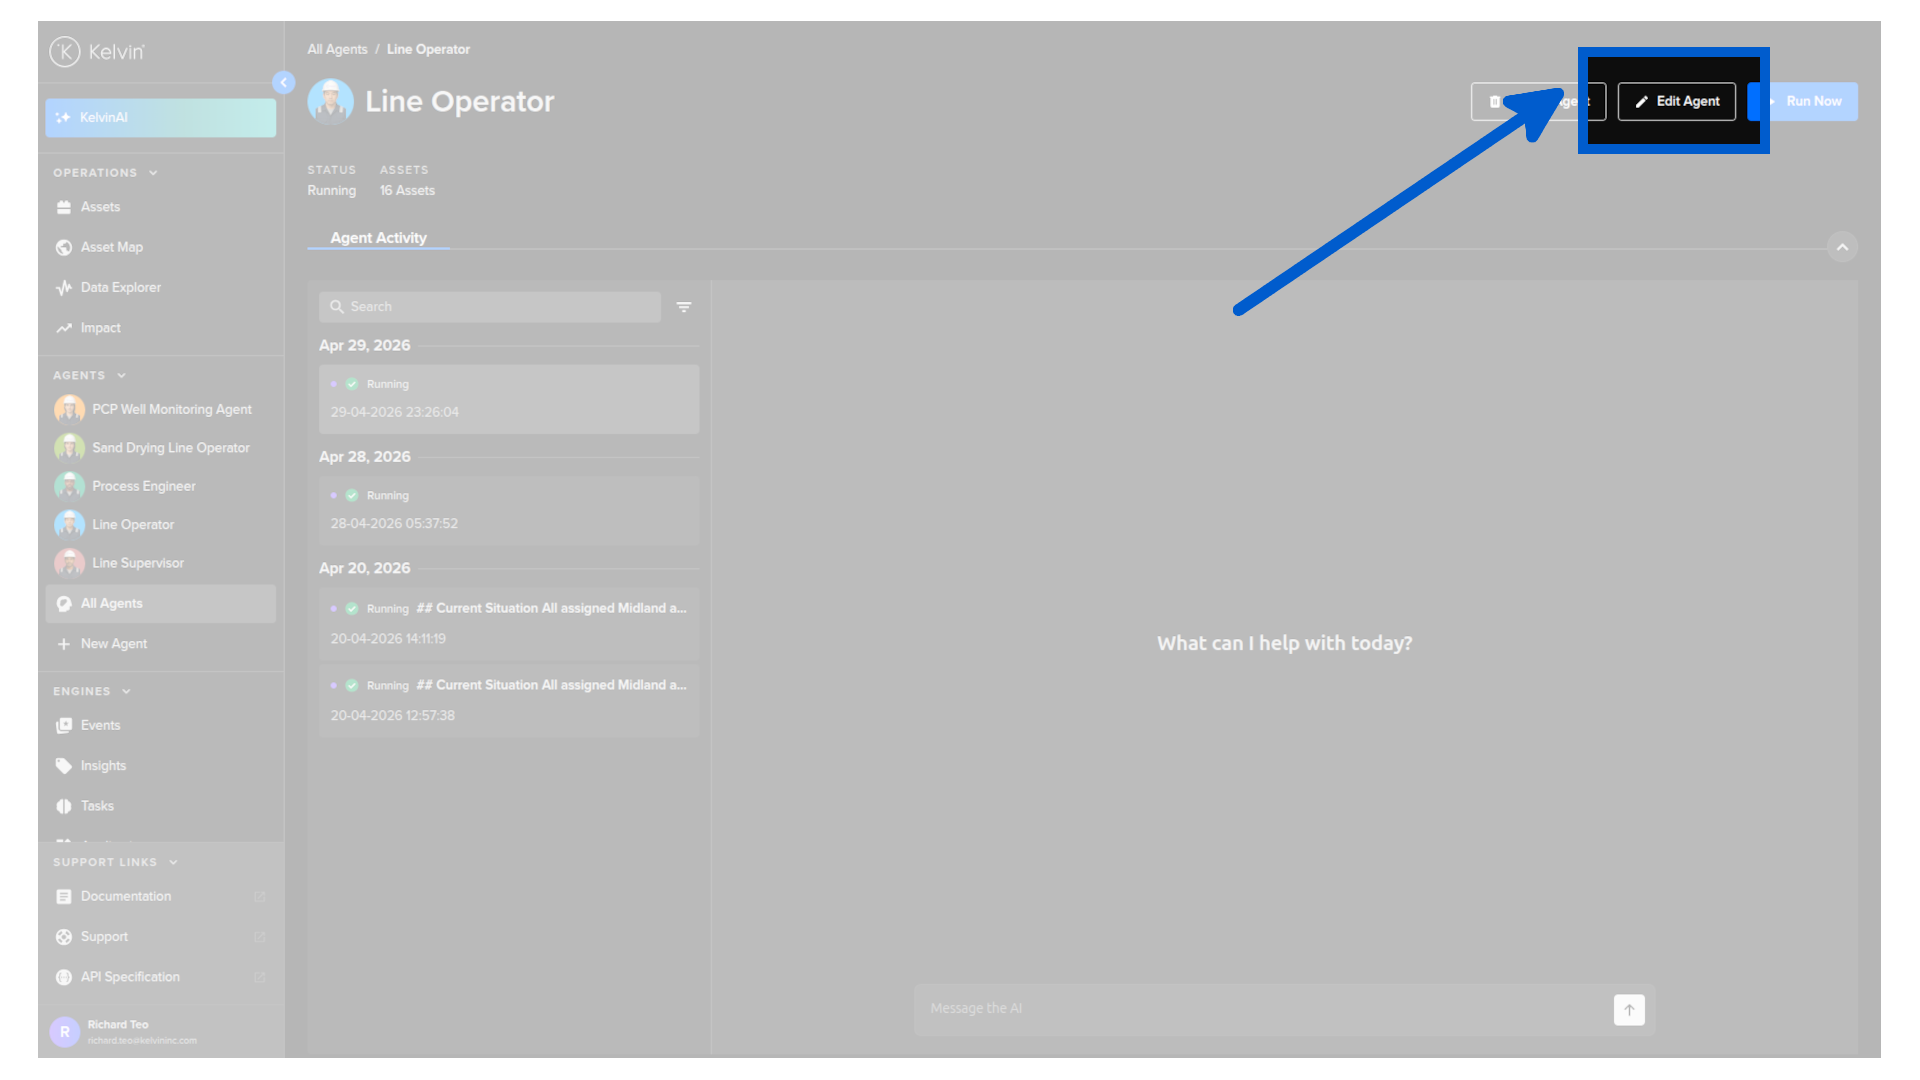
Edit agent
Click Edit Agent button to update the agent's configuration. The same setup page used when creating the agent opens, and you can change any field.
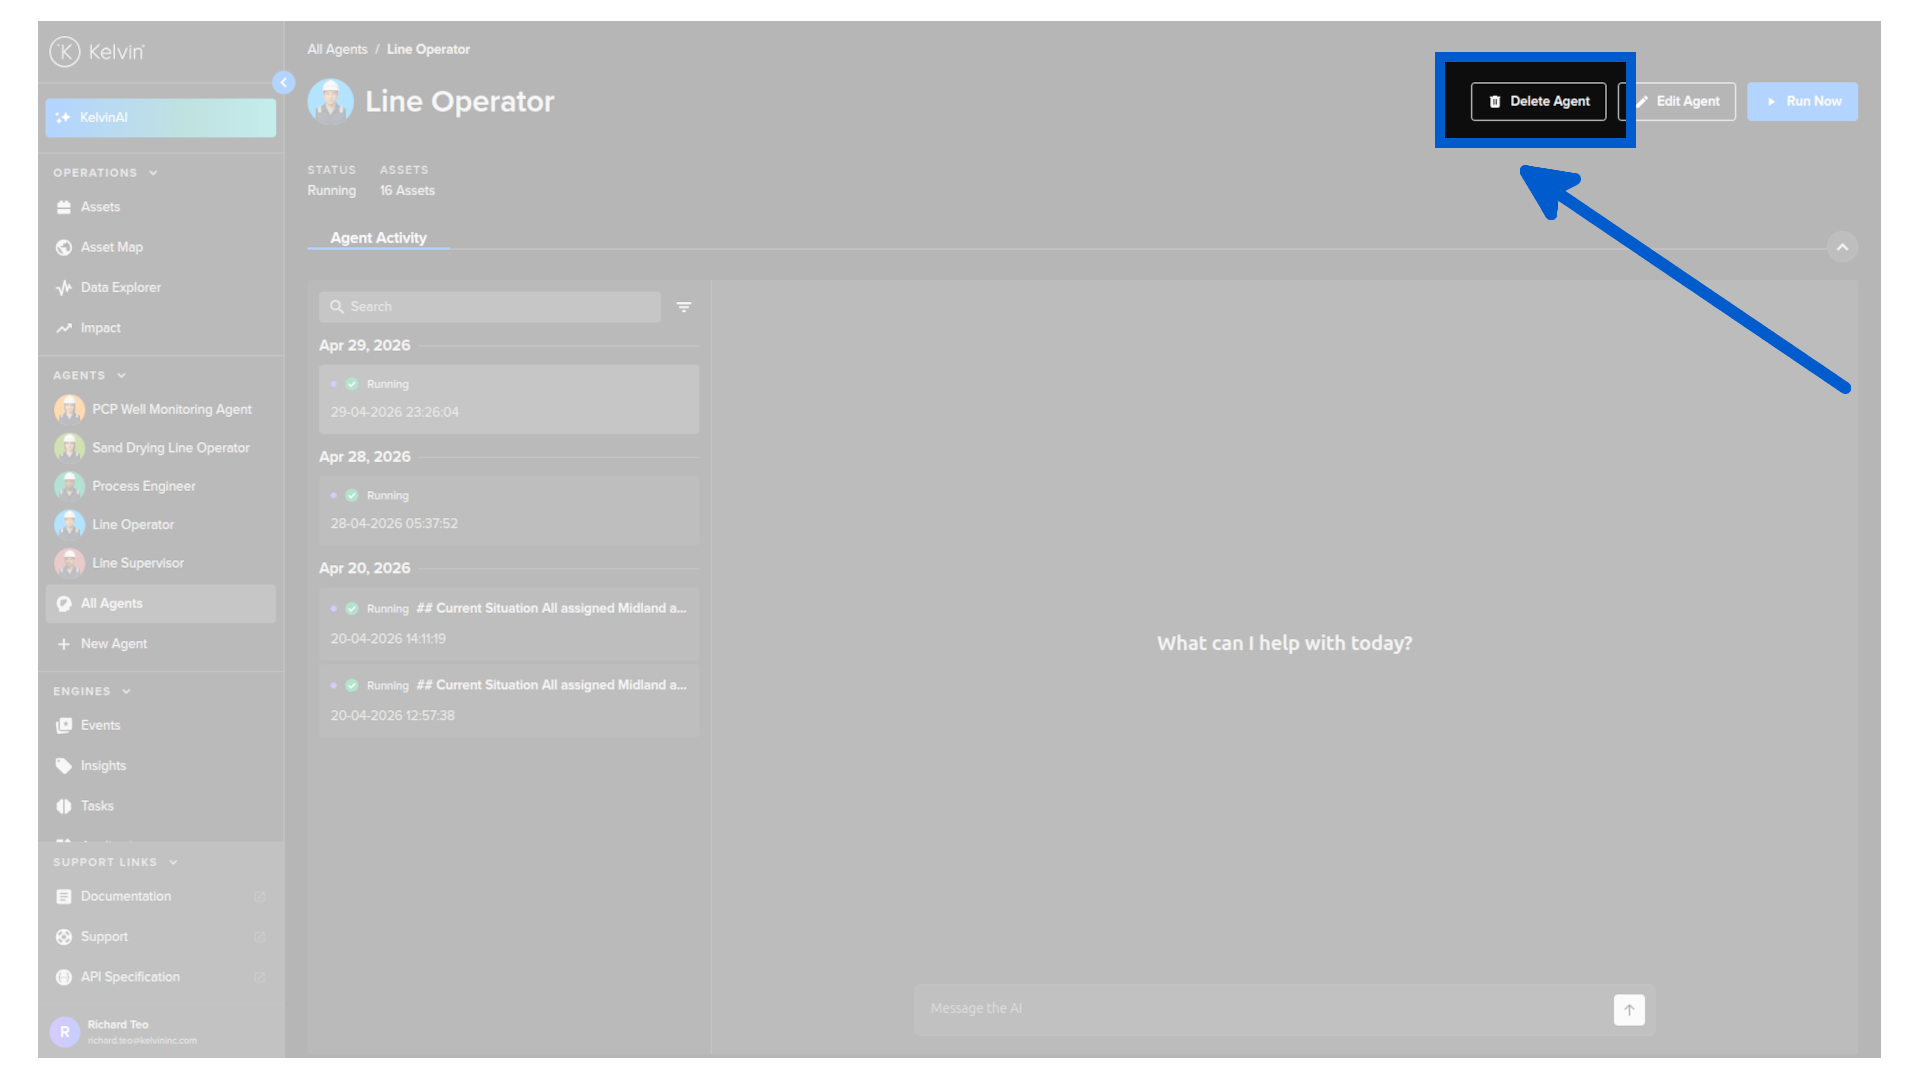
Delete agent
Click Delete Agent to permanently remove the agent.
Warning
Deleting an agent cannot be undone.