Asset Management
On this page you will learn how to mange Assets that have been added to a Kelvin SmartApp™ in Kelvin SmartApps™ section of Kelvin UI.
A Kelvin SmartApp™ can be processing many thousands of Assets at the same time. Kelvin UI makes it easy to monitor the status of all these Assets and quickly add or delete Assets to the Kelvin SmartApp™.
The management of the Assets in the Kelvin SmartApp™ is done through the Management Tab of Kelvin SmartApps™.
To start, go to SmartApps™ dashboard page and select the Kelvin SmartApp™ that is processing your Asset's data.
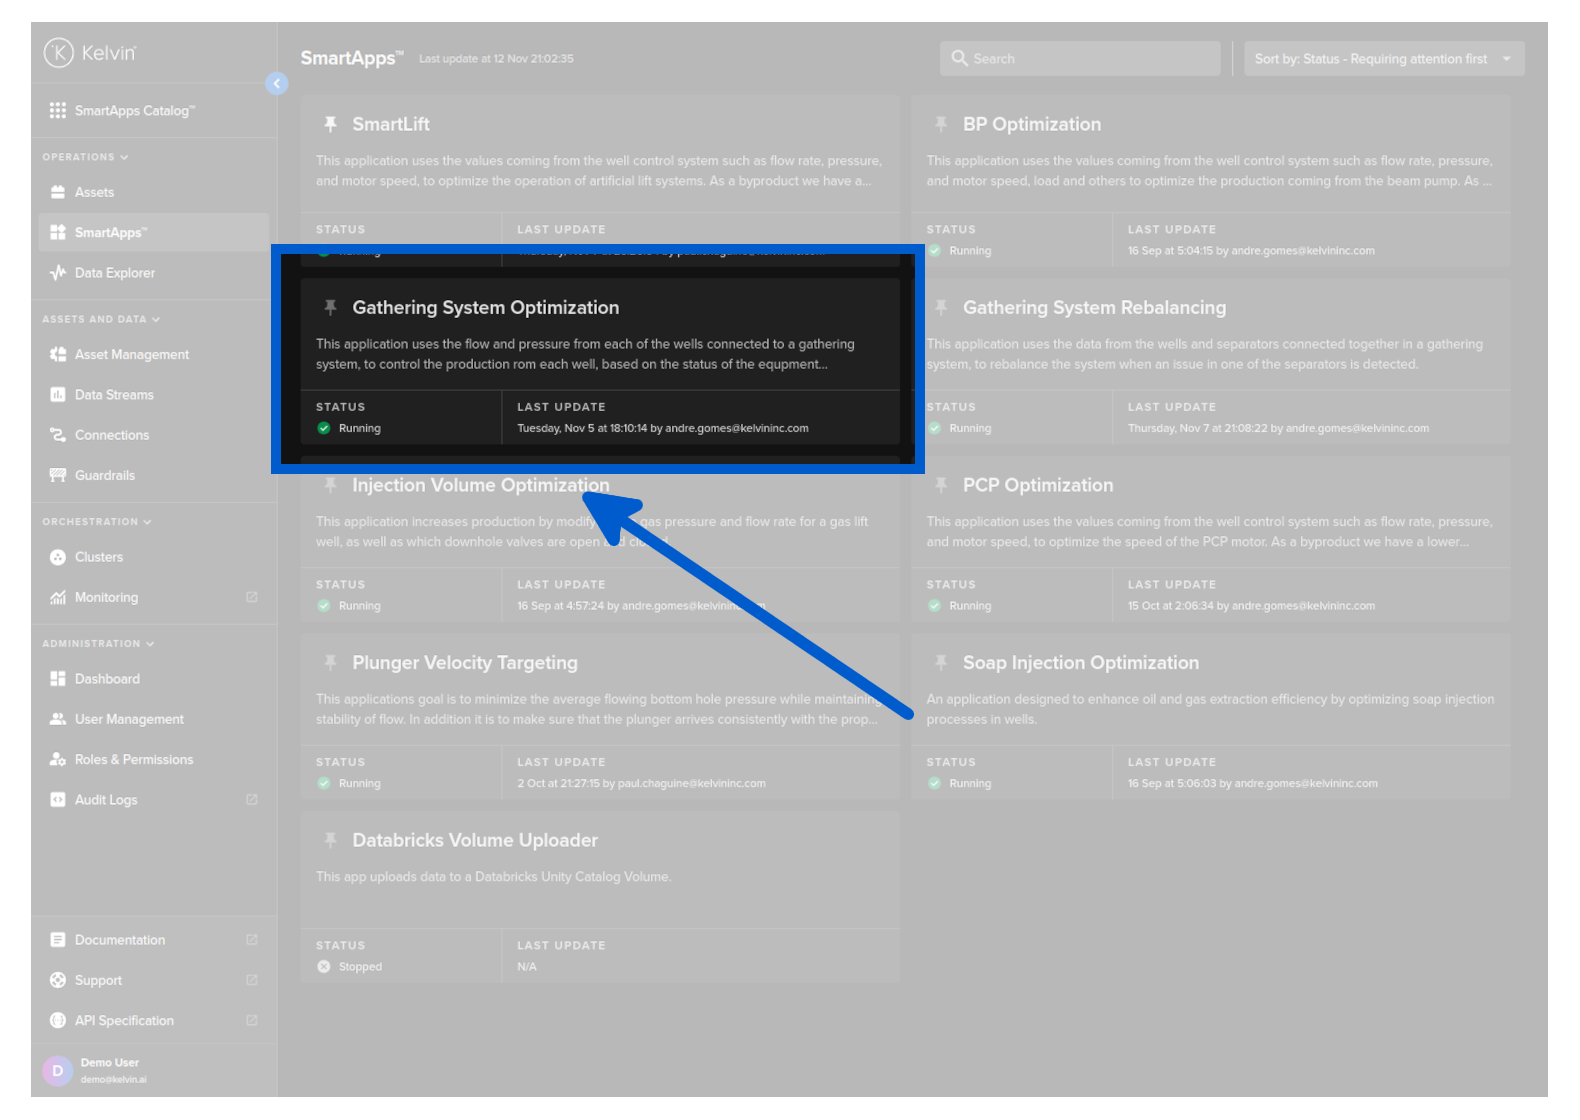
Click on the Management tab, and you can see a list of Assets and the configuration options for the Kelvin SmartApp™.
In the asset-centric table you can see a list of all the Assets that have been added to the Kelvin SmartApp™.
App Version
This column describes the version of the Kelvin SmartApp™ that is processing the data from the Asset.
This is important to know because in the Configurations tab you need to select the Kelvin SmartApp™ version to find your wanted Asset.
Every version of a Kelvin SmartApp™ operates as a distinct program. As such, the available configuration asset parameter options, as well as their default settings, may vary between versions.
Status
This column will show you the current status of each Asset. There are four statuses;
| Status | Description |
|---|---|
| Stopped | The Kelvin SmartApp™ is not processing any data for the Asset |
| Running | The Kelvin SmartApp™ is consuming data and producing outputs for the Asset |
| Updating | This is when an action, such as add or delete, is in process for the Asset |
| Requires Attention | This is when a problem has been detected with the Kelvin SmartApp™ for the Asset. More information can be found in the logs and telemetry |
Last Update
This is the last management action that has been done for any action. You will see how long ago it was done and by whom.
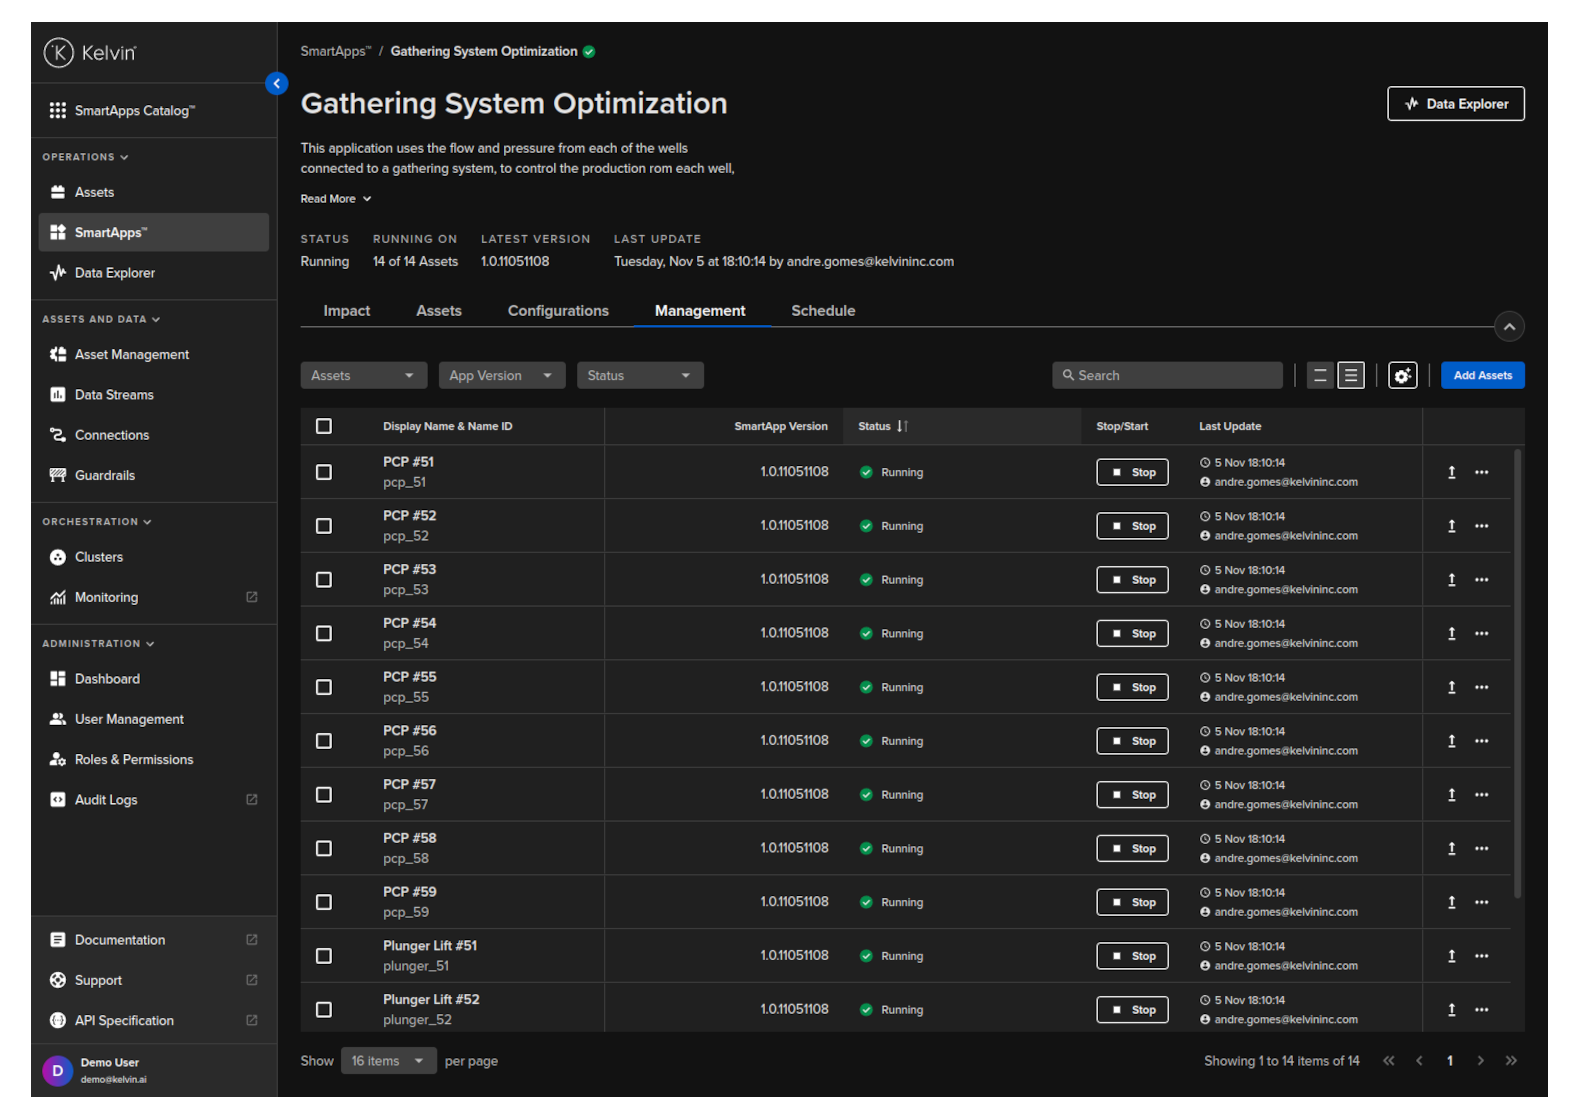
When you start of stop an Asset, this only starts or stops the Kelvin SmartApp™ processing the data. Stopping an Asset will not delete it from the Kelvin SmartApp™.
While stopped no output data will be generated for the Asset either to directly control the asset or as Recommendations to the Operations Engineers.
You have the ability to start/stop individual Assets or bulk control many Assets which one action.
To start or stop an Asset, simply find the Asset in the list and click on the button in the Start/Stop column. This button and the status is automatically updated to reflect the current status and the possible action to take.
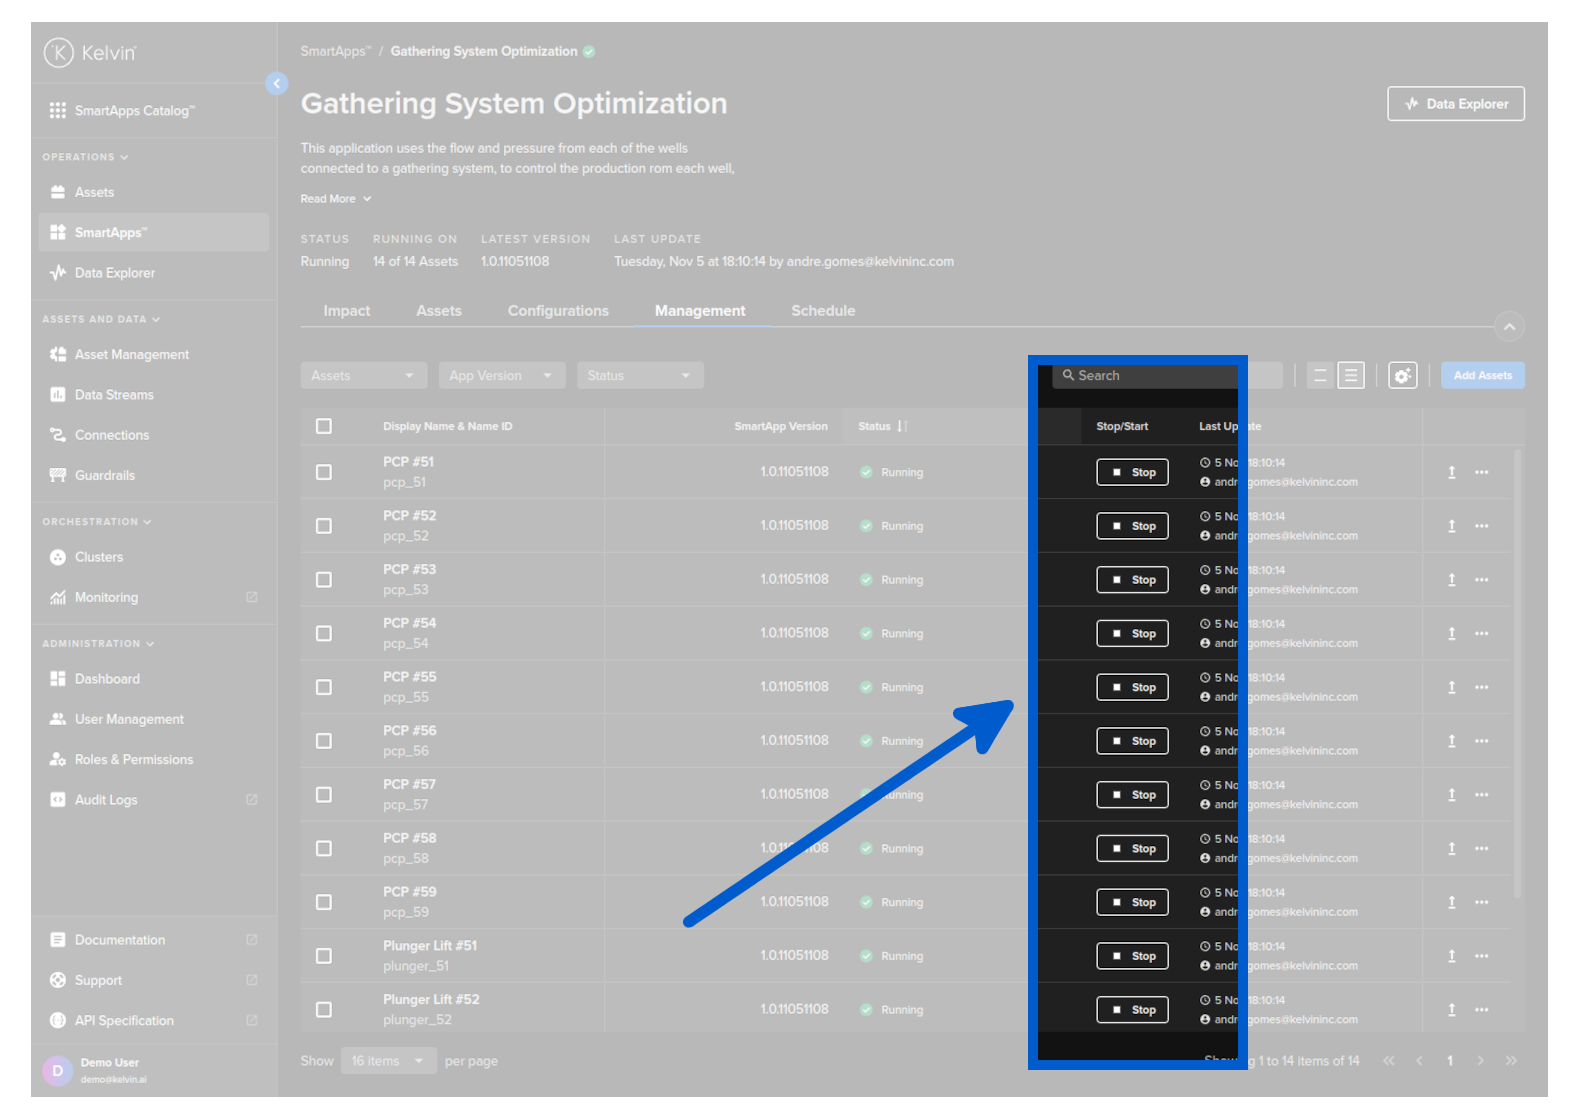
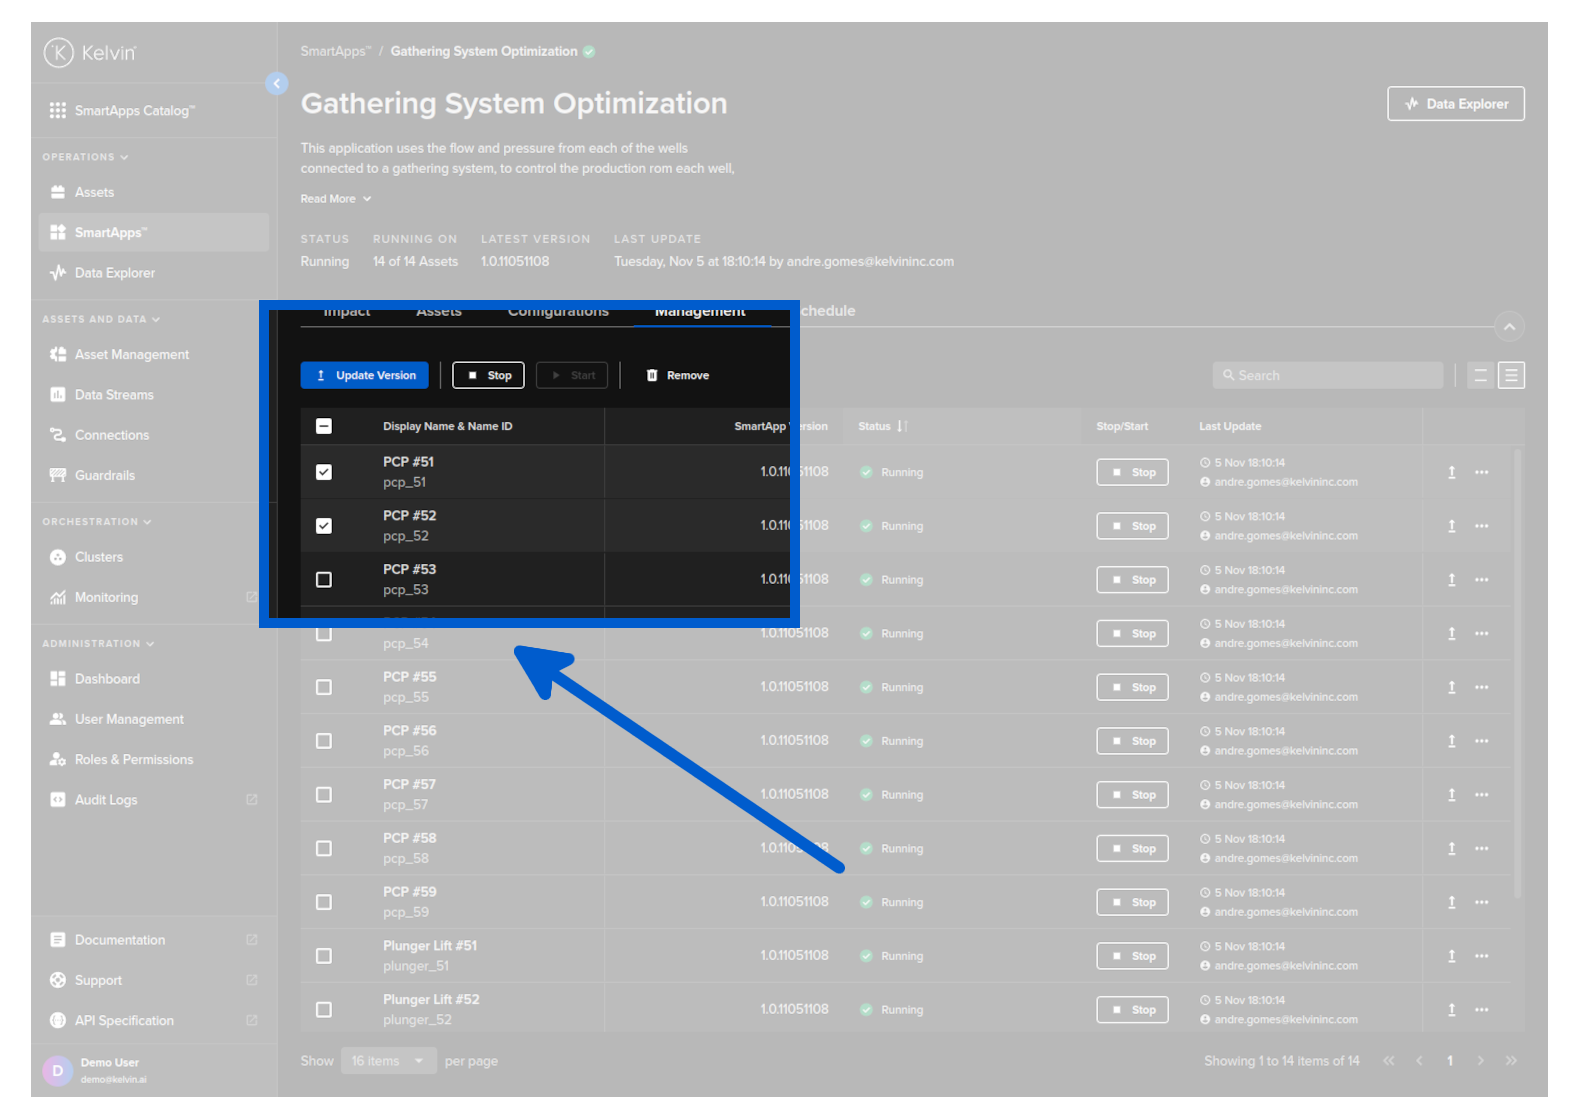
To start and stop many Assets at the same time, use the check box to the left of the Asset name to select which Assets you want to control.
A new group Start / Stop button combo will appear at the top of the table.
When you have selected the Assets, then click on Start or Stop and all the selected Assets will receive the command signal.
You can also select all the Assets at once by clicking on the check box to the left of the header name Asset Name.
This will select all the Assets in the list.
NOTE : This will not select all the Assets, only those on the table page you can see. If there are more than one page, then it will not select the Assets on the other pages. To select more Assets at once, use the setting at the bottom of th table to increase the number of Assets shown on each page.
You can remove any Asset from the Kelvin SmartApp™. You have the ability to remove individual Assets or bulk remove many Assets with one action.
This operation can not be undone. If you make a mistake you will need to redeploy and set the configuration parameters for the Asset again.
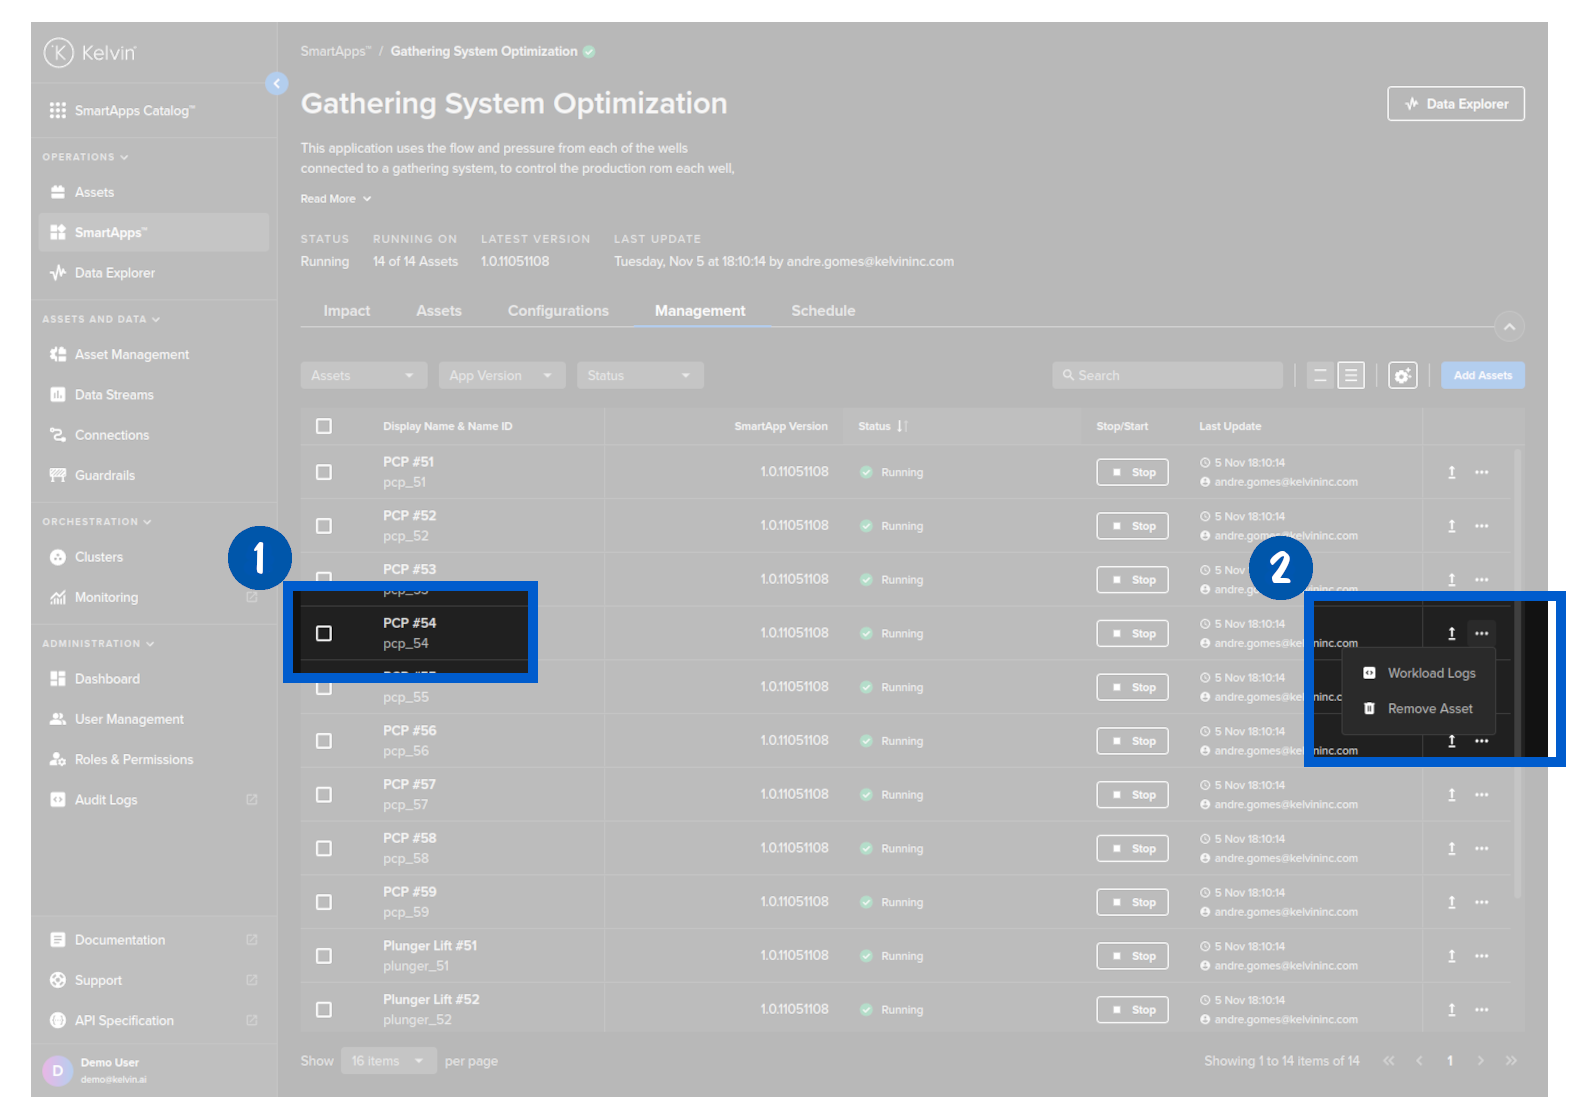
To remove an individual Asset, simply find the Asset in the list and click on the Asset's dropdown box and click on Remove Asset, confirm your decision and the Asset is removed from the Kelvin SmartApp™.
To remove many Assets at the same time, use the check box to the left of the Asset name to select which Assets you want to remove.
A new group Remove button combo will appear at the top of the table.
When you have selected the Assets, then click on Start or Stop and all the selected Assets will receive the command signal.
You can also select all the Assets at once by clicking on the check box to the left of the header name Asset Name.
This will select all the Assets in the list.
NOTE : This will not select all the Assets, only those on the table page you can see. If there are more than one page, then it will not select the Assets on the other pages. To select more Assets at once, use the setting at the bottom of th table to increase the number of Assets shown on each page.
The Asset table itself uses Kelvin's asset-centric table which incorporates many Kelvin features.
Any table settings you configure are persistent even if you log out and log back in.
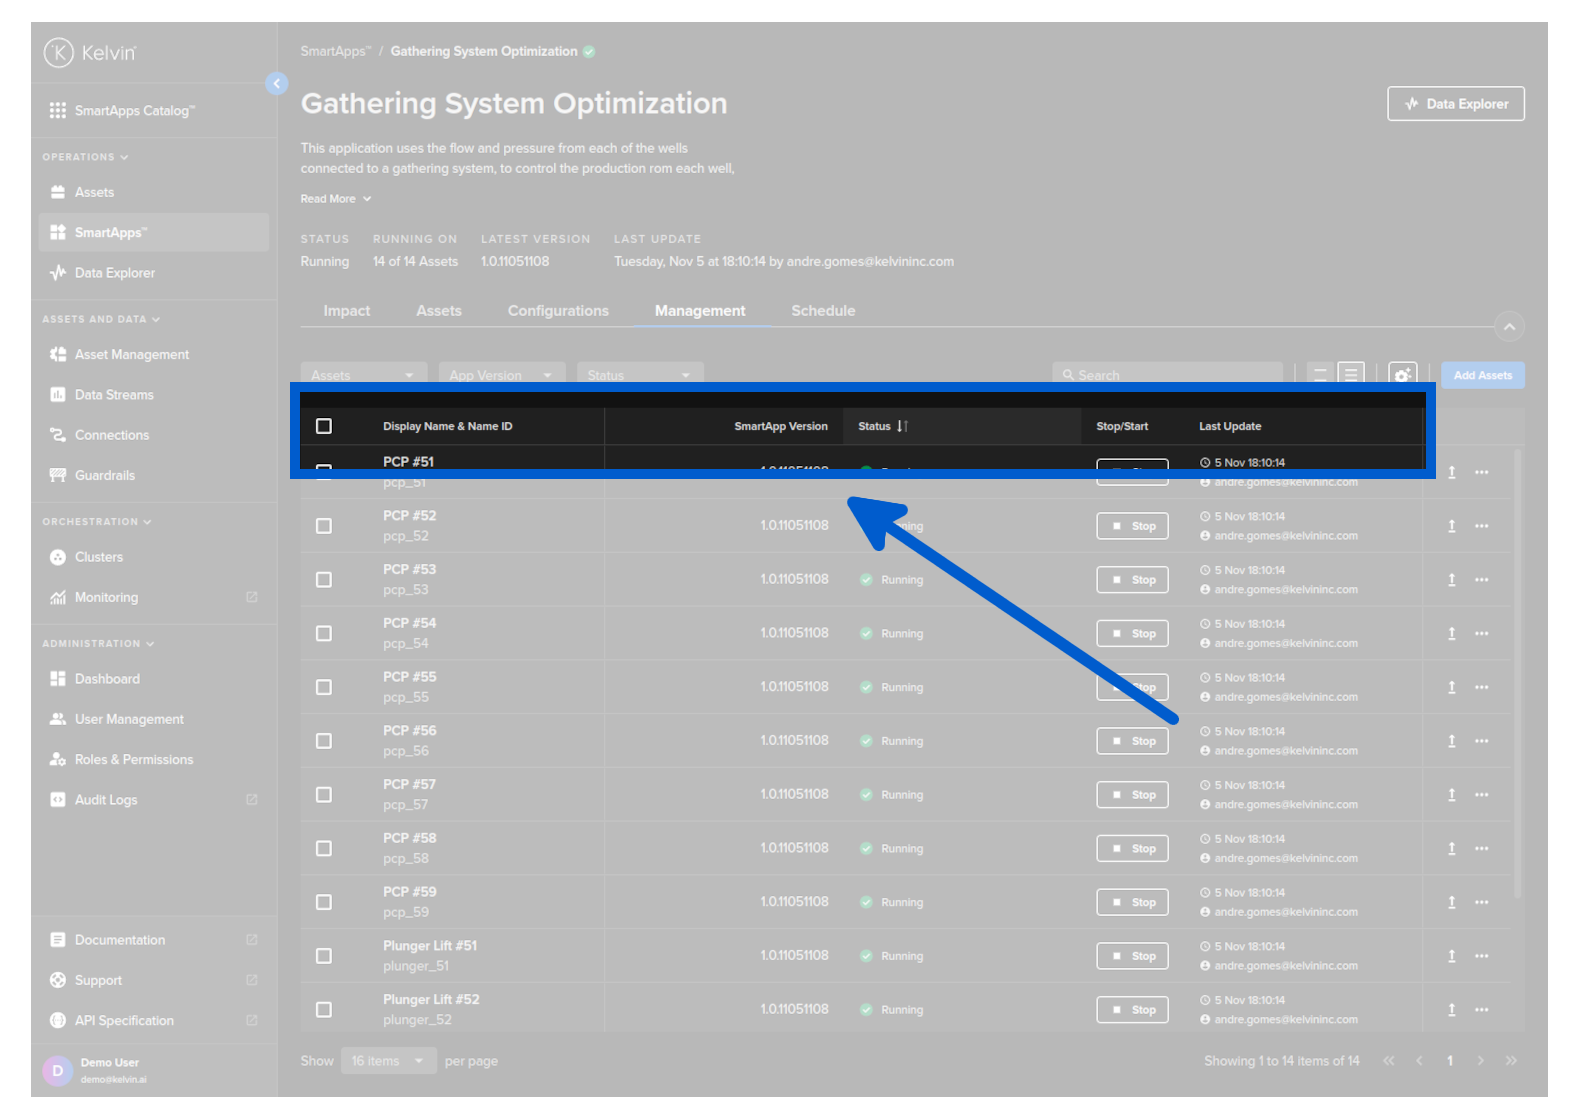
You can sort the table rows simply by clicking on the header name. Clicking it will cancel the other sorts in other headers and each click will rotate between ascending, descending and no sorting.
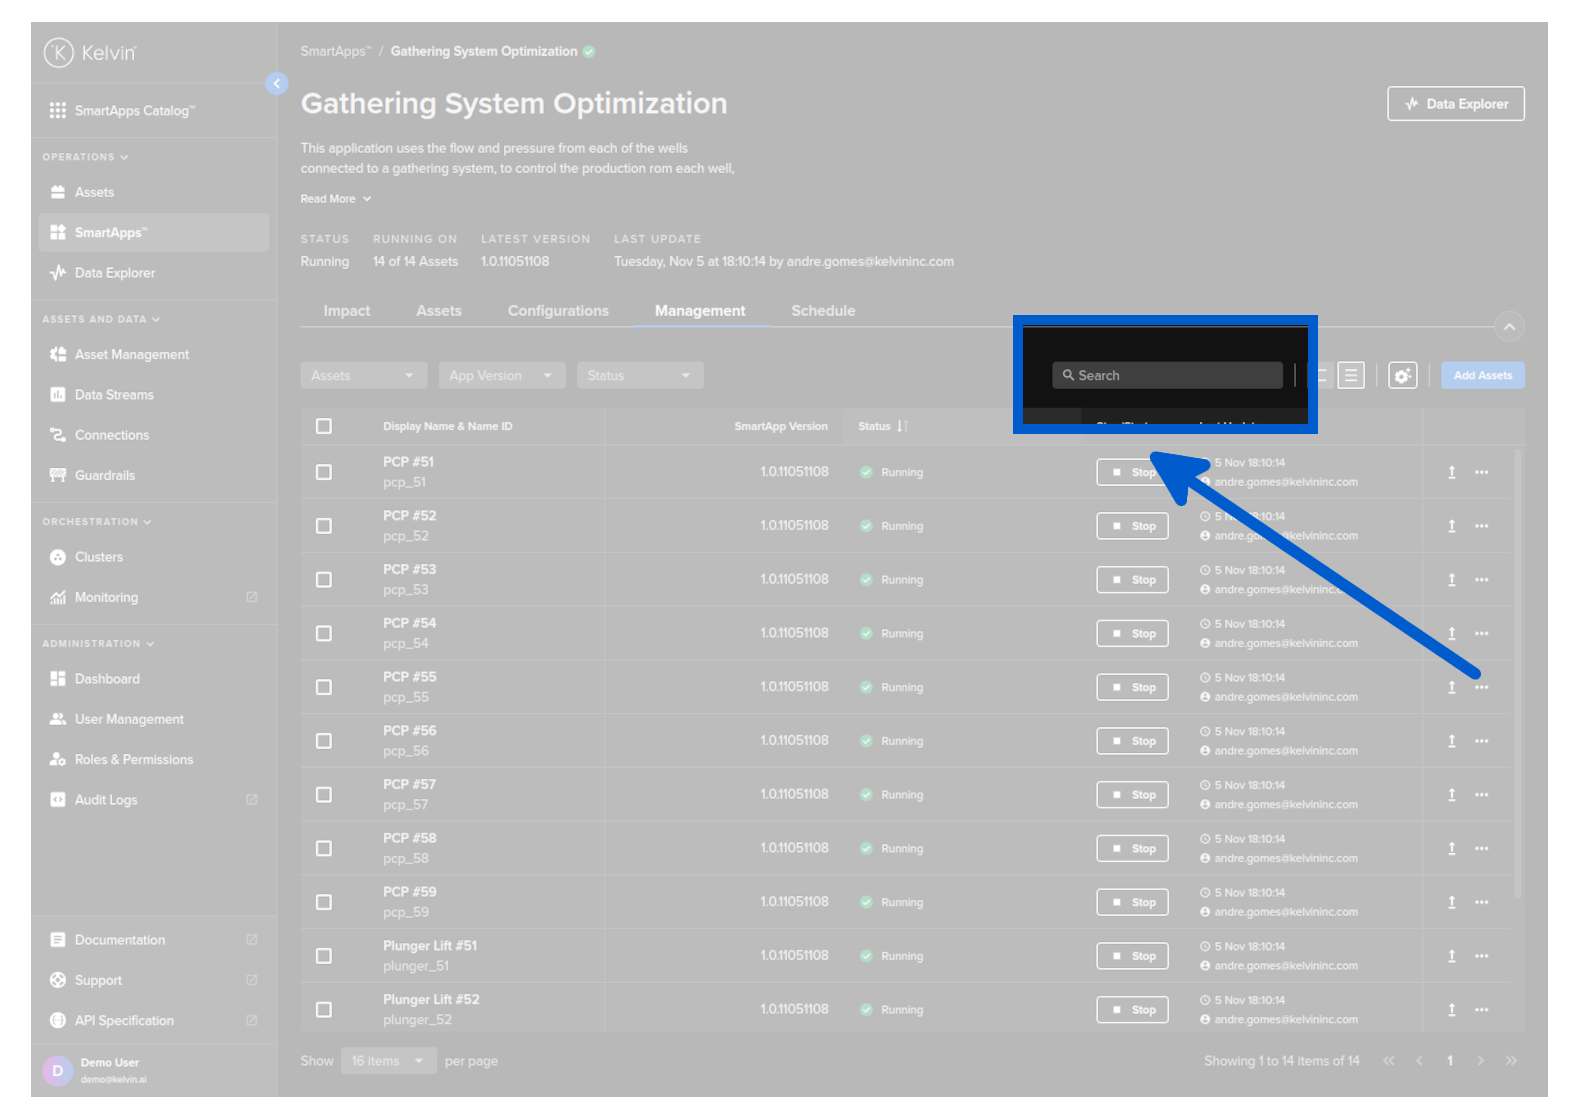
Quickly find the Assets you want to see with the dynamic search which filters the list as you type.
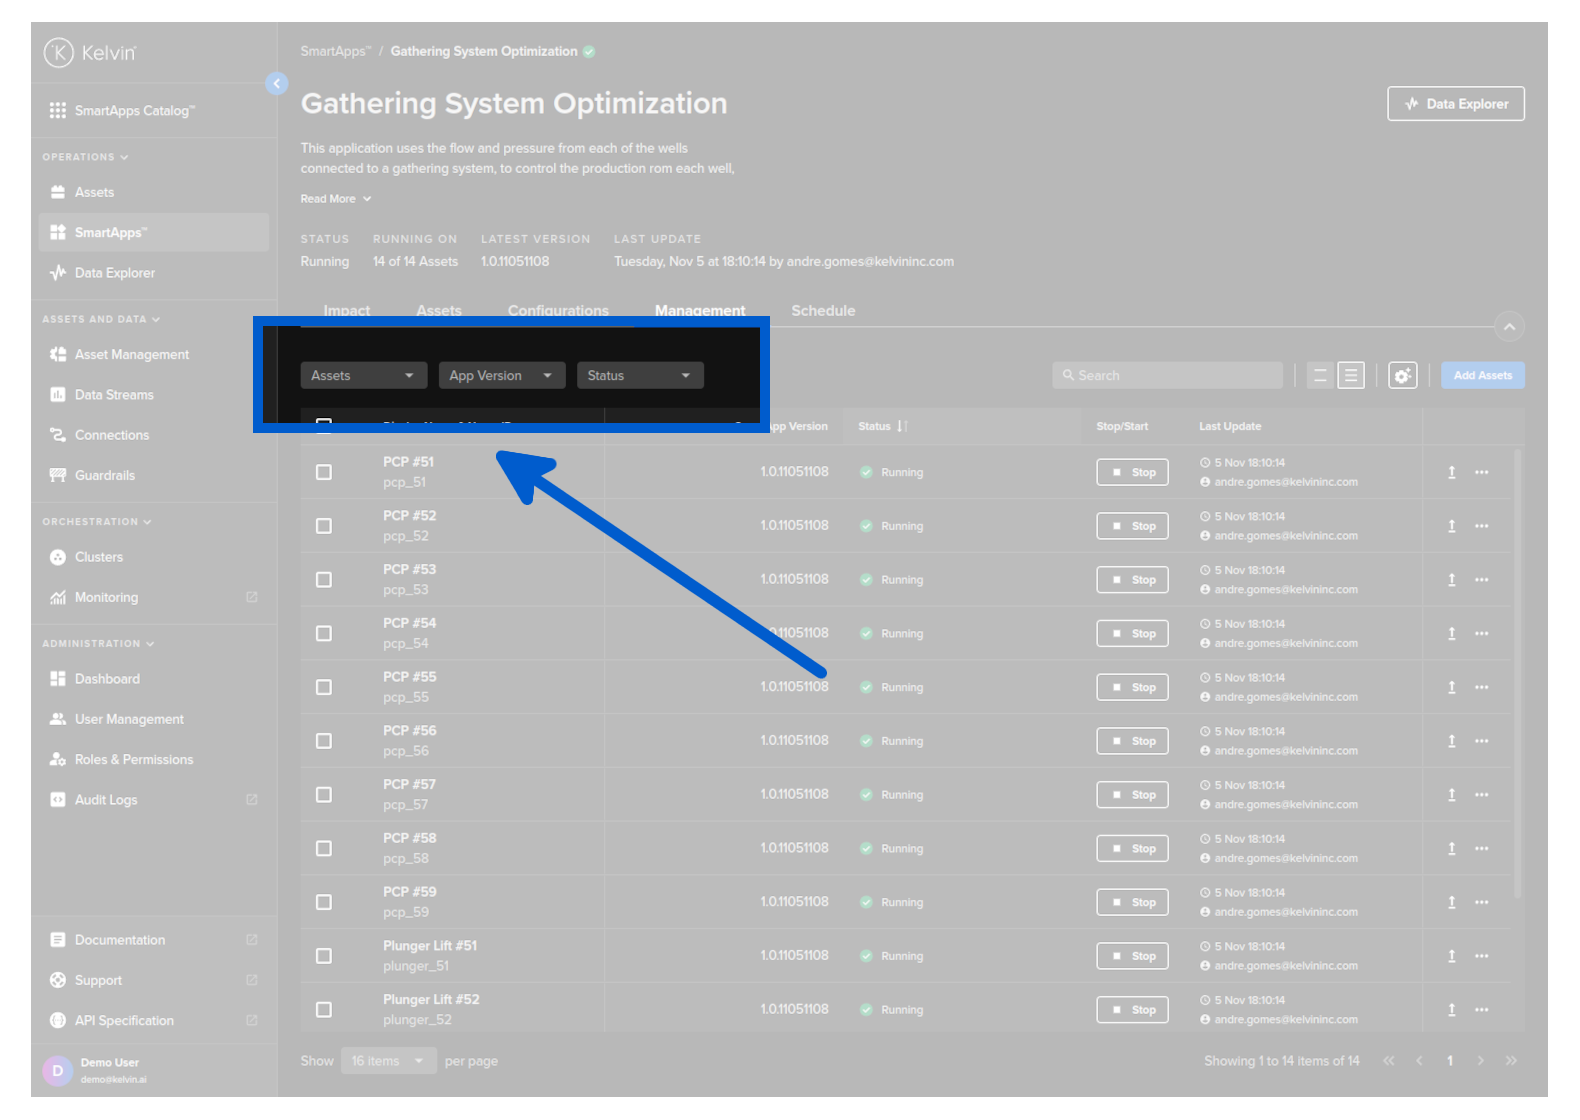
You have three quick filters; Assets, App Version and Status.
All filters are persistent, so if you got to other pages or log out the filters will still be implemented when you return.
You can choose the height of the row to fit as many rows as possible on the screen, or space them out for easier readability.
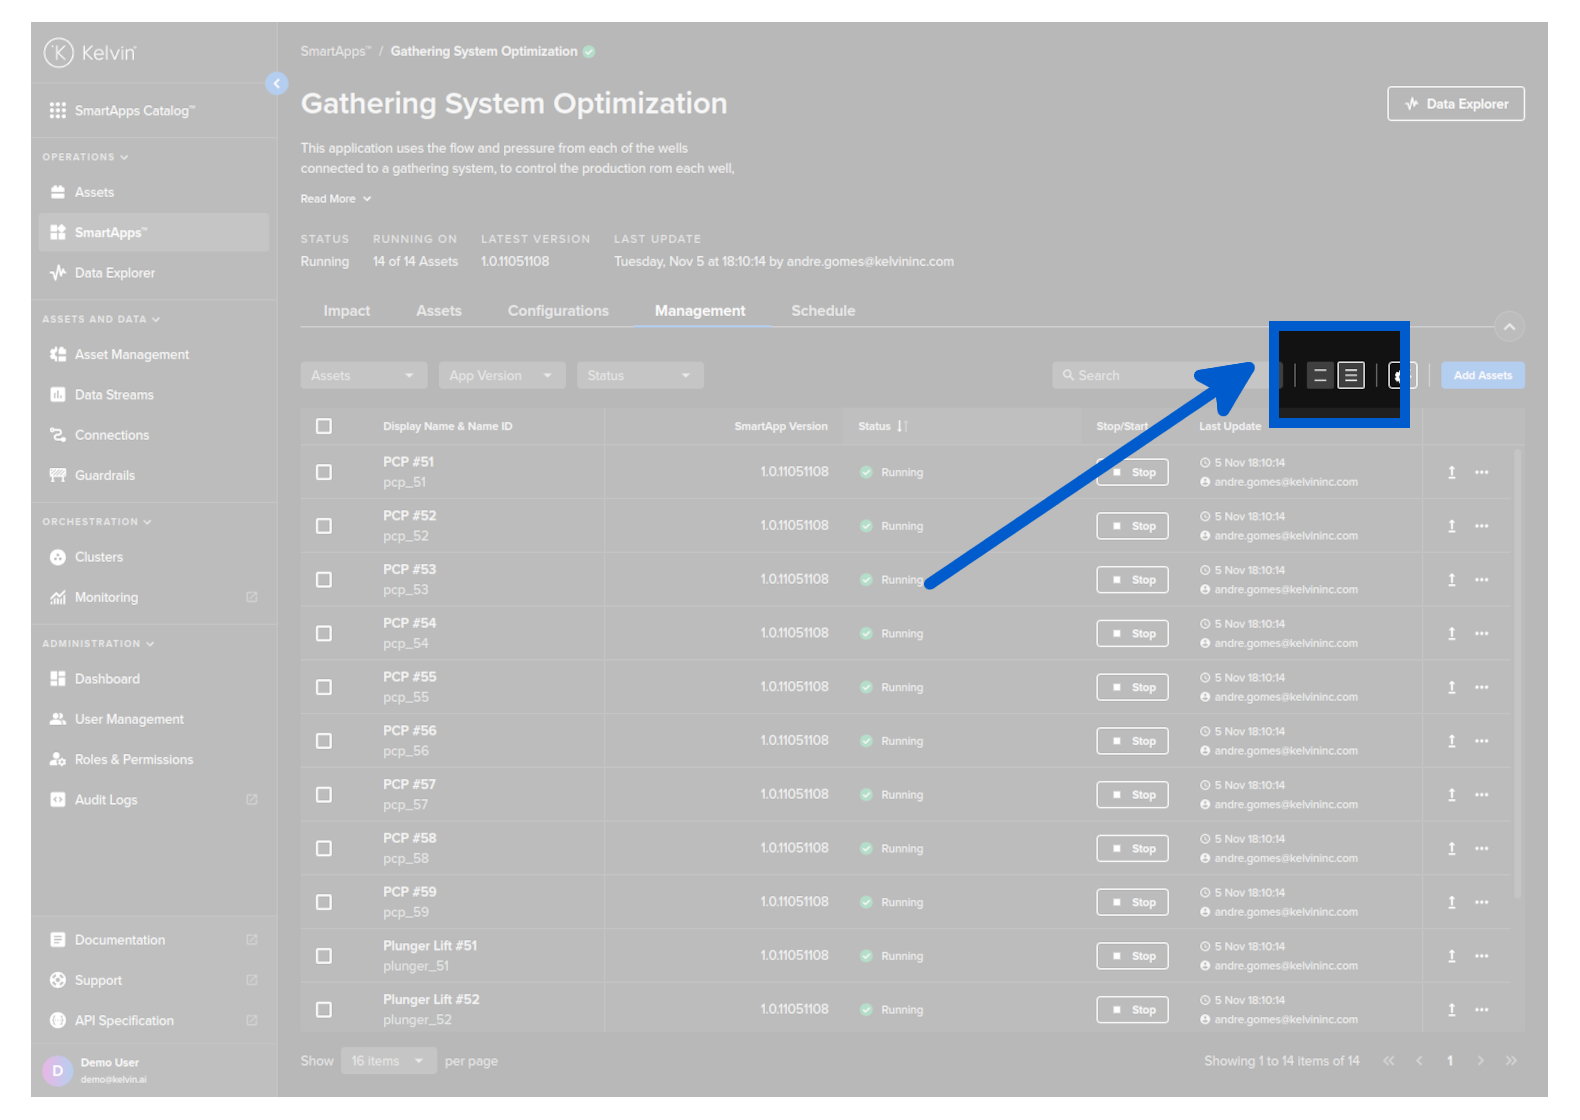
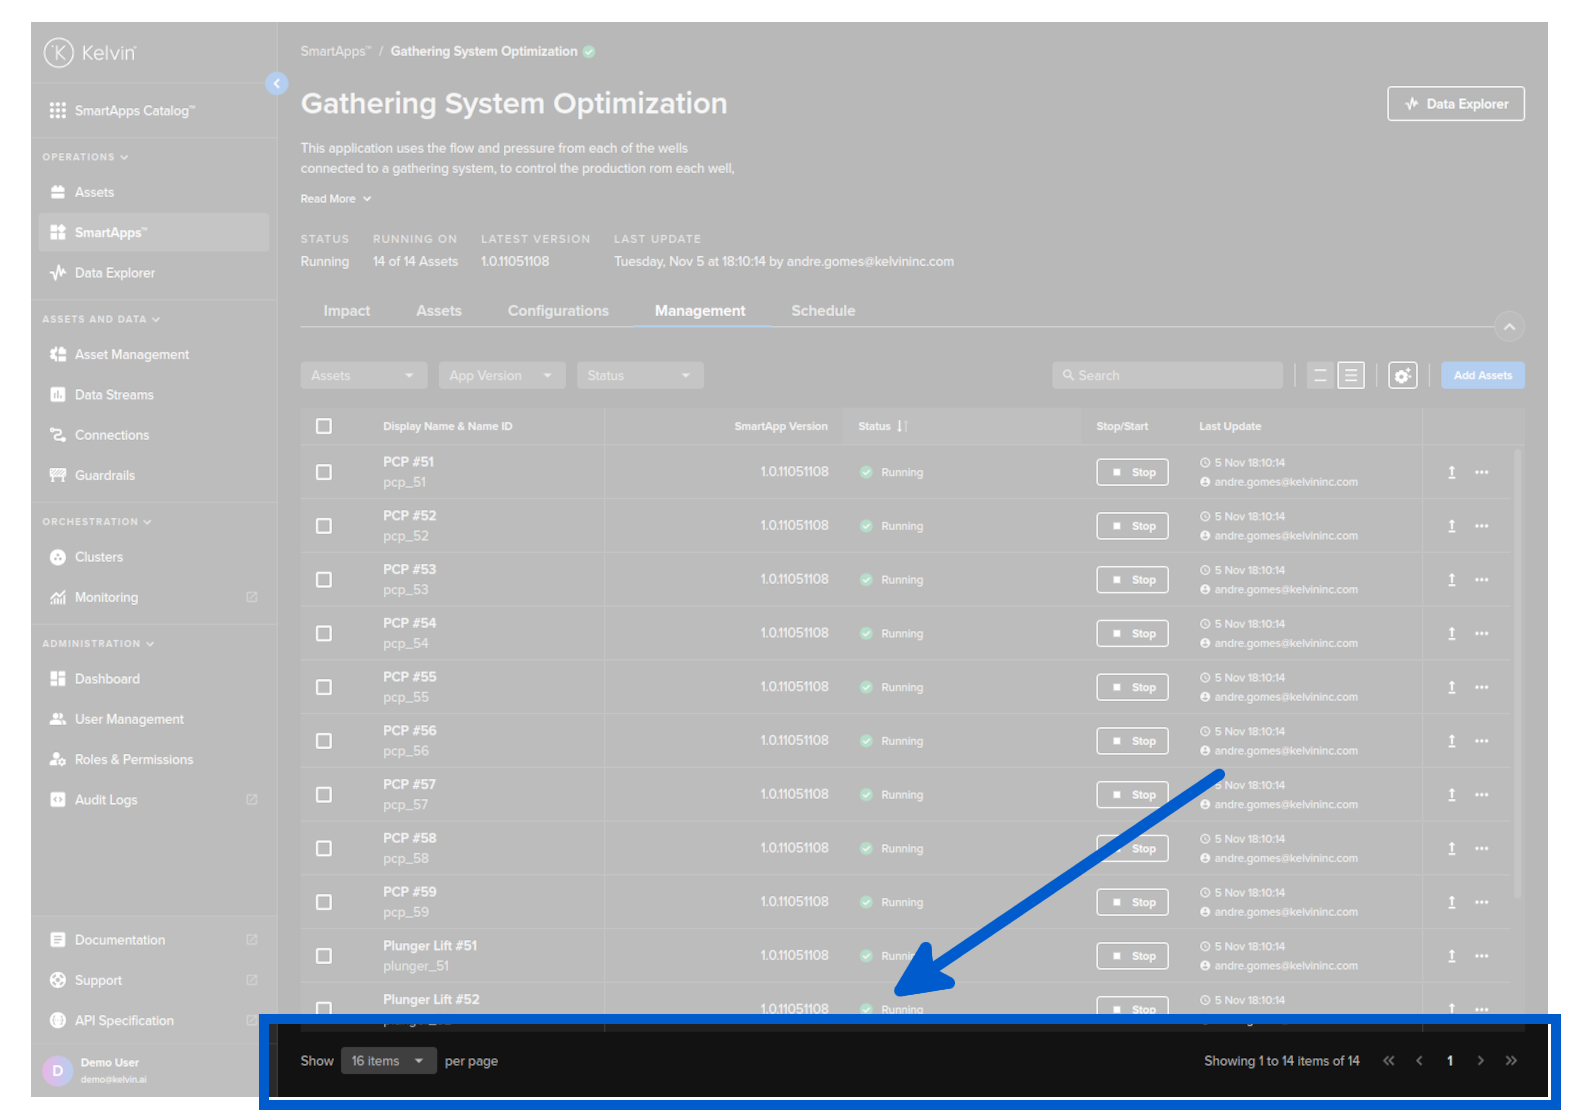
You can also control your page management to be able to maximize the number of Assets you see on the screen or zoom in with larger spacing for small screens.
You can select how many Assets are shown per page or flip between pages;
You can also manage the table and column configurations;
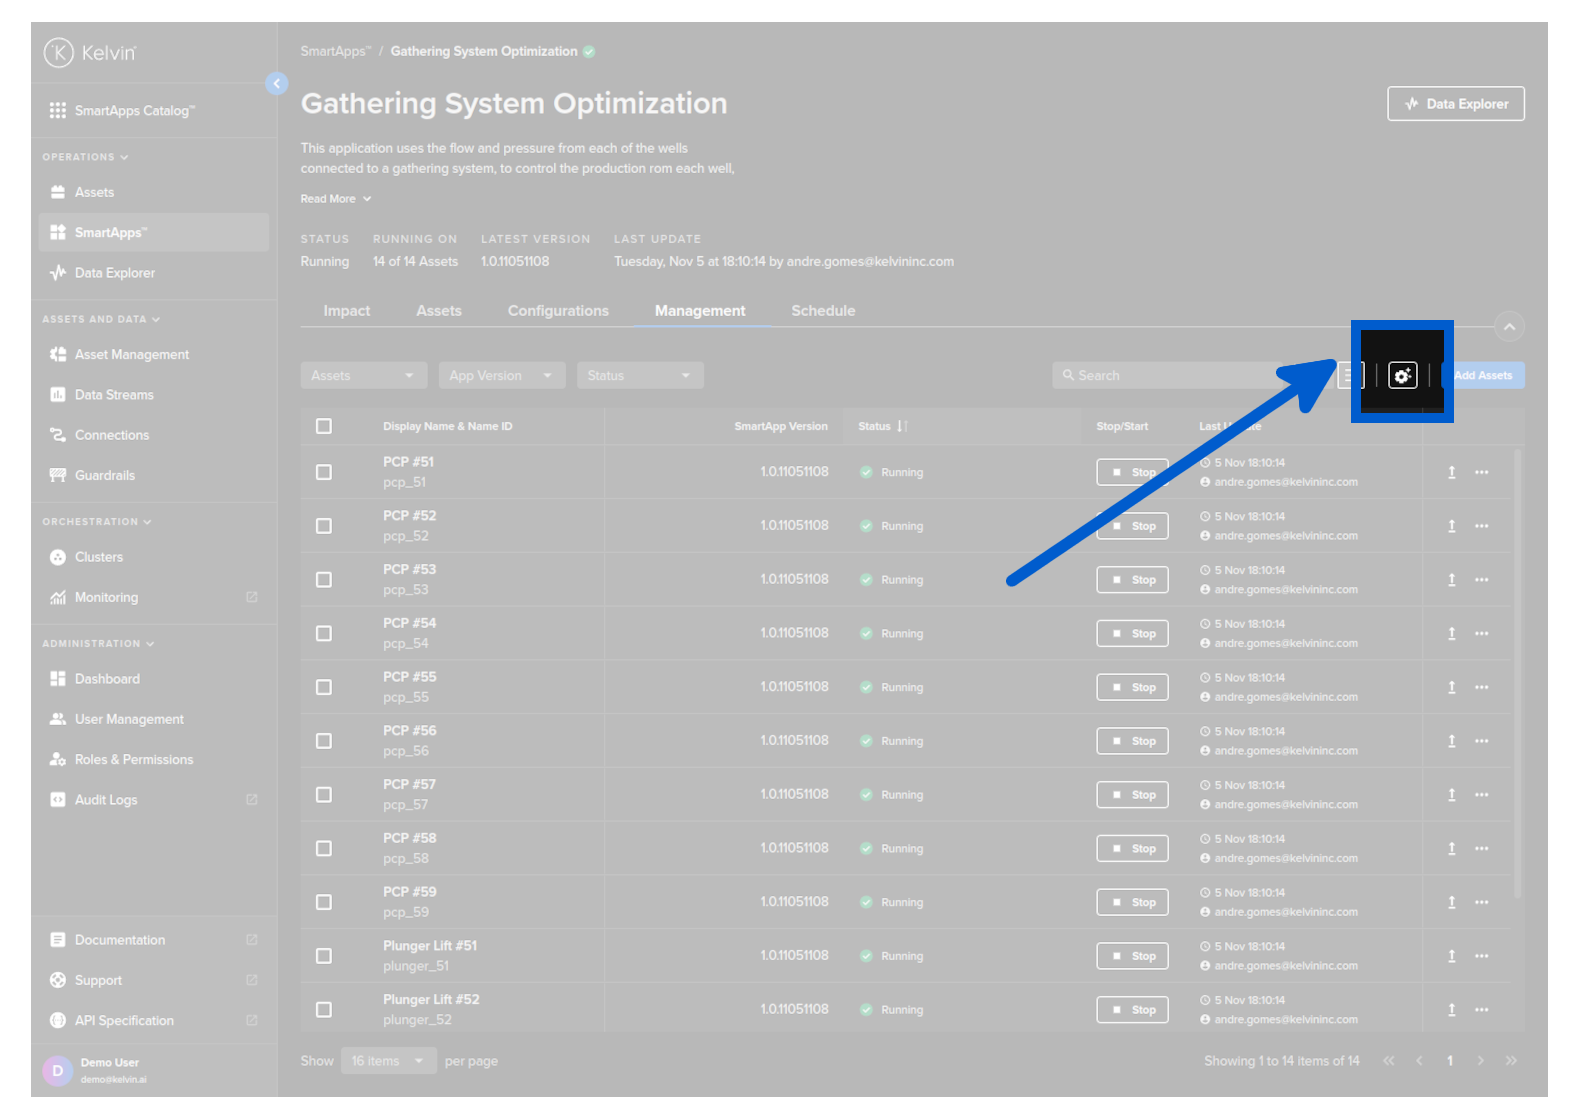
And you will see a full range of options to customize the table and columns to your requirements.
There are times when you want to start your column customization again. To do this click on the Reset button to return all column settings back to the factory default setup.
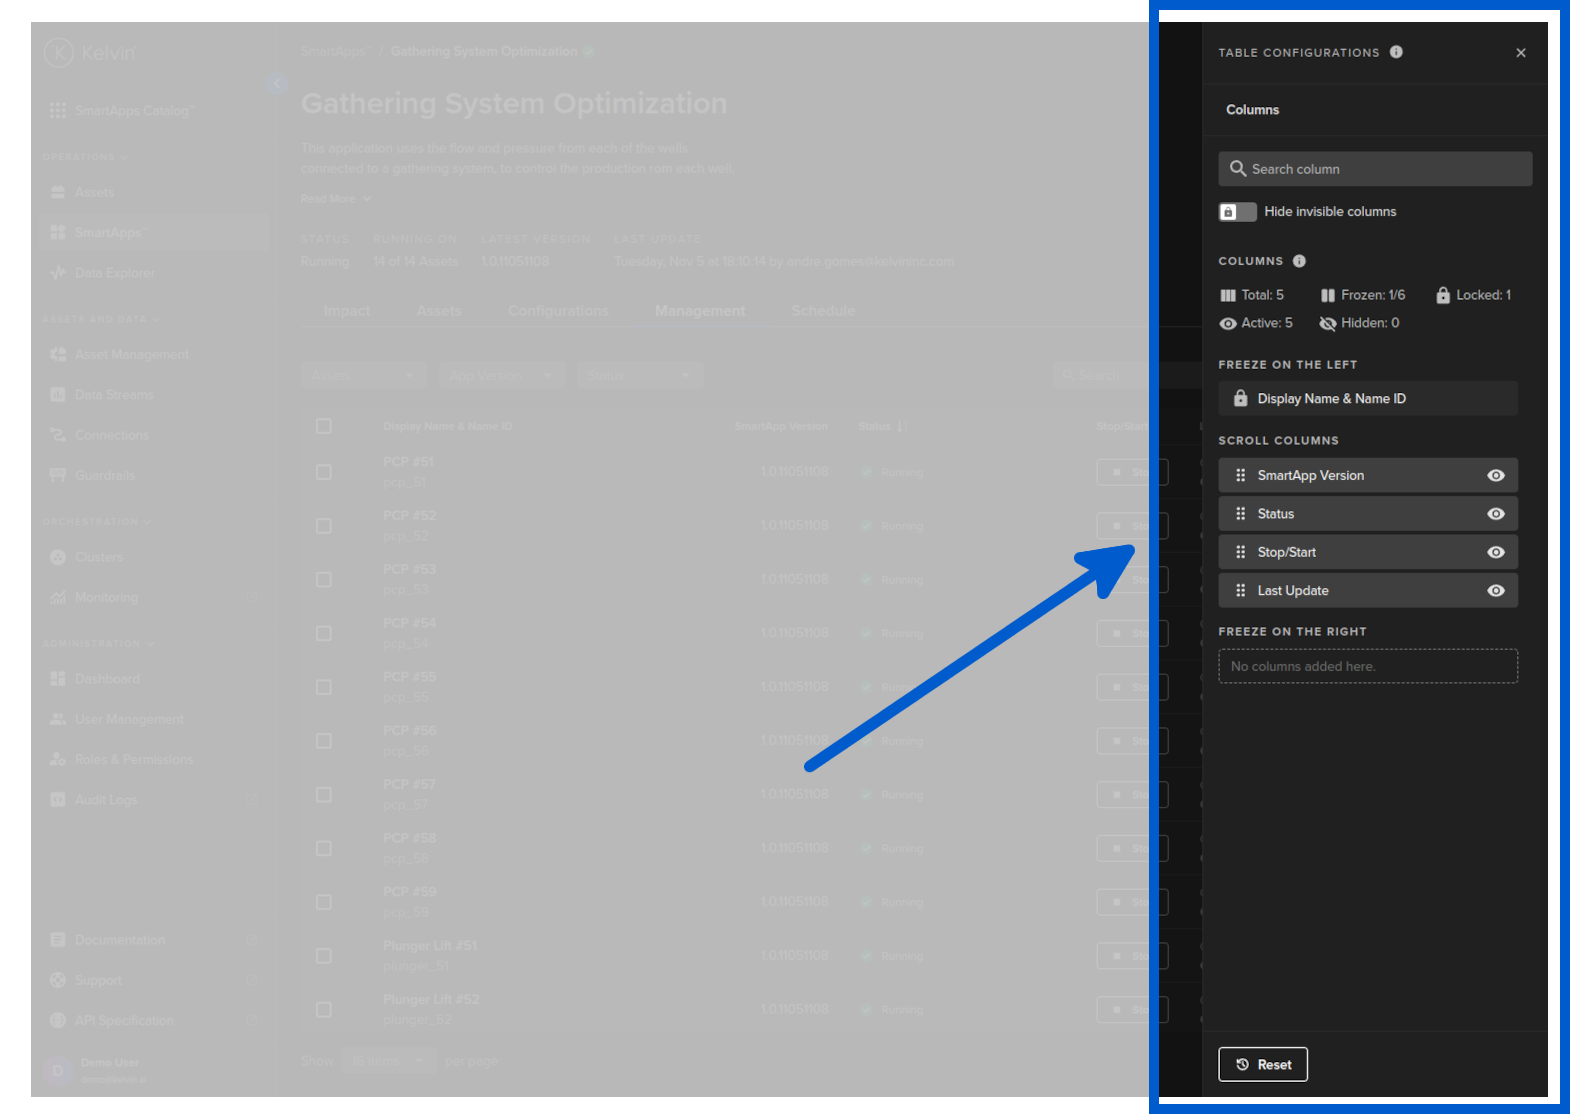
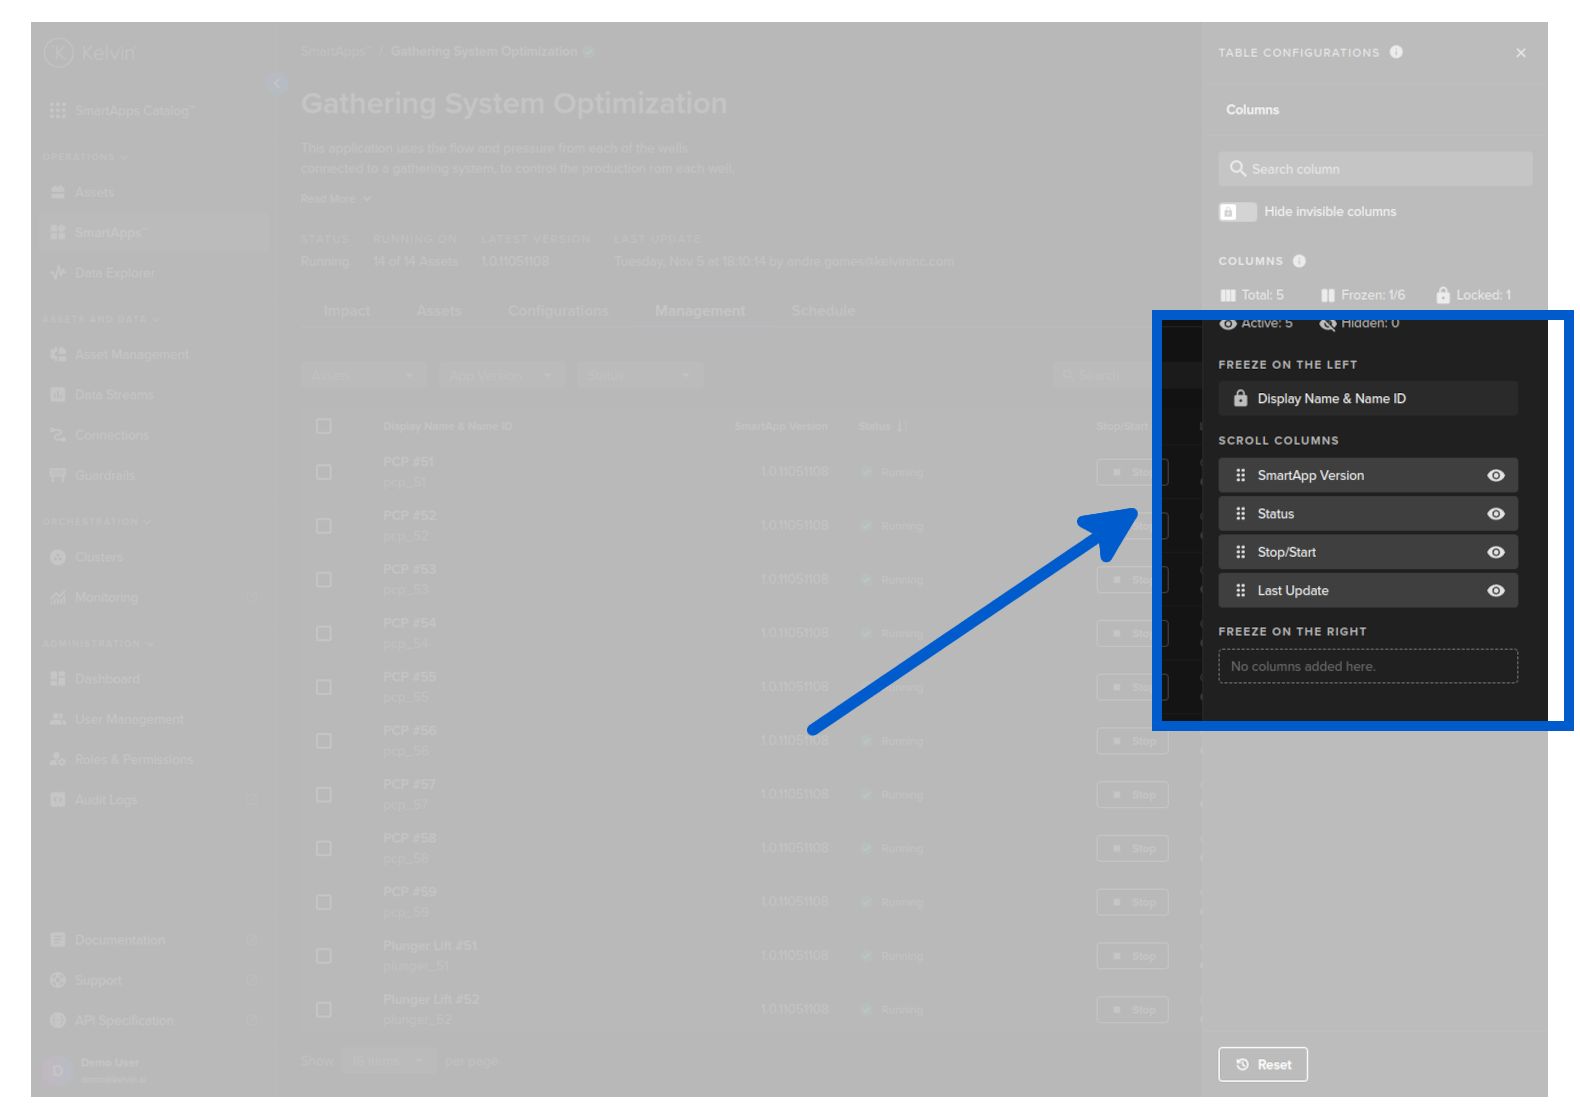
There are a number of options available to customize the asset-centric table.
When you are inside the column settings you can freeze columns left and right. This ensures the columns will always show, even when you scroll left or right to see all the columns.
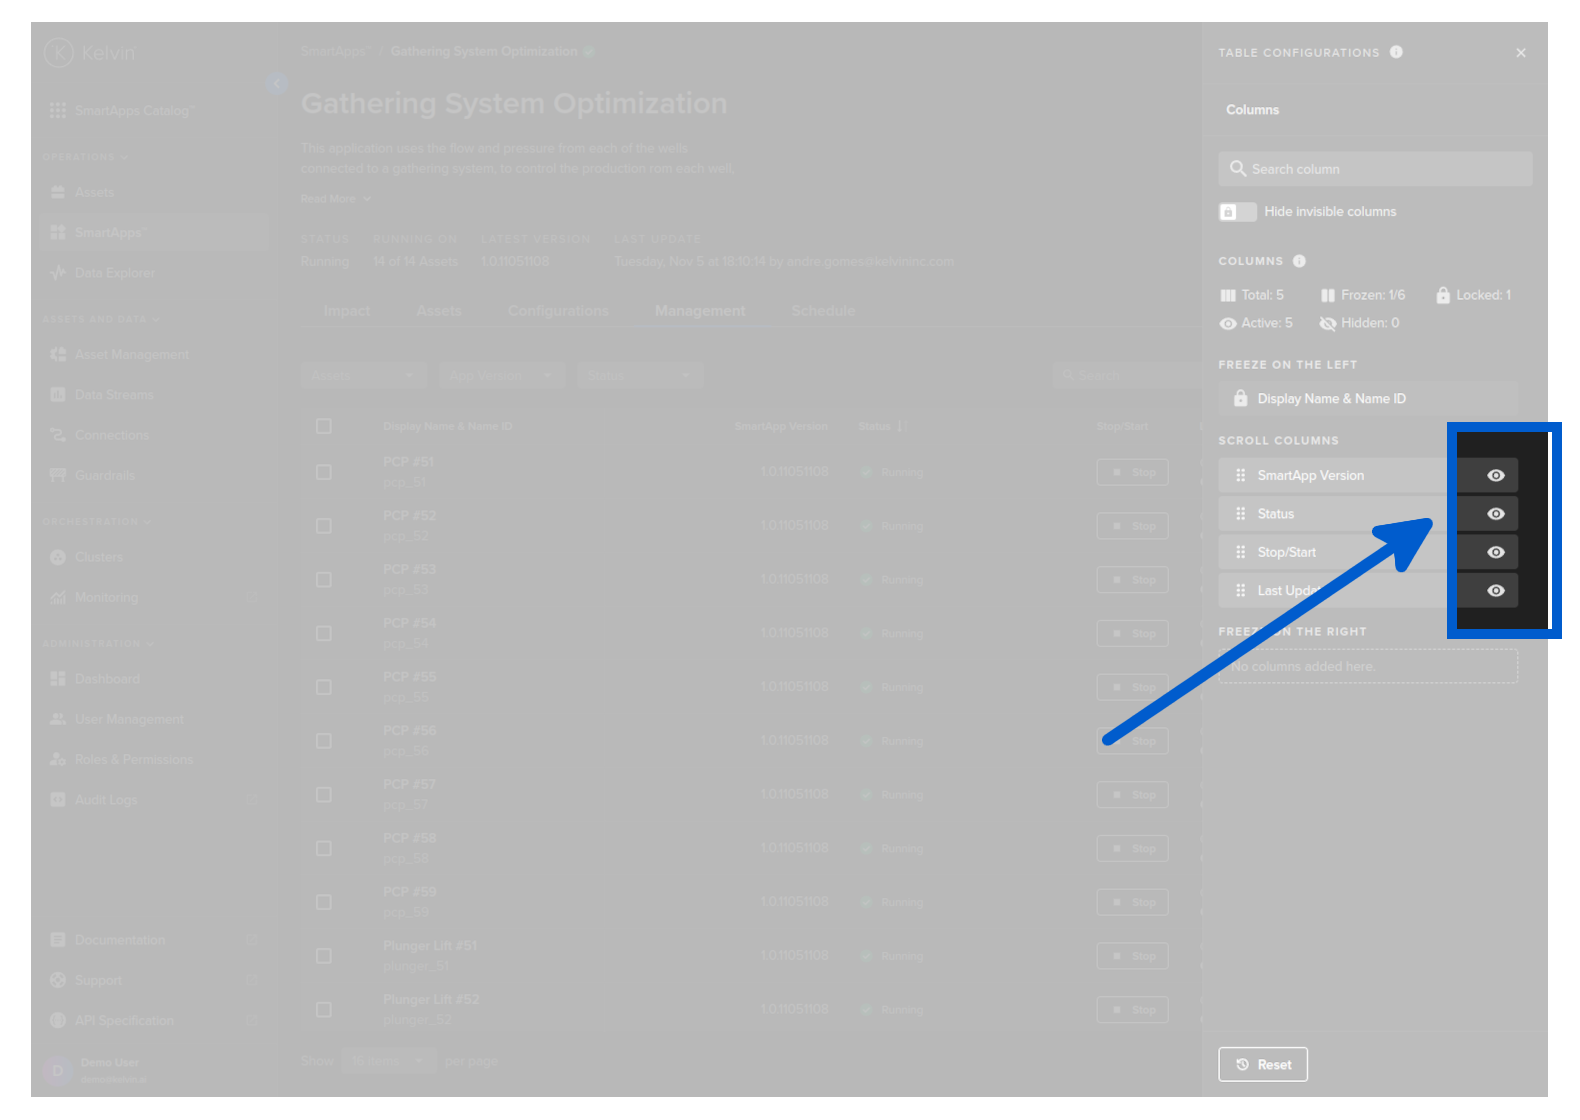
When you are inside the column settings you can show or hide columns to ensure you only see what you need to see.
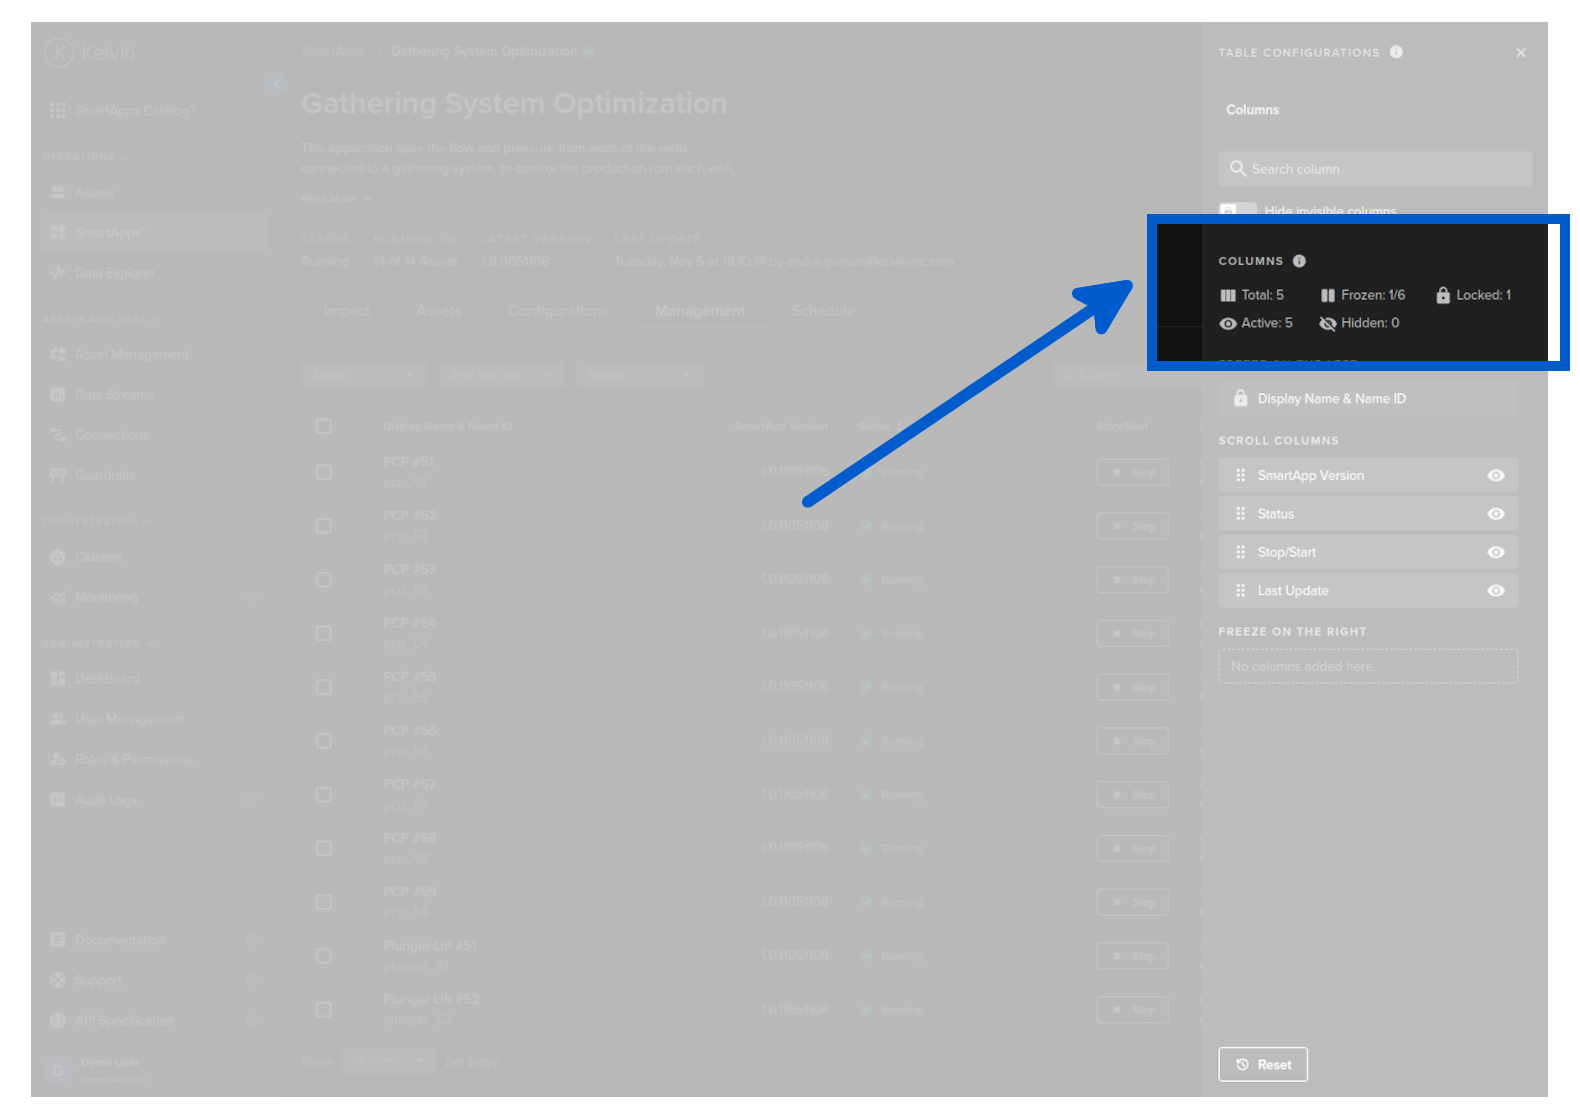
When you are inside the column settings you can see an overview of the columns available and showing.
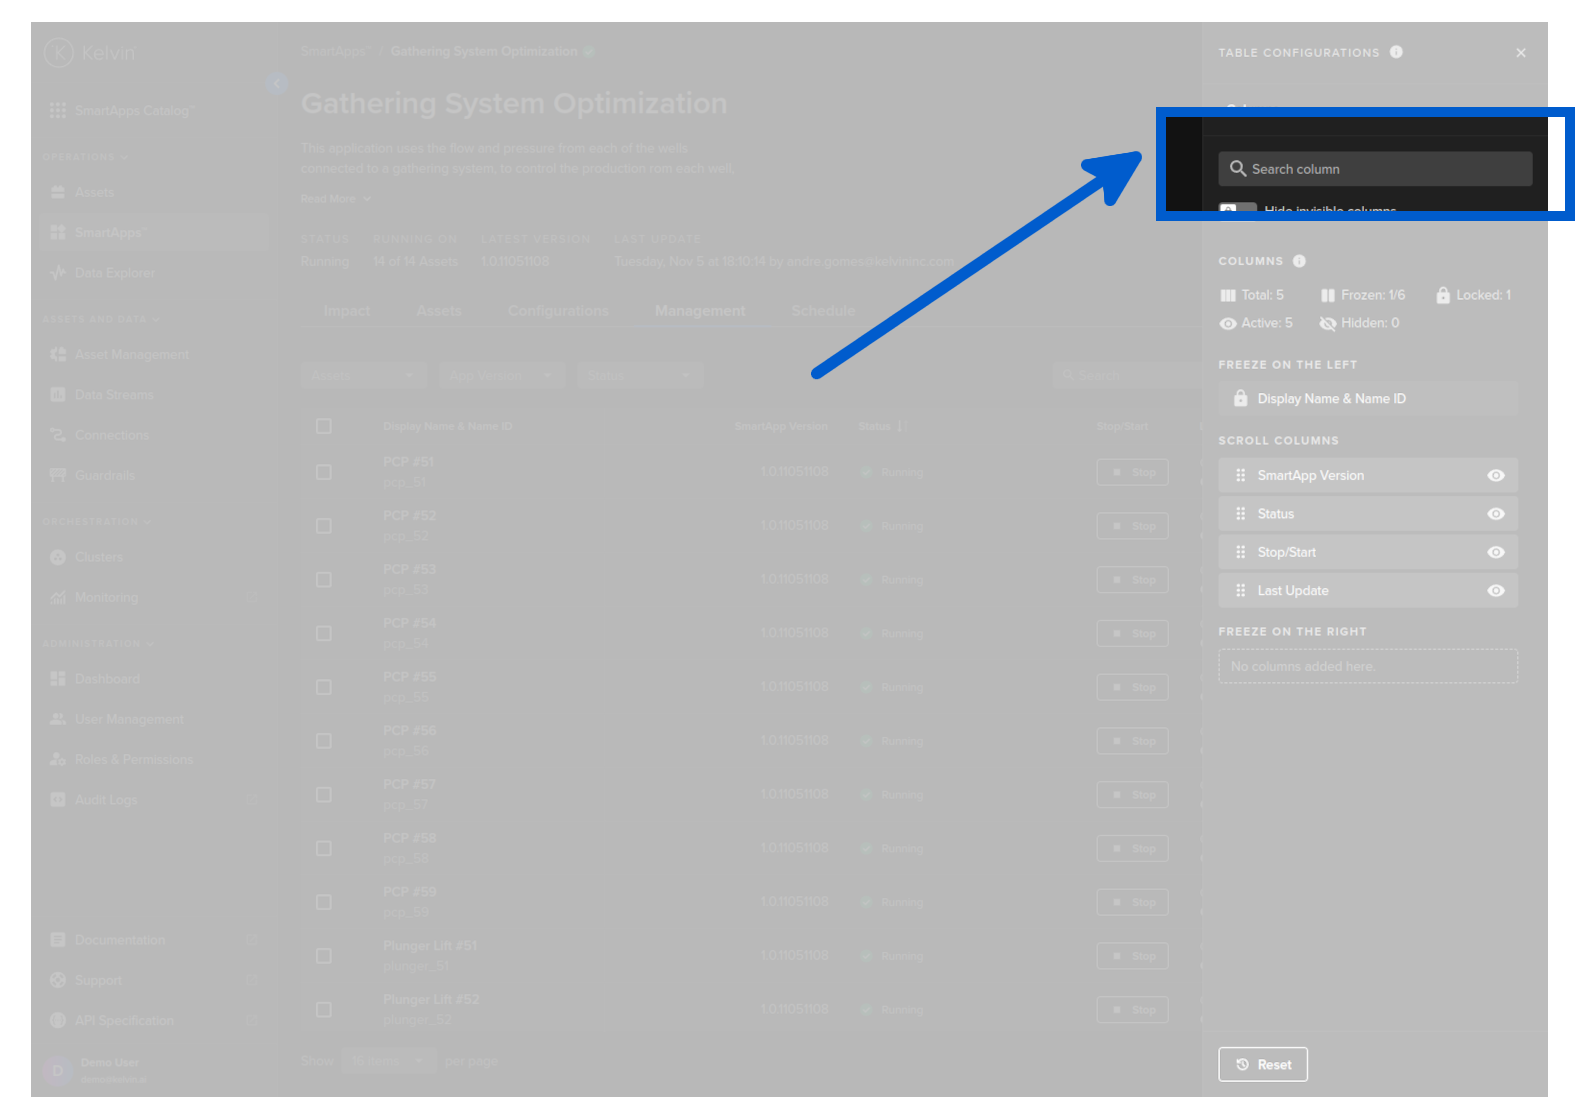
When you are inside the column settings with a large number of columns, this feature is useful to find columns and to hide the hidden columns from the list to make it easier to see what is relevant.
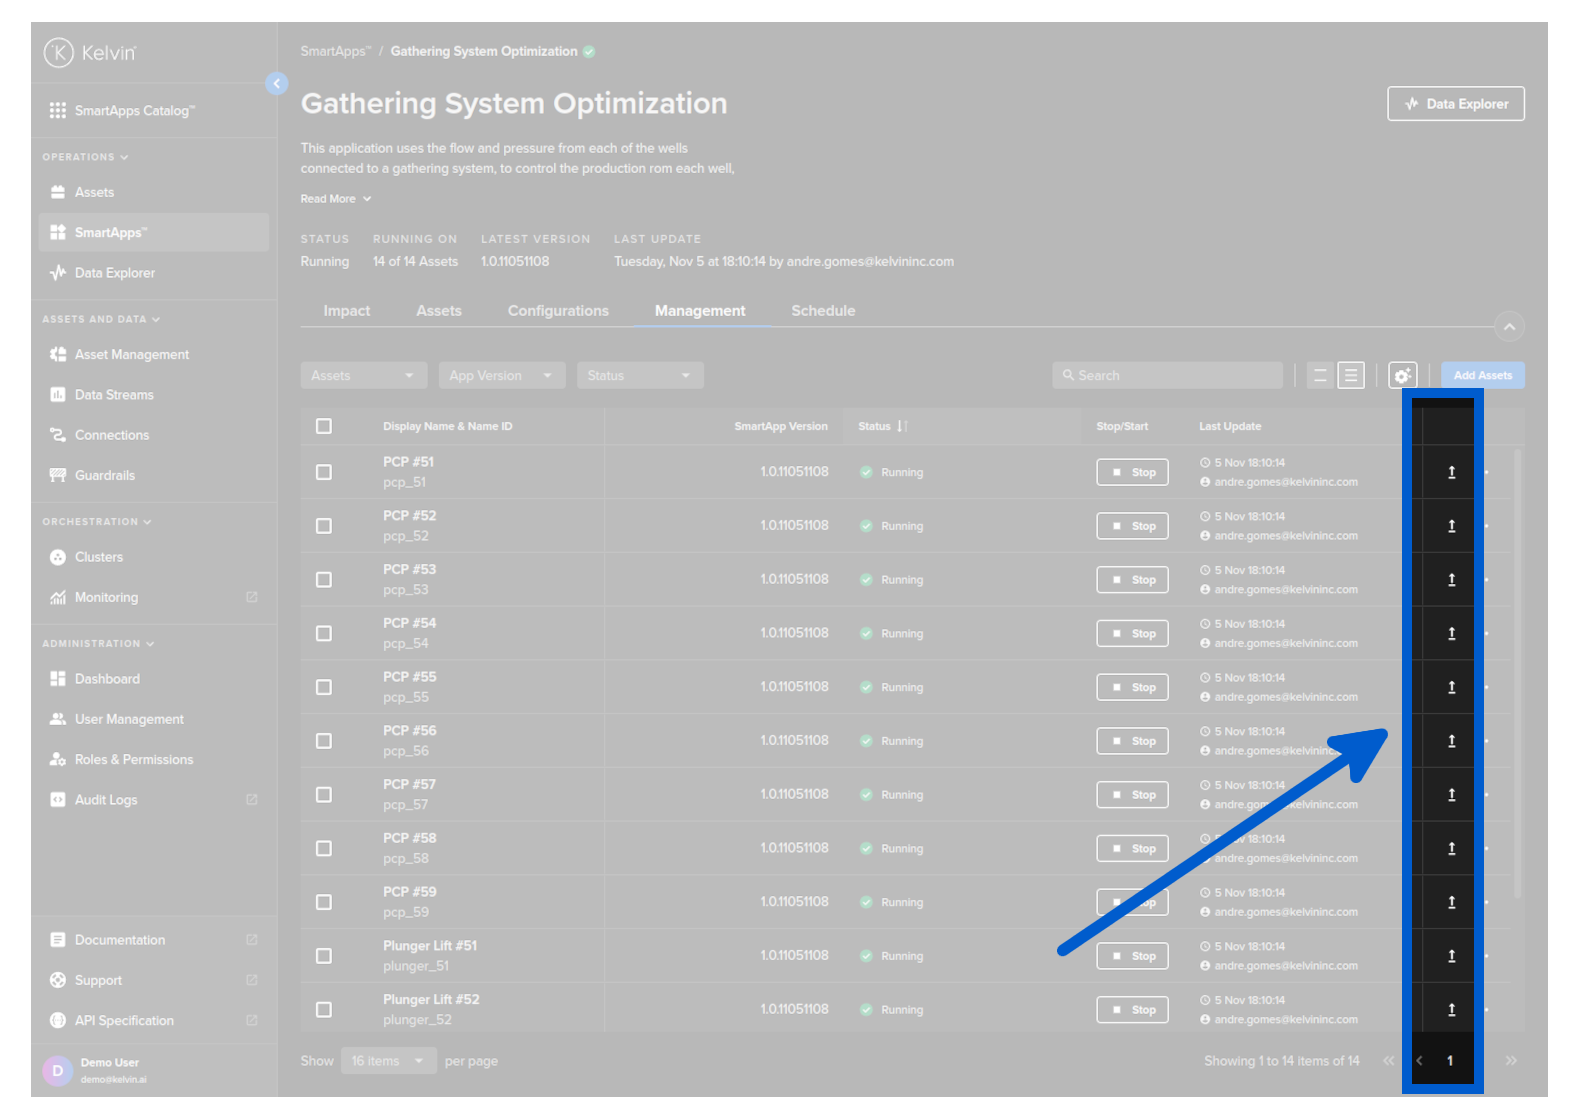
Upgrade Kelvin SmartApps™ for an Asset
You can upgrade one or more Assets to a new Kelvin SmartApps™ version.
To start, go to SmartApps™ dashboard page and select the Kelvin SmartApp™ that is processing your Asset's data.
Click on the Management tab, and you can see a list of Assets and the configuration options for teh Kelvin SmartApp™.
To upgrade an individual Asset to a new version of the Kelvin SmartApp™, click on the upgrade button on the same row as the Asset.
When you click upgrade, you will go through the same four steps like when Adding a new Asset where you will configure the new Kelvin SmartApp™ inputs and outputs. You can find out more about the steps in the Add Asset to Kelvin SmartApps™ page.
Select one or more Assets you want to upgrade and a new button Upgrade Version will appear at the top of the Asset table.
When you click upgrade, you will go through the same four steps like when Adding a new Asset where you will configure the new Kelvin SmartApp™ inputs and outputs. You can find out more about the steps in the Add Asset to Kelvin SmartApps™ page.