Installing Kelvin SDK on macOS
Prerequisites
Getting started is straightforward. Ensure you have the following tools installed:
- Docker: Always use the latest version, or at least version 24.0.7 or later. Installation instructions can be found here: Docker Installation Guide.
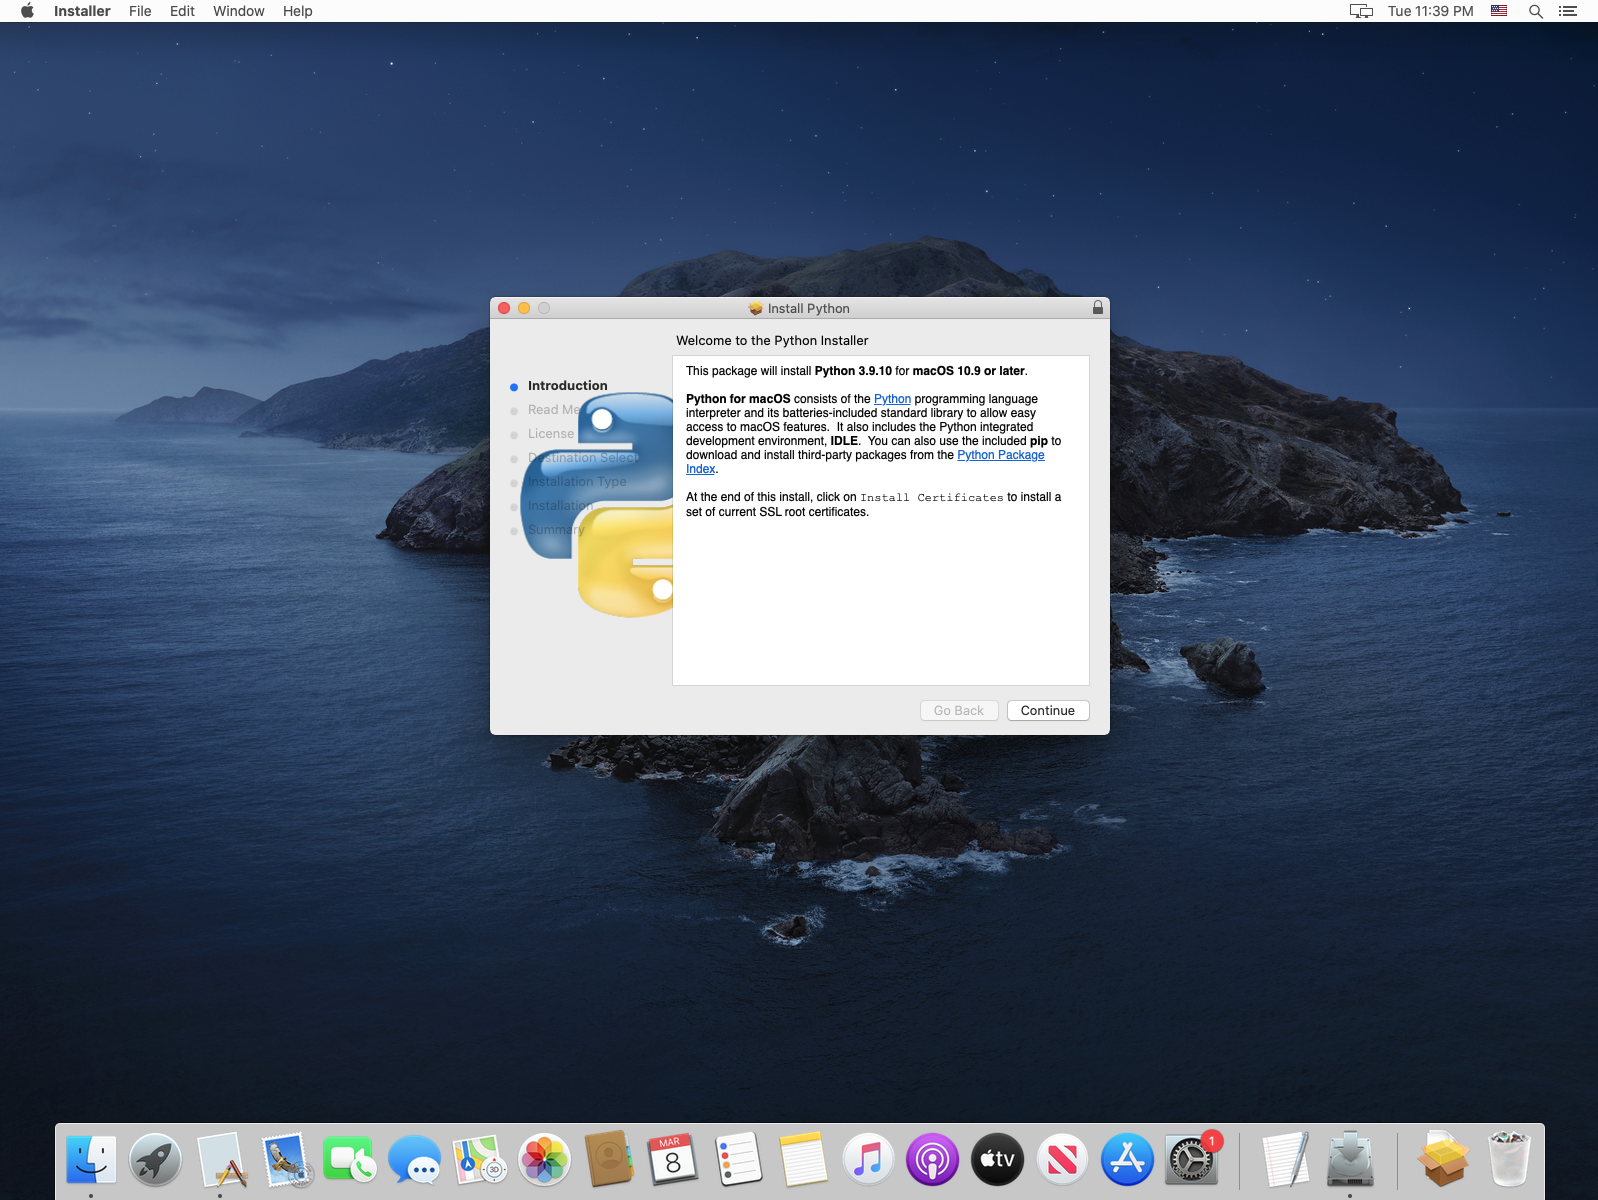
- Python 3: Supported versions range from 3.8 to 3.12. Download it here: Python Downloads for macOS.
Installation Steps
Docker Installation
-
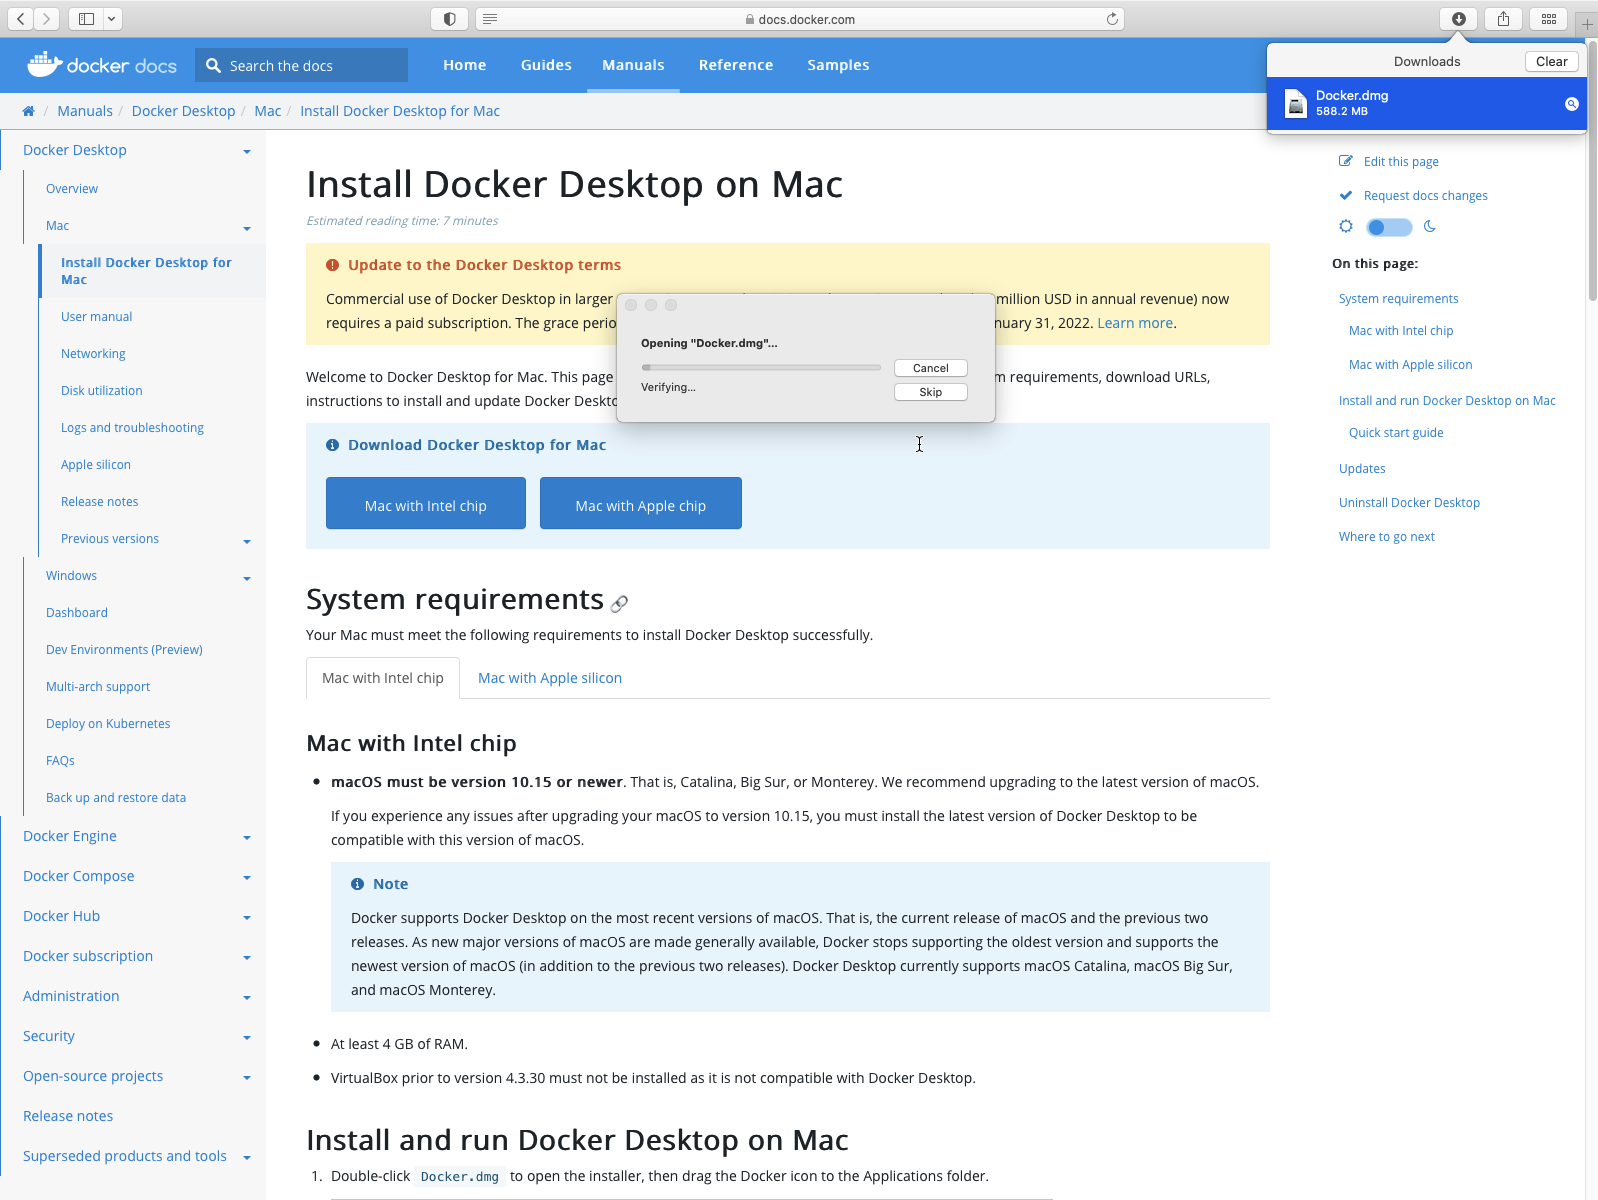
Visit the Docker download page and download the latest Docker Desktop installation file suitable for your processor type. Safari may prompt you to allow the download.

-
After the download completes, run the installer. macOS will verify the file before the installation begins.
-
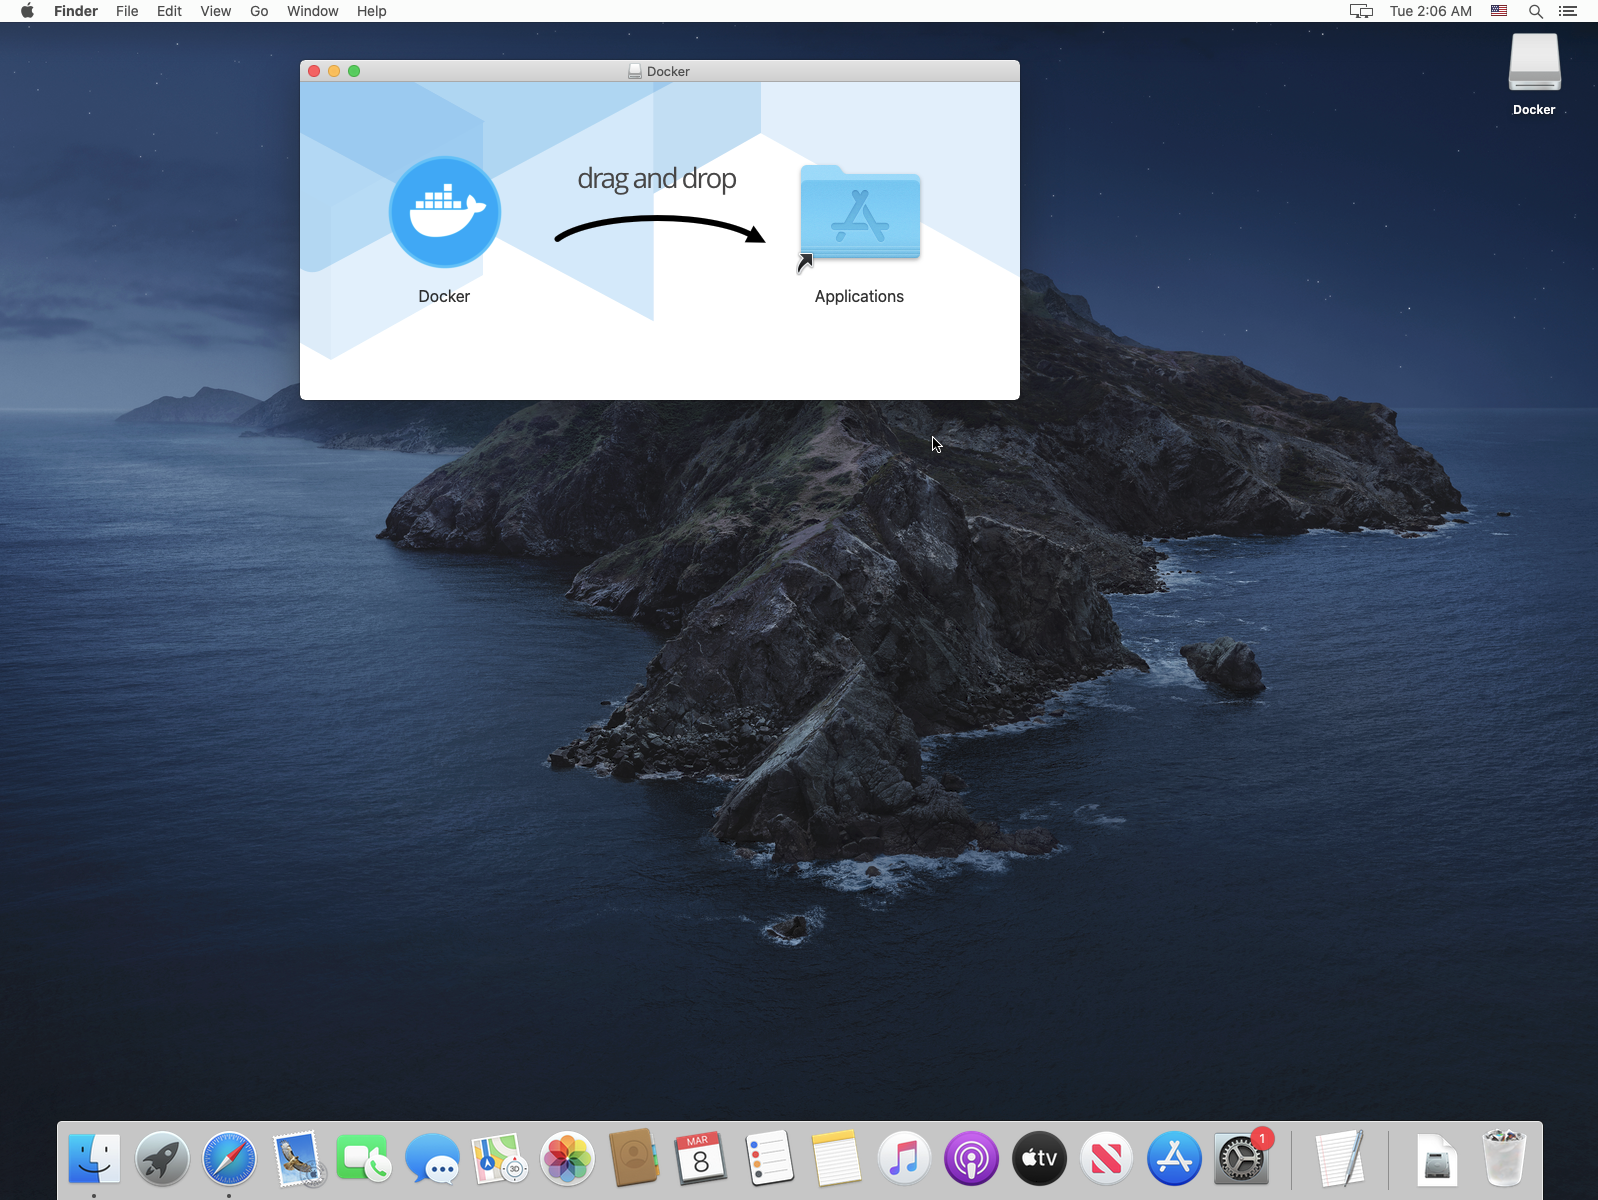
Once the installation is complete, drag and drop the Docker application into your Applications folder.
-
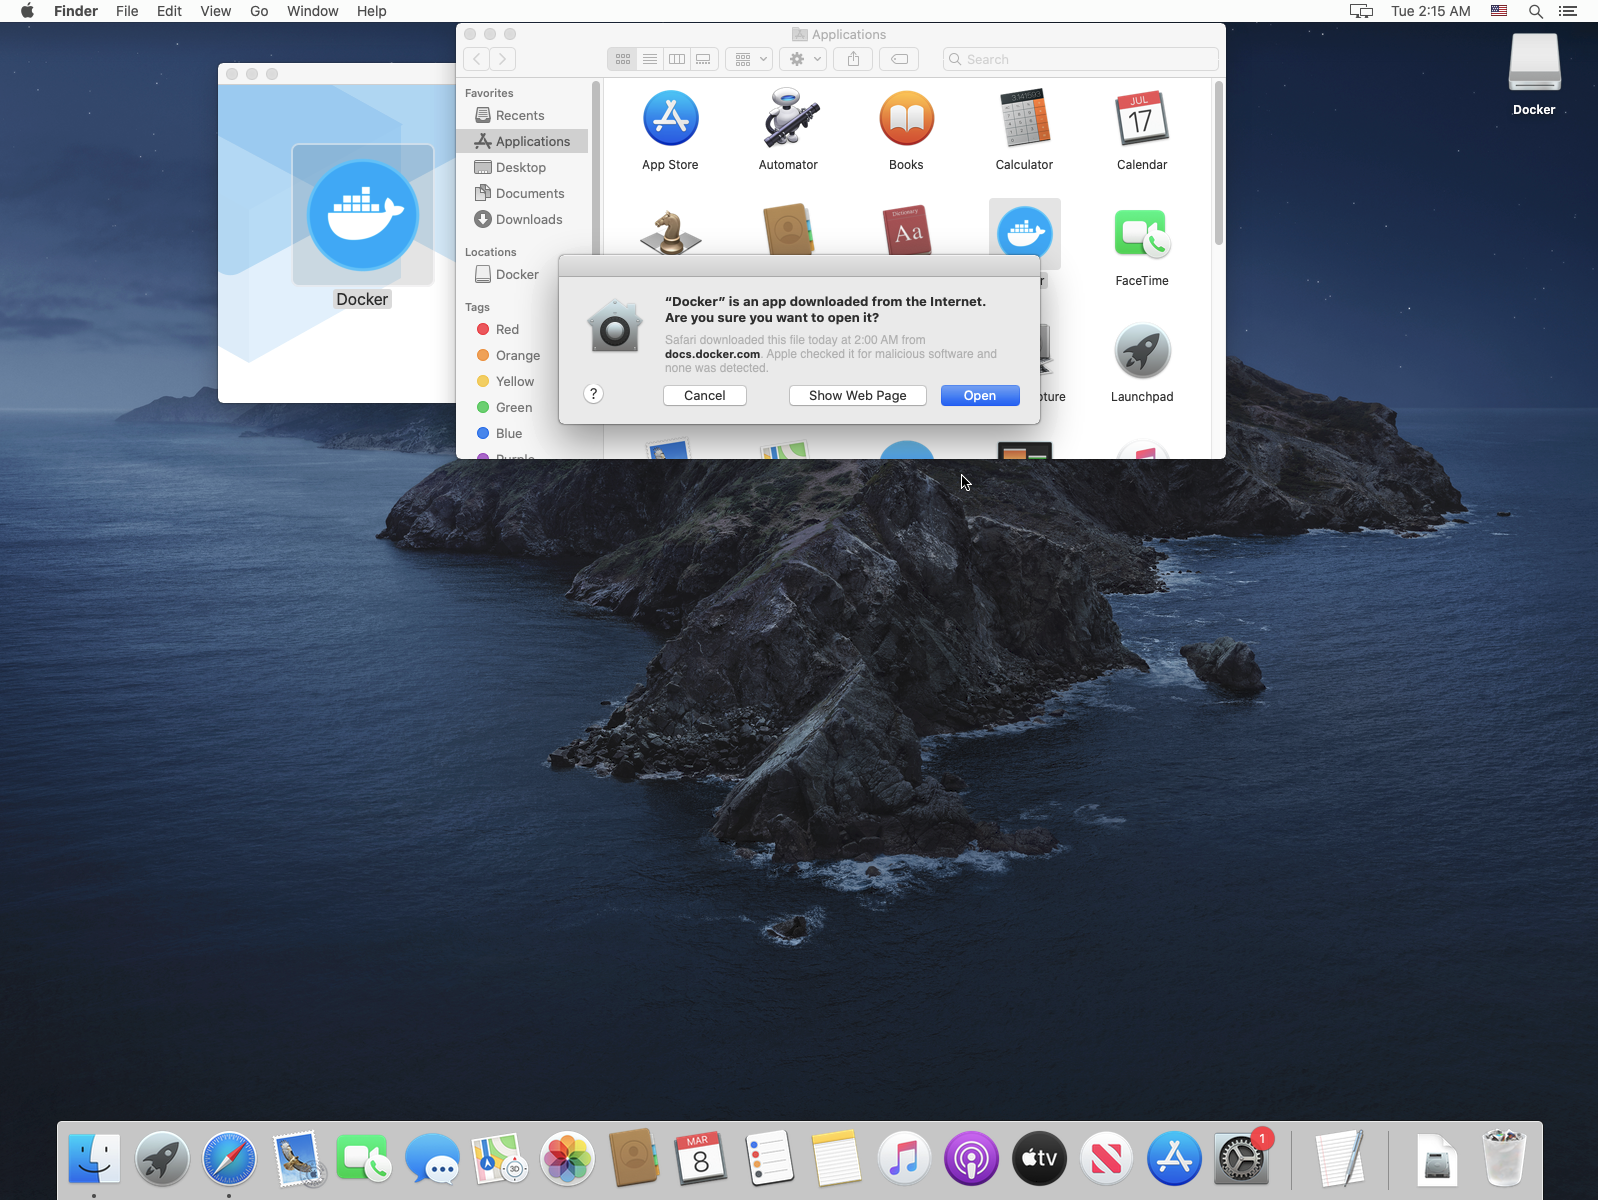
(Optional) You can open Docker Desktop. macOS may require you to confirm permission to run the application.
Python Installation
-
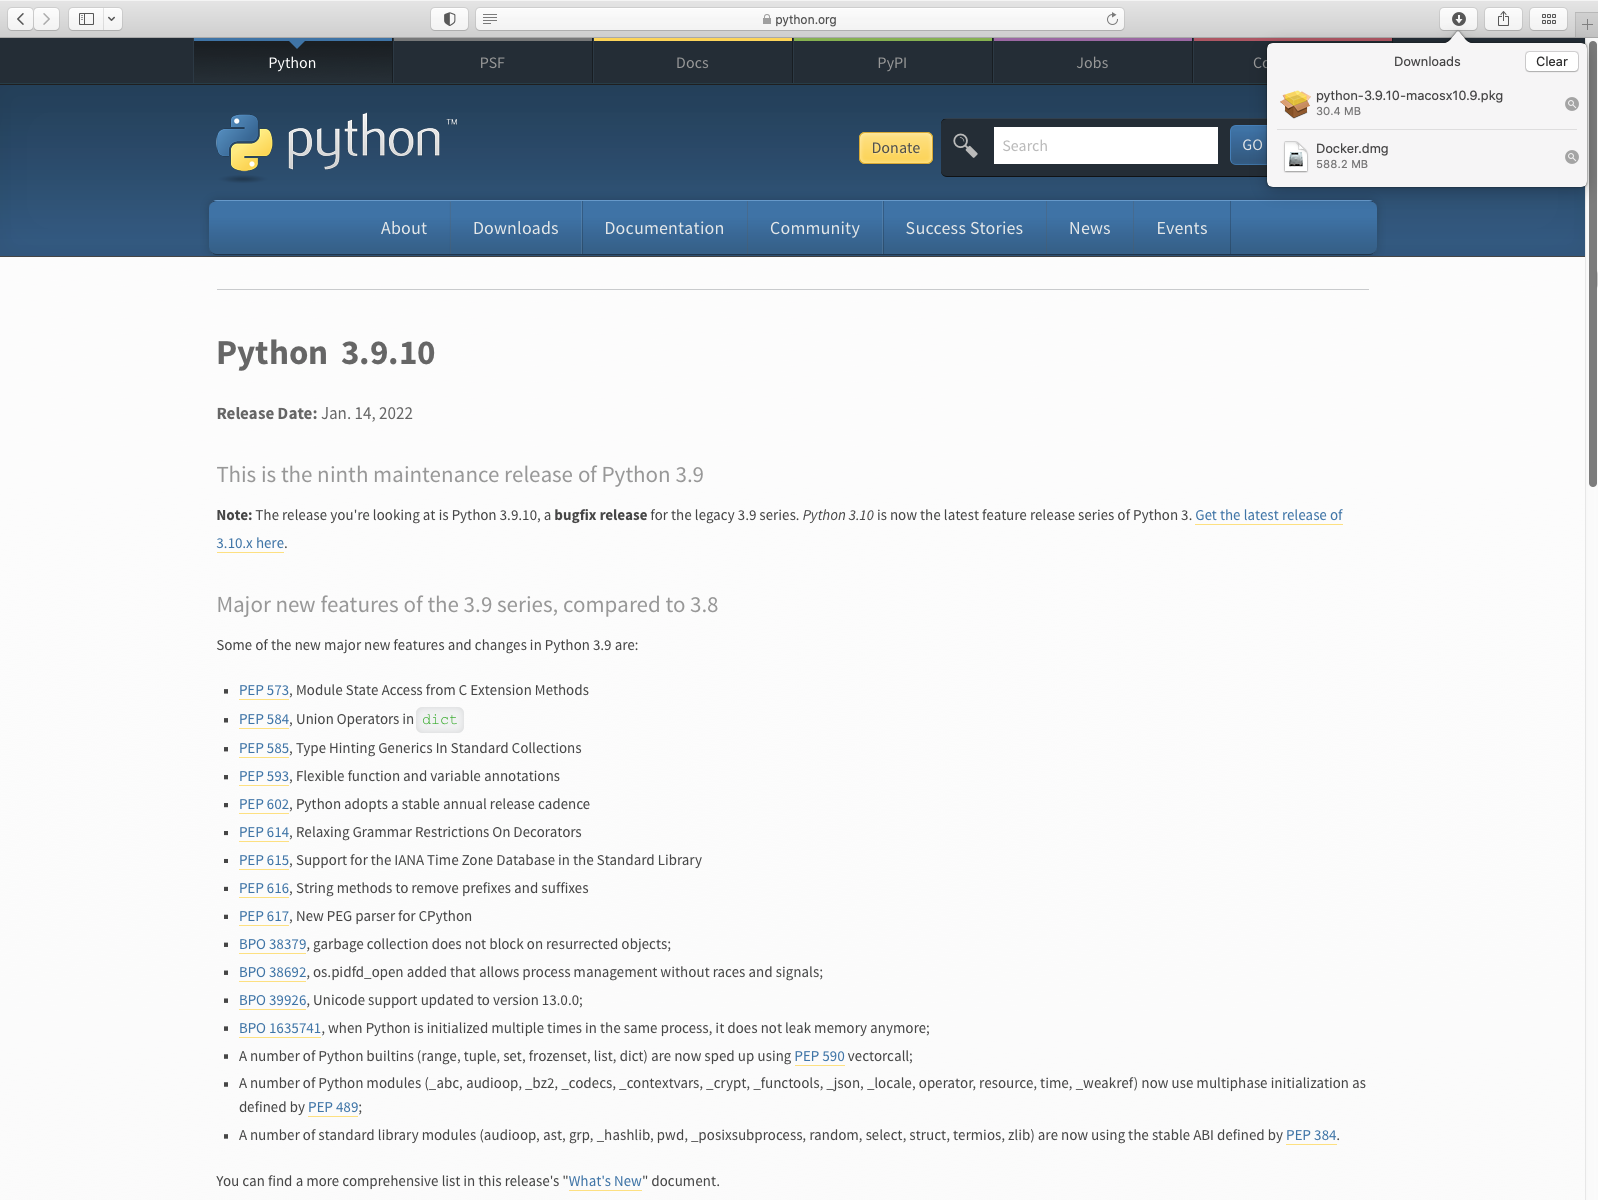
Go to the Python Downloads page for macOS and download the latest release of Python 3.
-
Run the installer and follow the prompts to install Python 3 with the default settings.
-
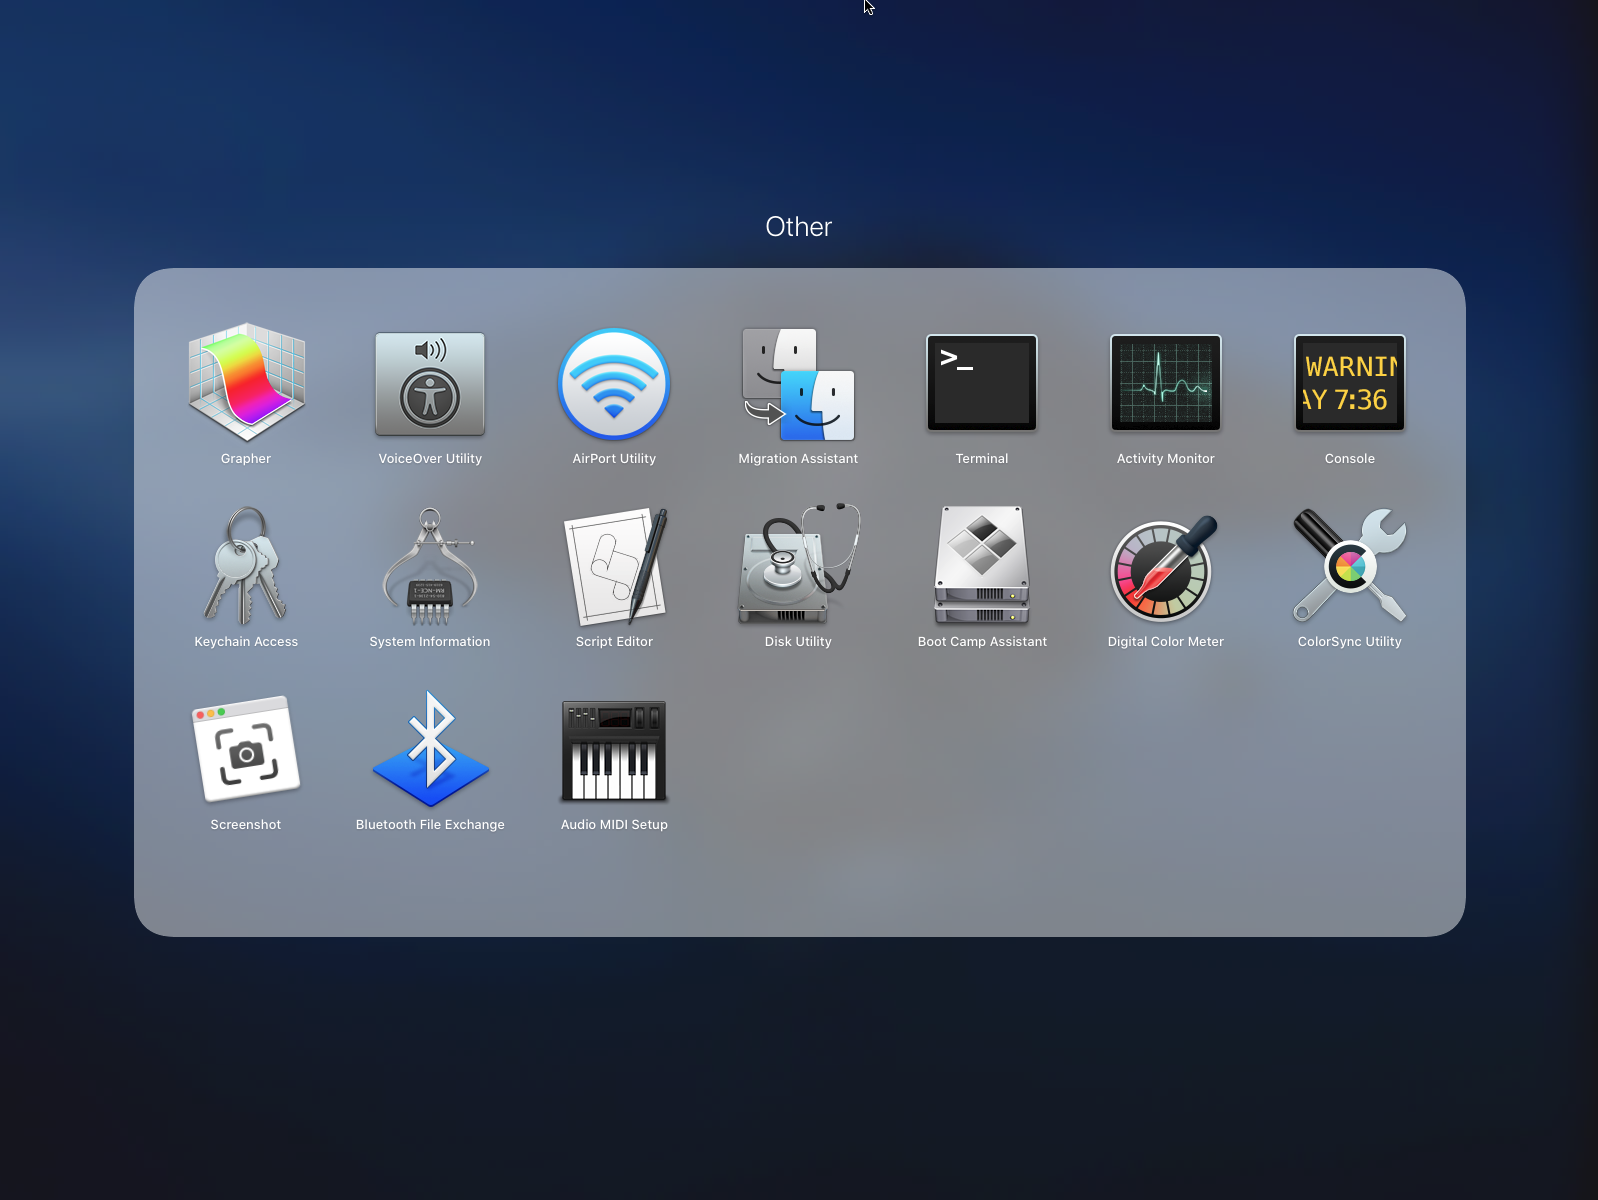
After installation, verify that Python 3 is installed correctly by opening a terminal window. You can find the terminal in Launchpad -> Other.
-
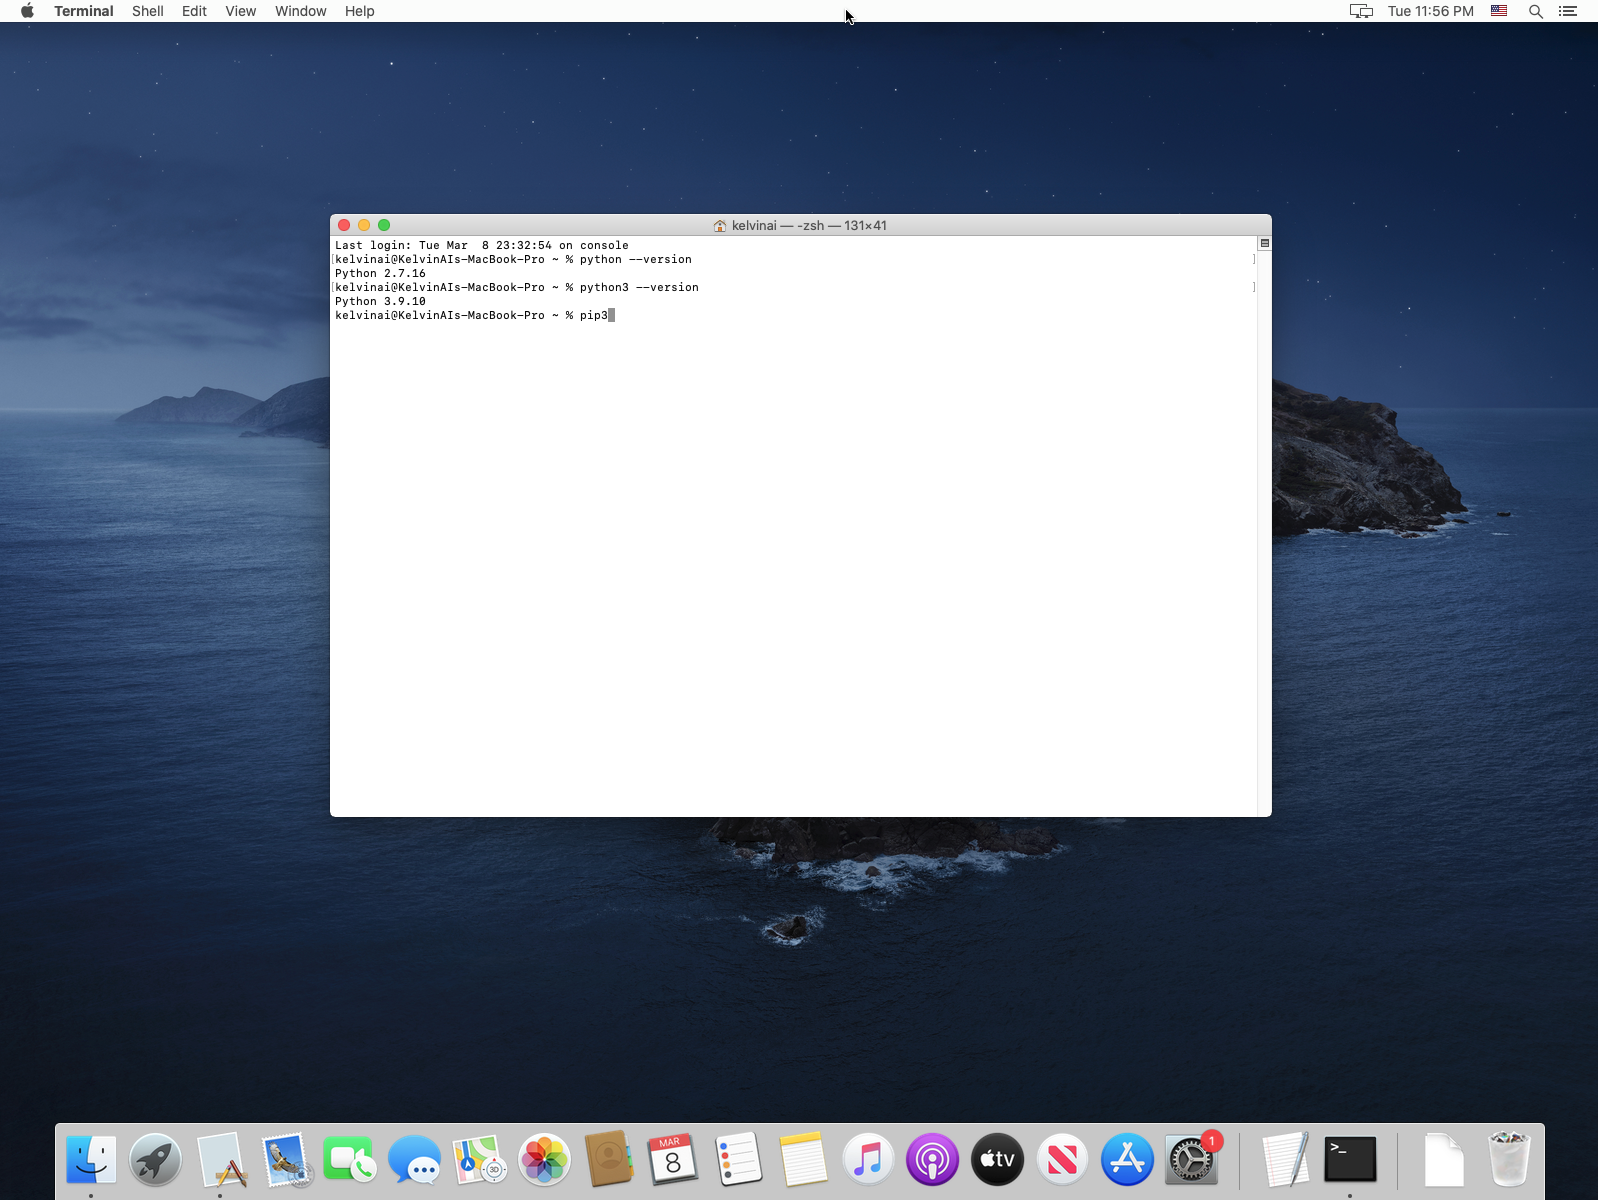
Open a Terminal window and type the following command:
python3 --versionEnsure Python 3 is being used
Make sure that Python 3 is being used. Python 2 may still be installed on your system, as shown in the screenshot below. Do not use Python 2; it is not supported, has known security vulnerabilities, and is incompatible with the Kelvin SDK.
Setting Up a Python Virtual Environment
It is strongly recommended to use a Python virtual environment for your Kelvin SDK projects. This helps prevent conflicts, dependency issues, and incompatibilities with other Python projects on your system.
-
In the terminal, create a virtual environment by running:
python3 -m venv kelvinai -
Activate the virtual environment with the following command:
source kelvinai/bin/activateYou should see
(kelvinai)at the beginning of your terminal prompt, indicating that the virtual environment is active.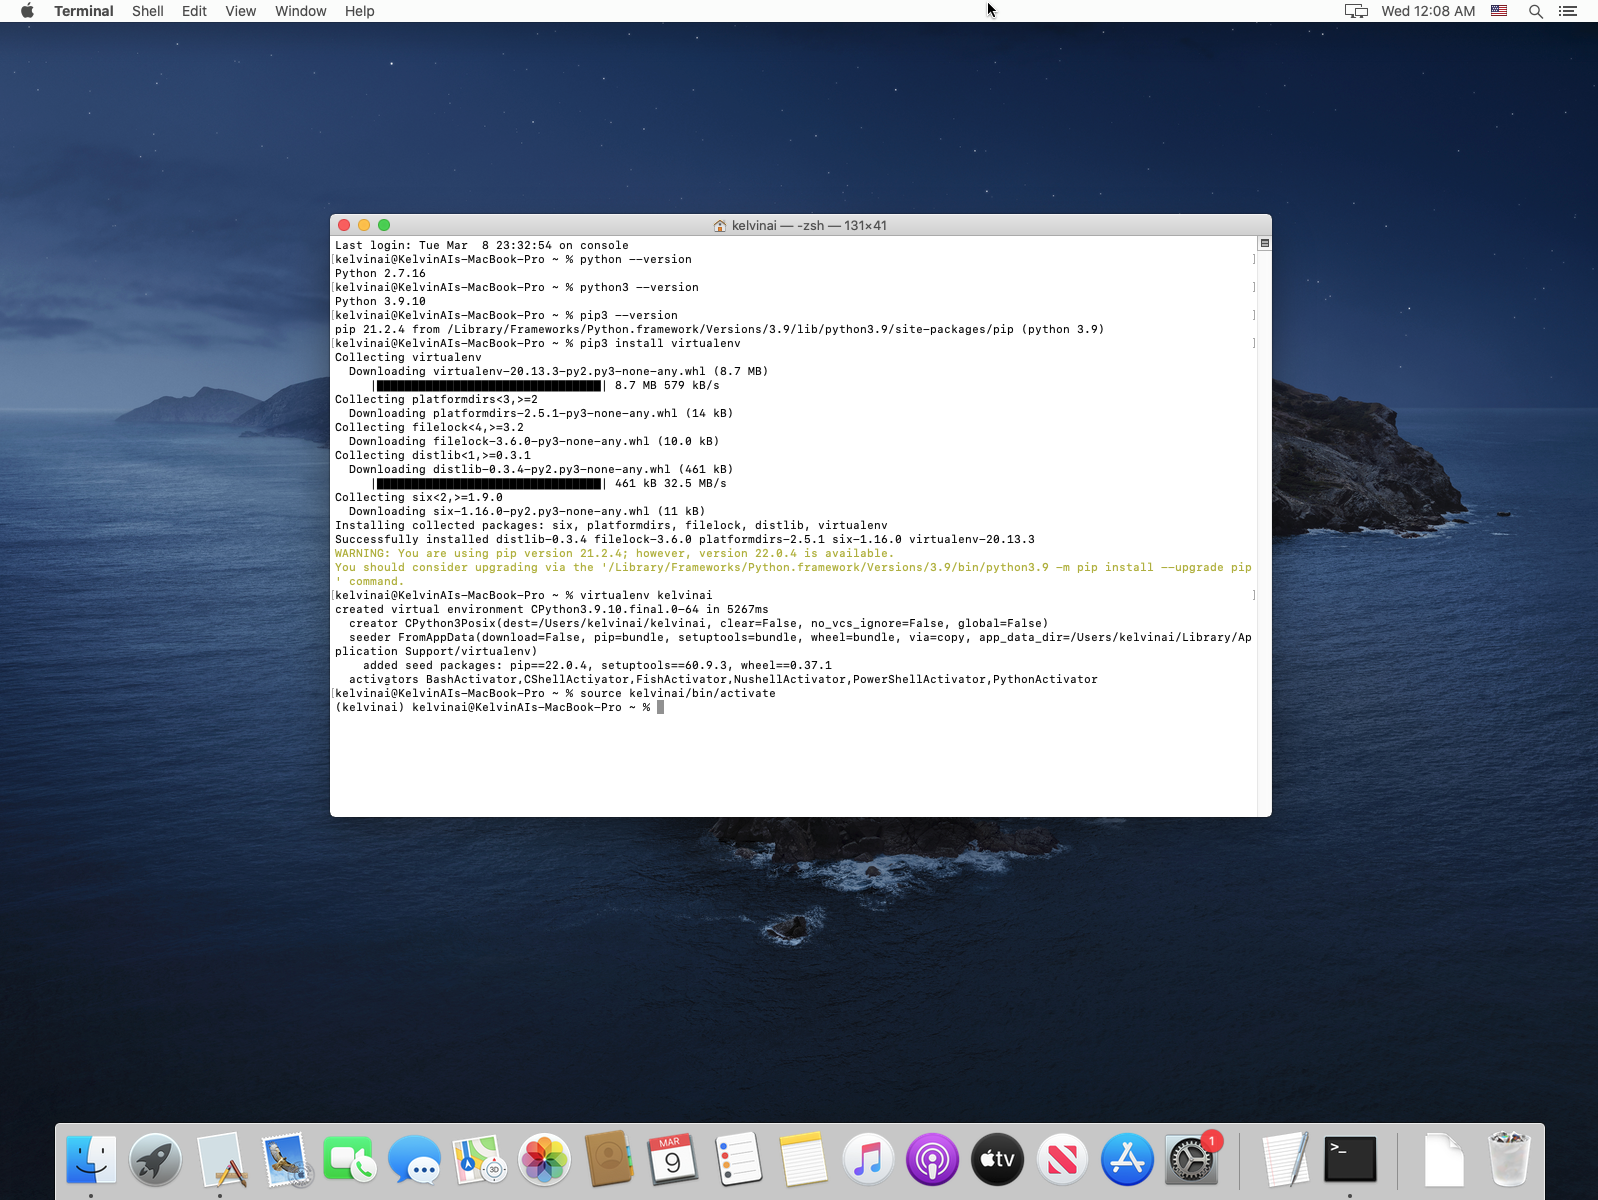
Installing the Kelvin SDK
With the prerequisites installed and the virtual environment active, you can now install the Kelvin SDK.
-
First, upgrade
pipto the latest version:pip3 install --upgrade pip -
Install the Kelvin SDK:
pip3 install kelvin-sdkInstallation Issues
If you encounter an error indicating that pip3 cannot find a version that satisfies
kelvin-sdk, ensure you are using a supported version of Python.Check the latest supported Python versions on the Kelvin SDK package details page on PyPI.
-
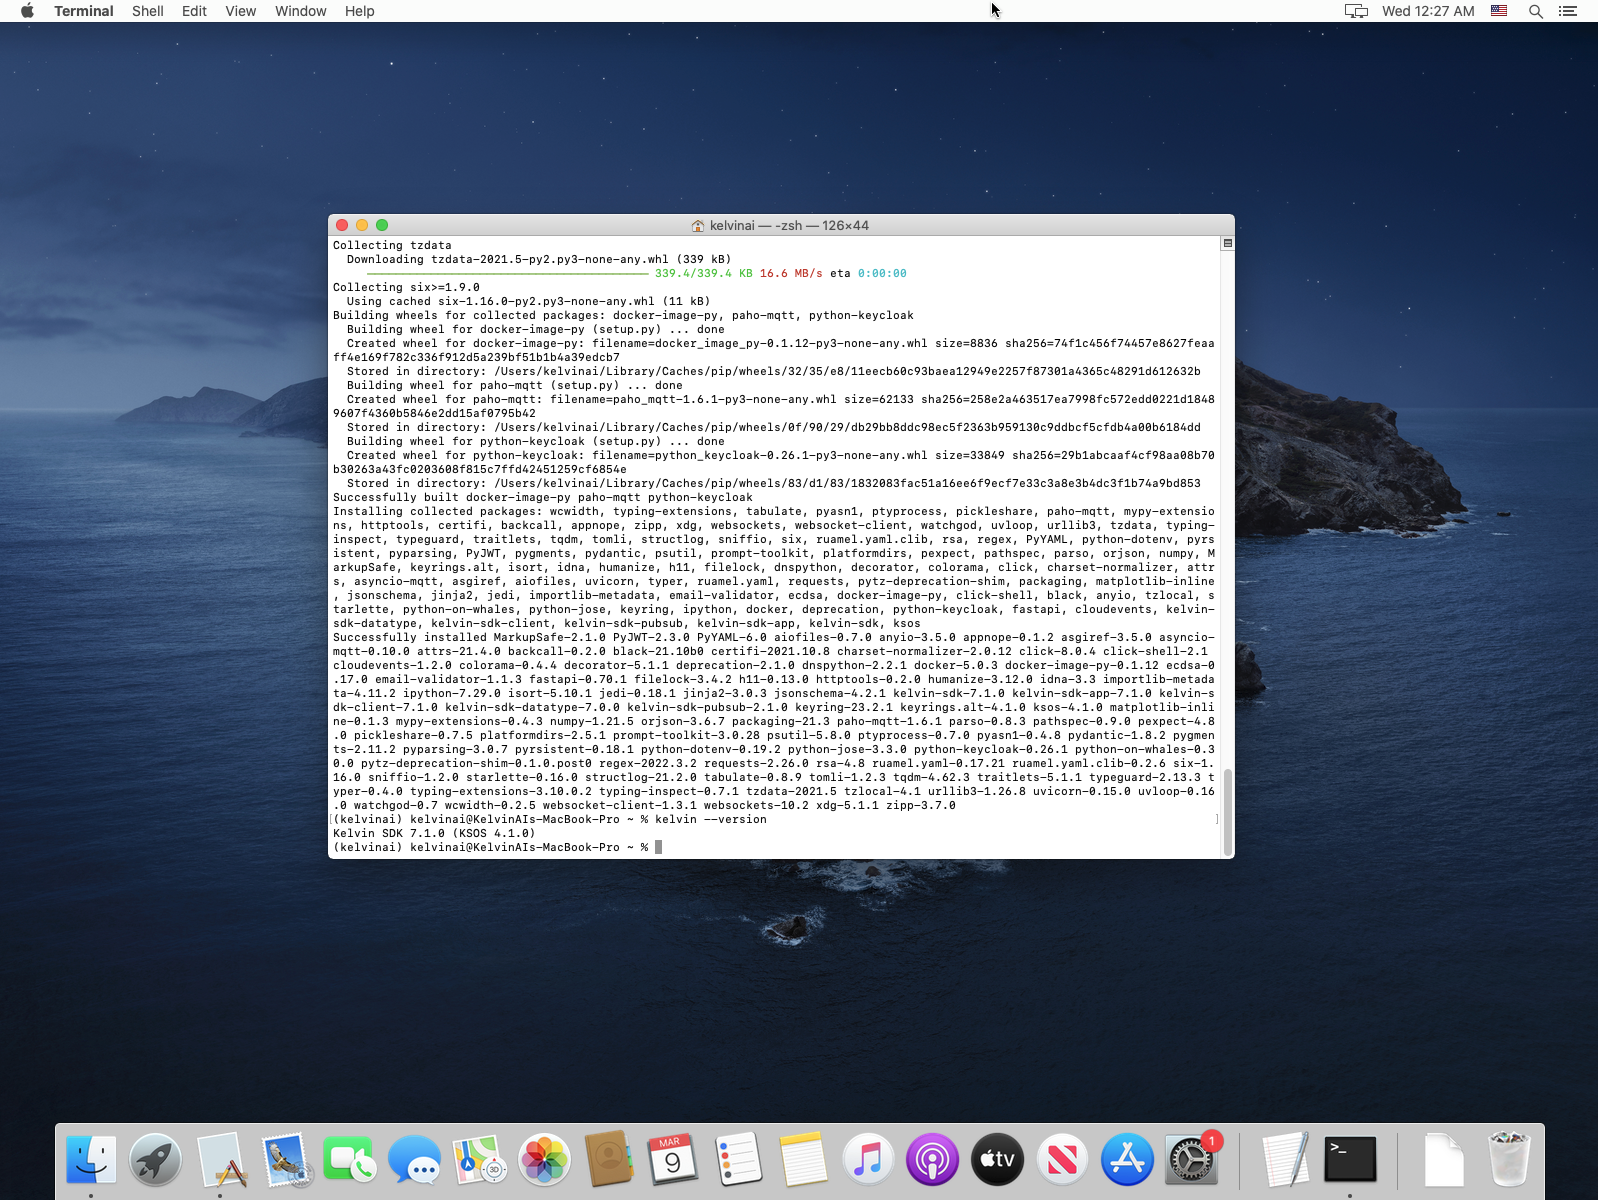
Finally, verify the installation by checking the Kelvin SDK version:
kelvin --versionInstallation Complete
Congratulations! You are now ready to start using the Kelvin SDK.
Additional Resources
Here are some helpful links related to the Kelvin SDK installation: