Adding Assets
On this page you will learn how to add new Assets to Kelvin SmartApps™ in Kelvin SmartApps™ section of Kelvin UI.
Kelvin SmartApps™ can be processing many thousands of Assets at the same time. Kelvin UI makes it easy to monitor the status of all these Assets and quickly add or delete Assets to Kelvin SmartApps™.
The management of the Assets in Kelvin SmartApps™ is done through the Management Tab of Kelvin SmartApps™.
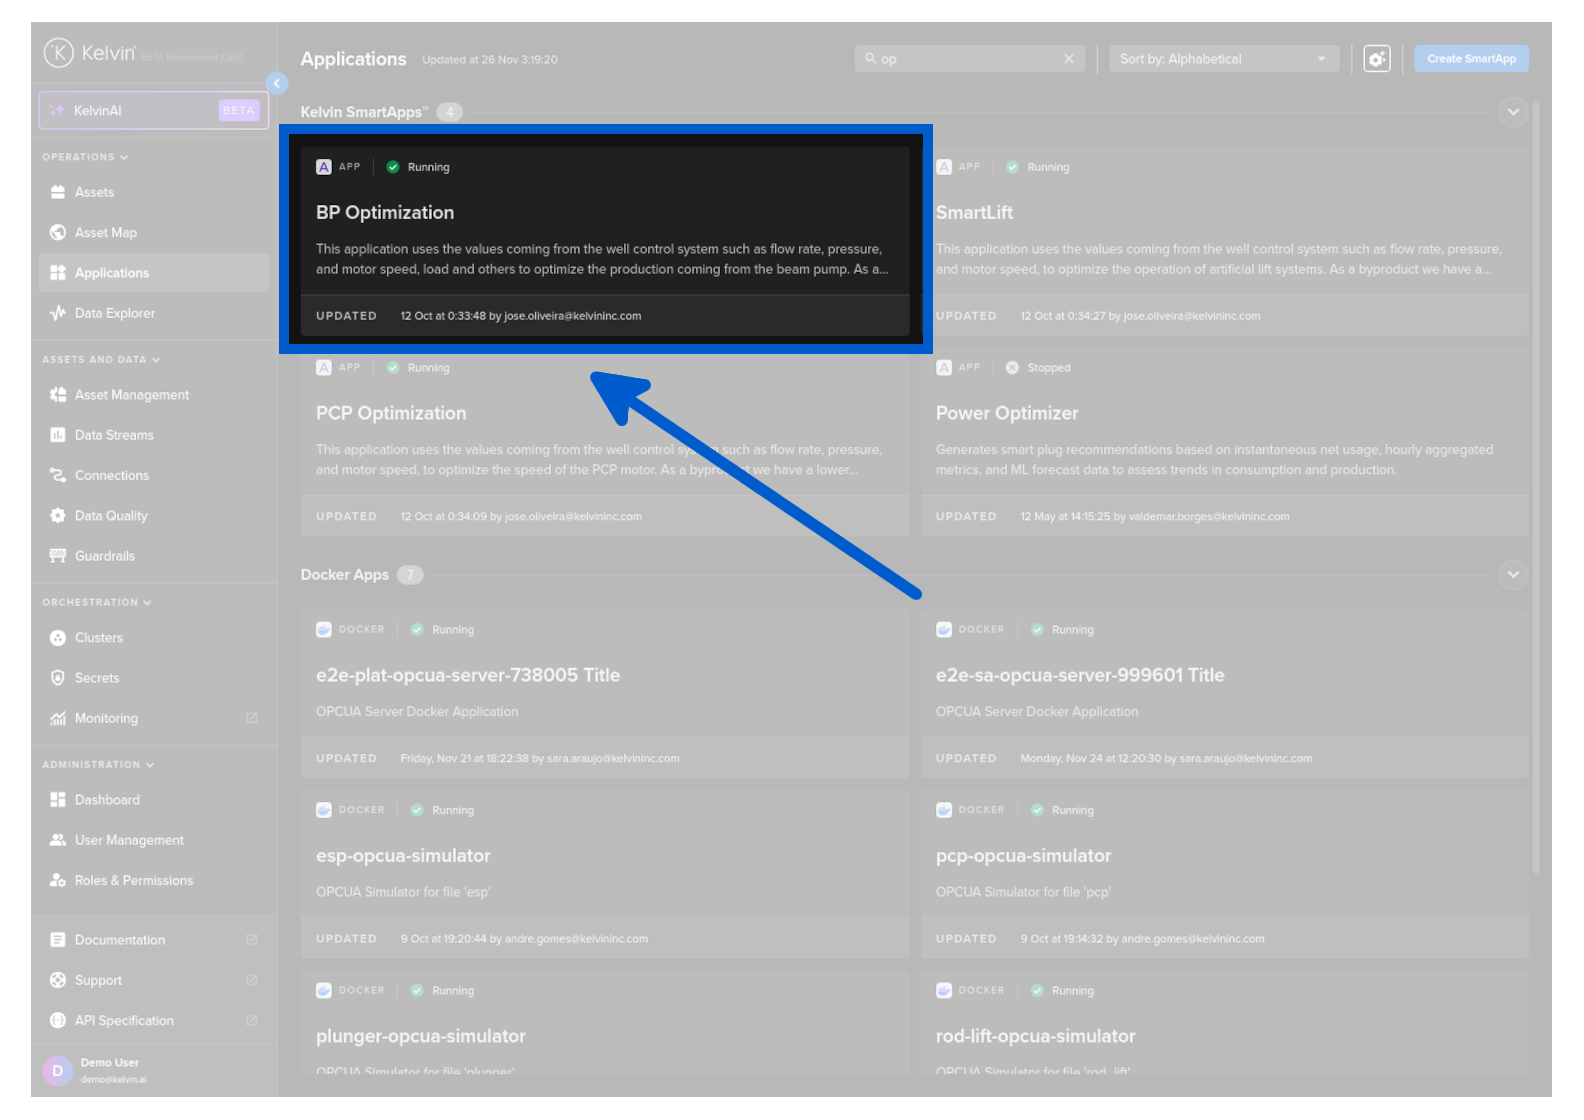
To start, go to SmartApps™ dashboard page and select Kelvin SmartApps™ where your Assets have been deployed.
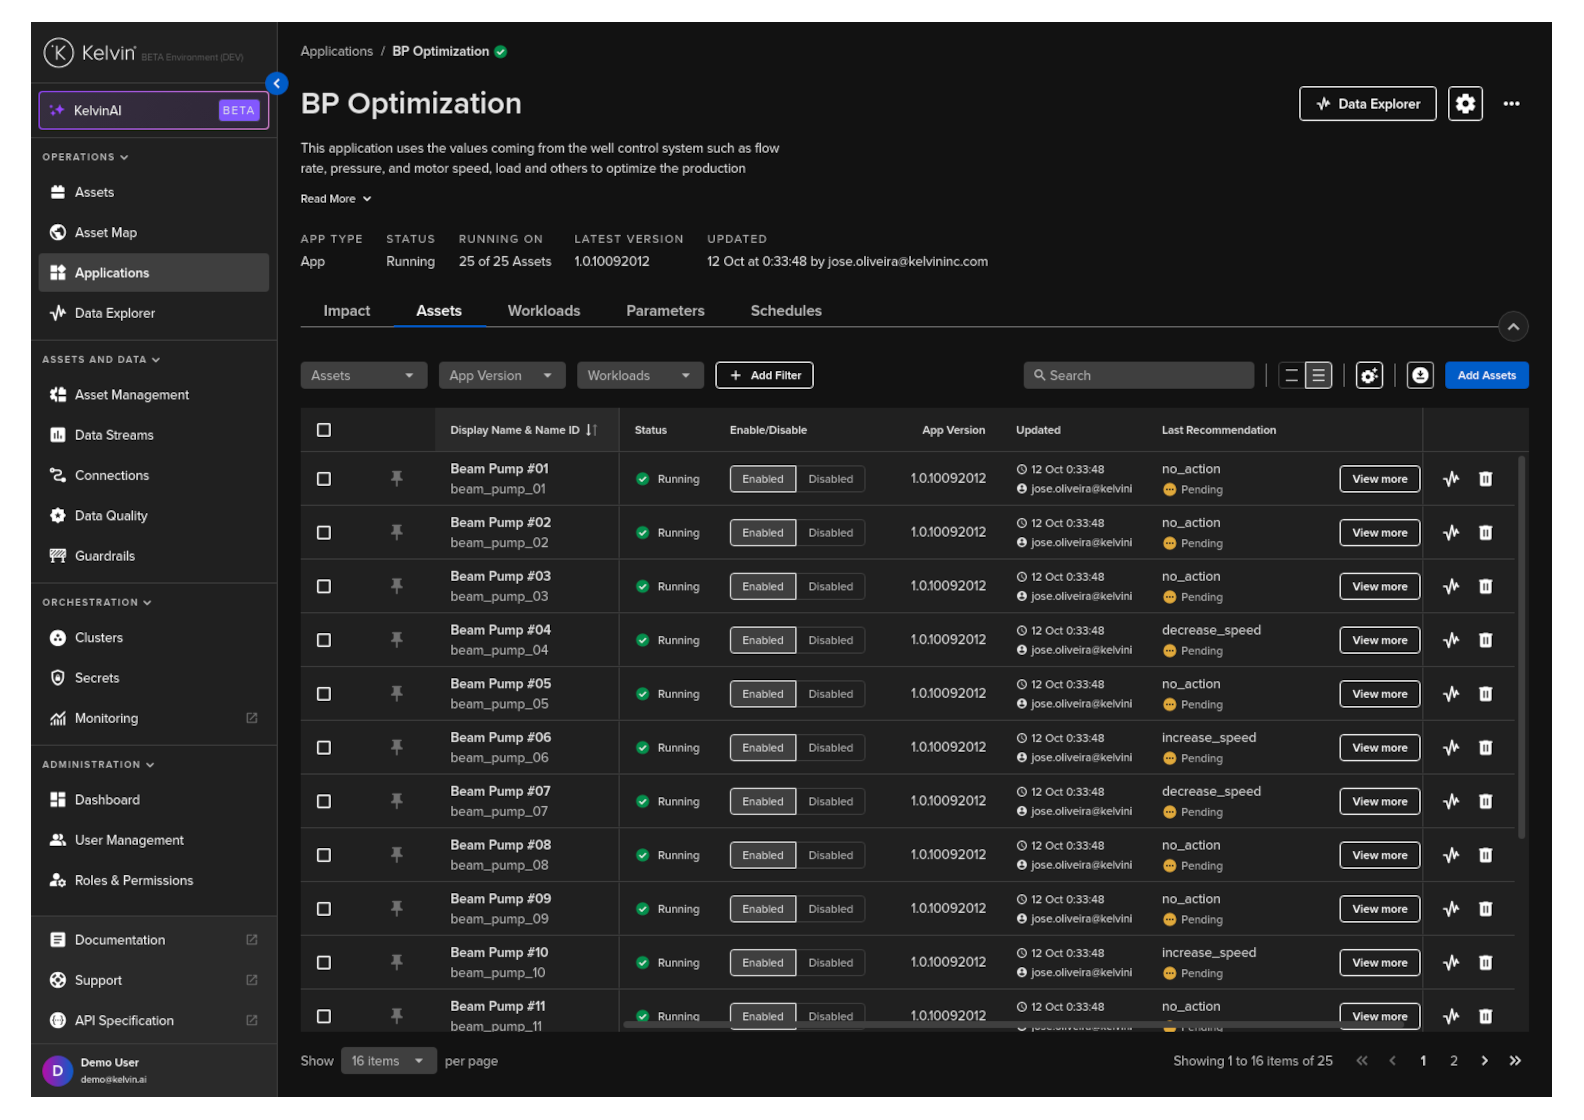
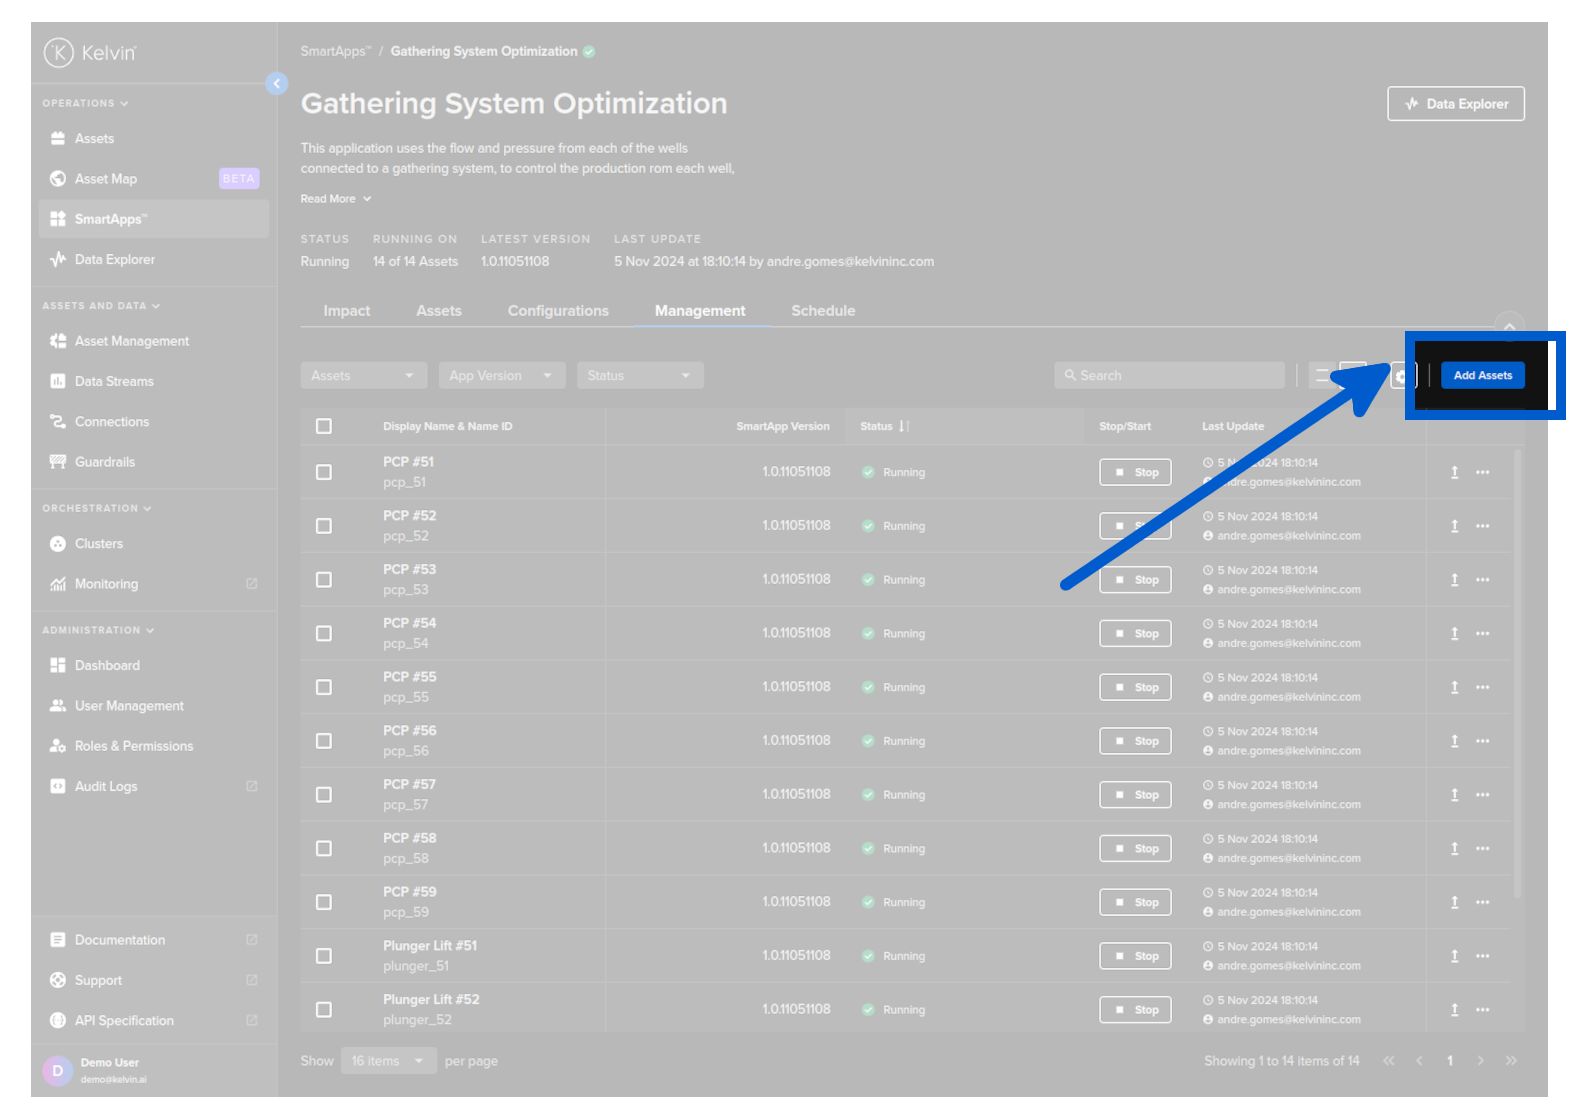
Click on the Management tab, and you can see a list of Assets and the configuration options for Kelvin SmartApps™.
Click on the Add Assets button.
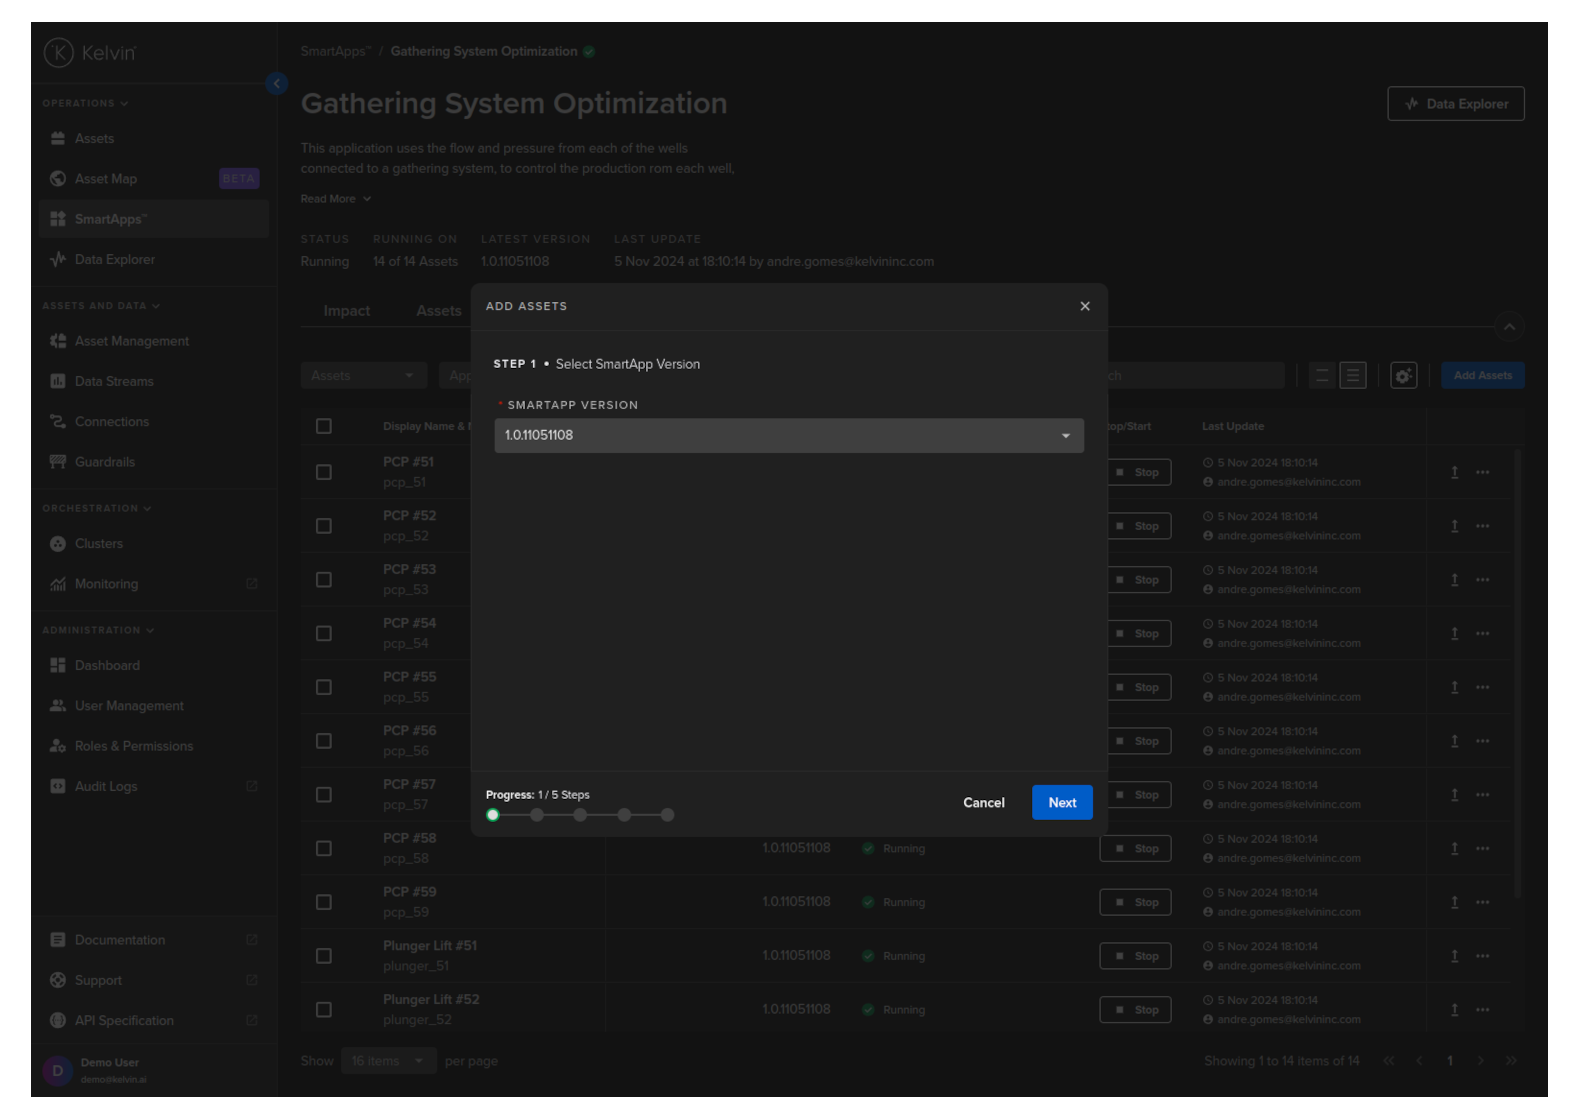
Step 1 - Select Kelvin SmartApps™ Version
On the first page, select the version of the Kelvin SmartApp™ you want to use for the Assets you will add.
Step 2 - Select Assets
Now select the Assets that you want to add to this Kelvin SmartApp™.
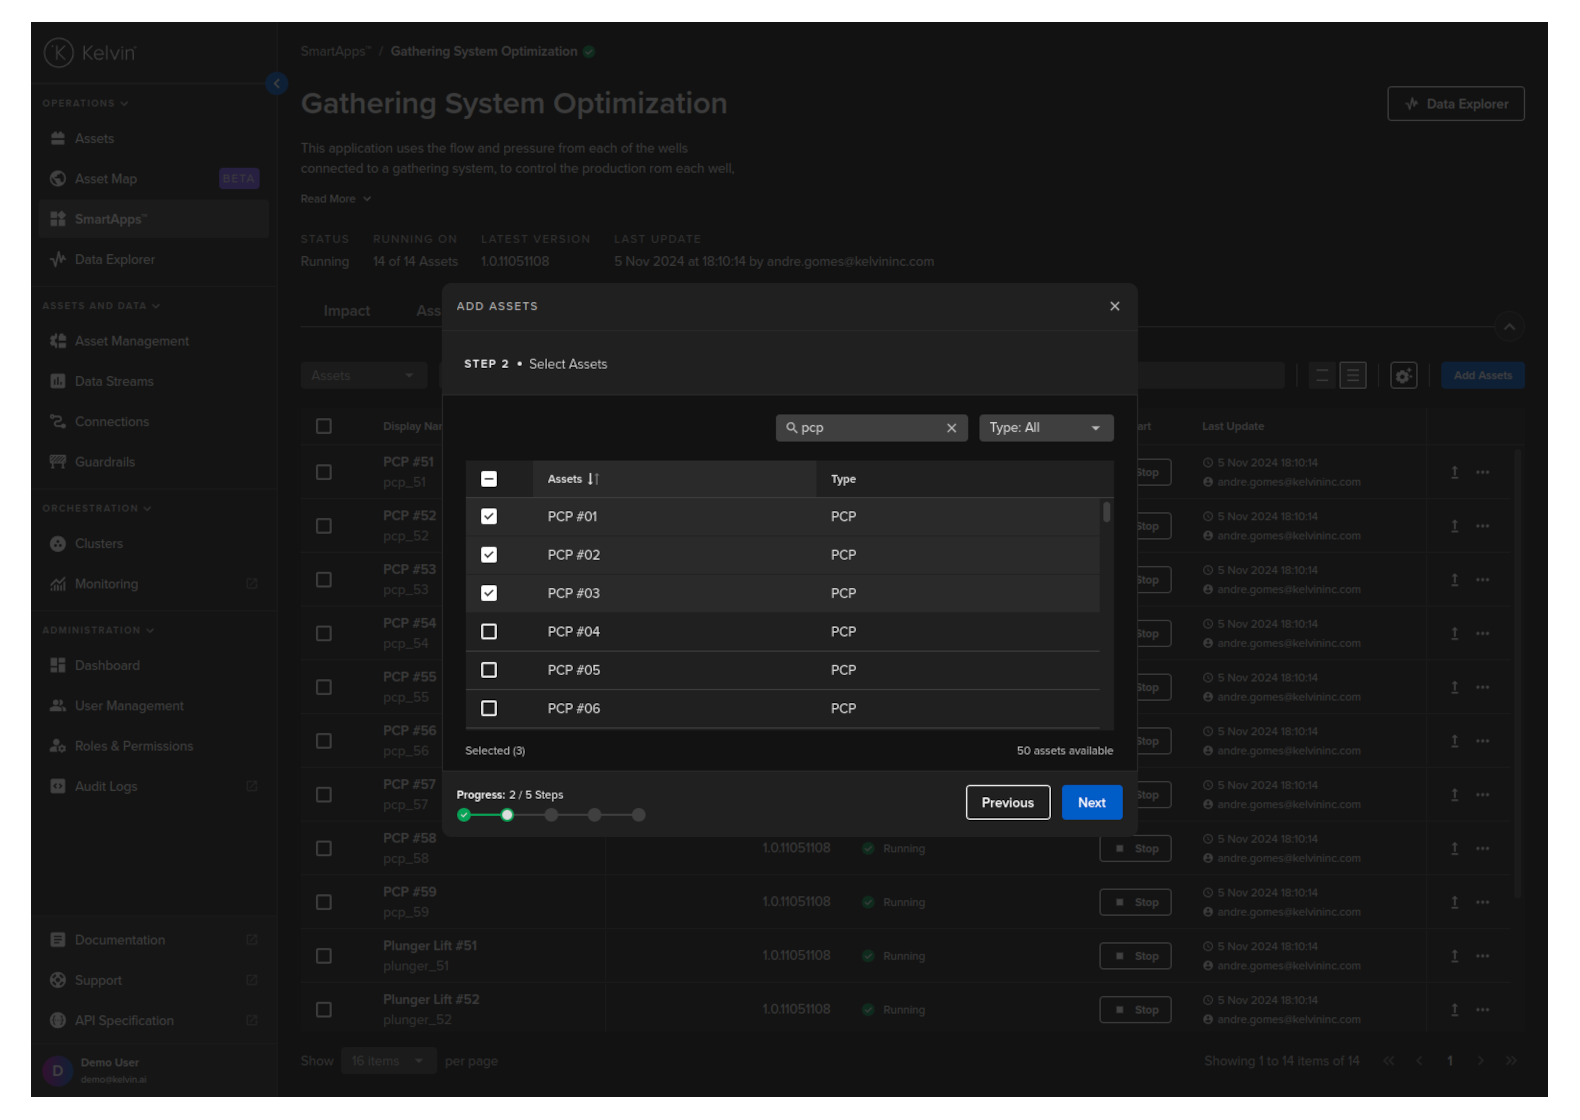
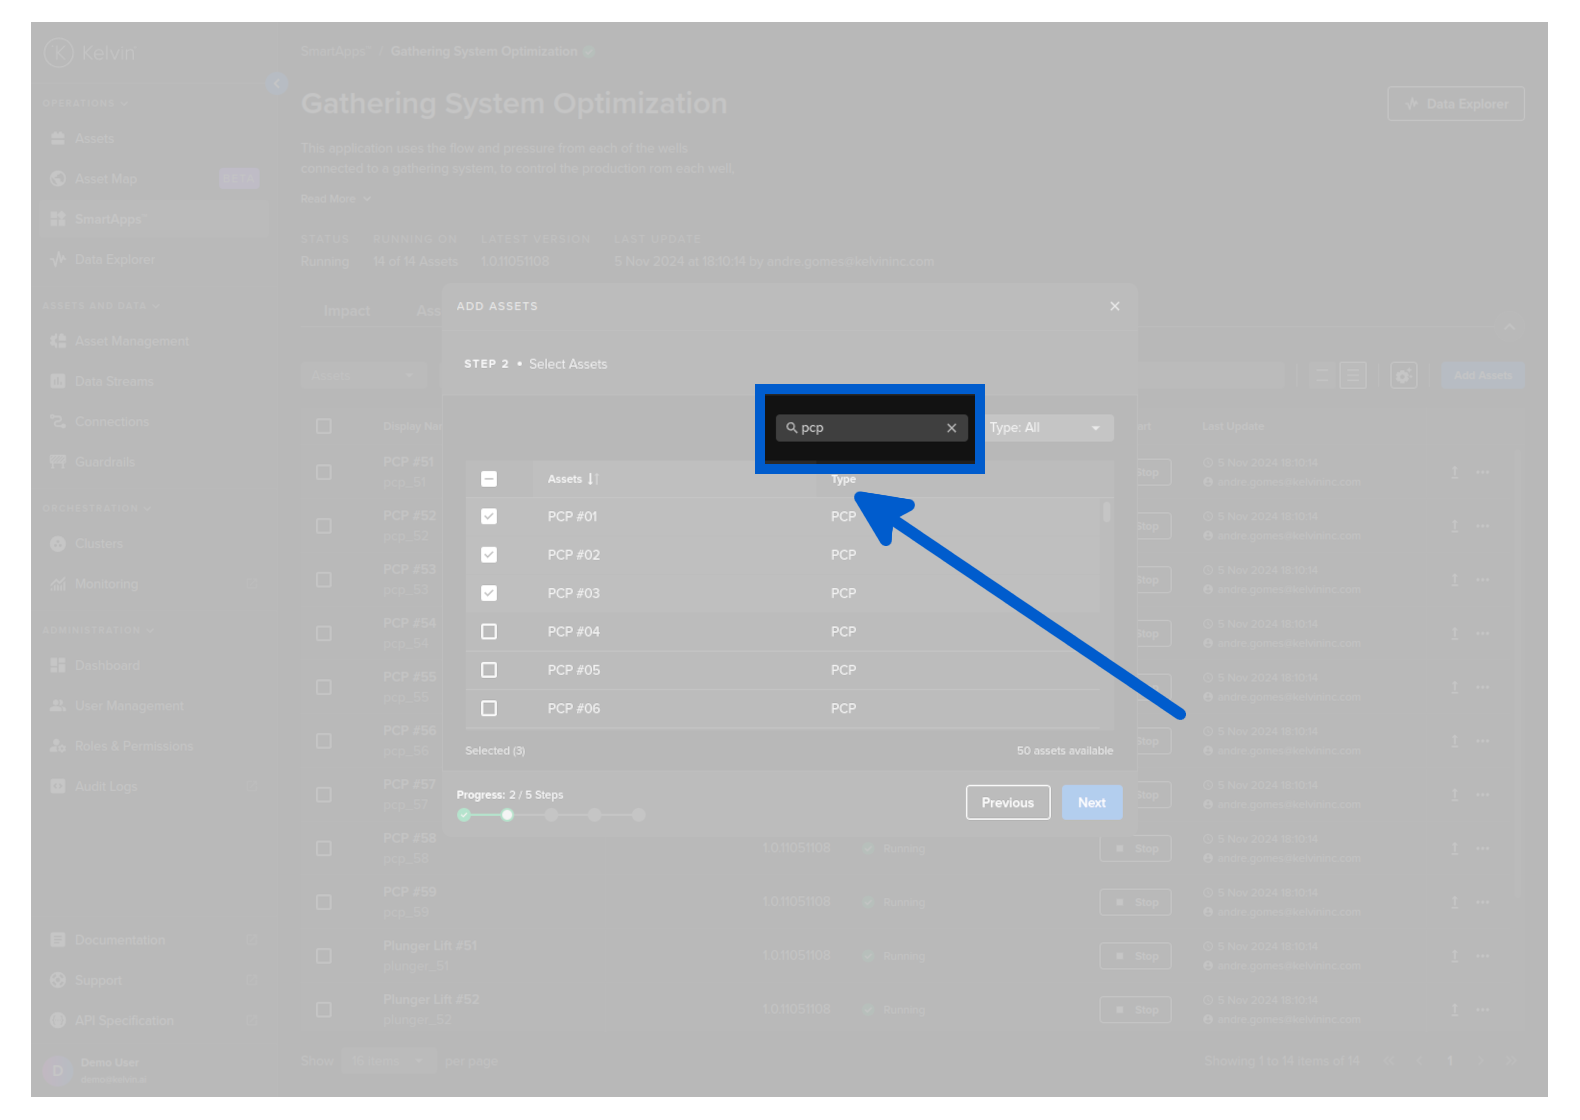
You can search and filter the list to quickly find the Assets that you want to add.
You have the capability to perform multiple searches, selecting Assets in each. The system will retain your selections, keeping the Assets selected even as you clear the results and conduct new searches.
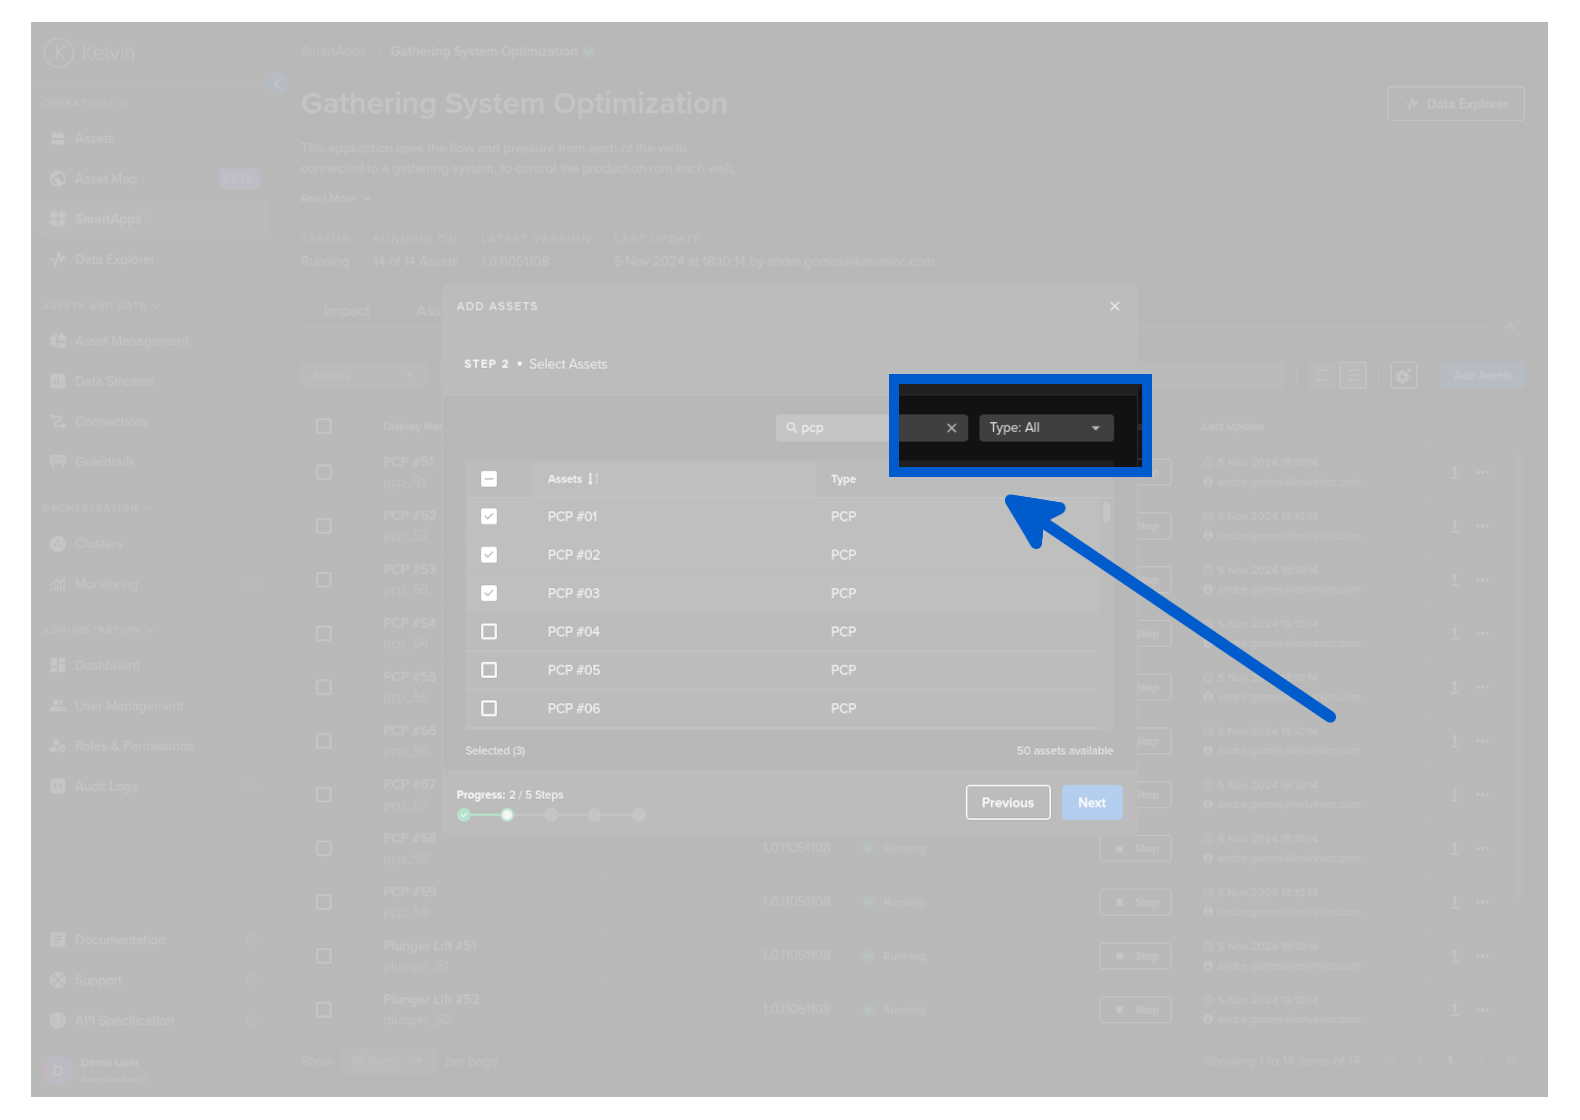
You can also filter on Asset Types.
This is a drop down list that you can select one or multiple Asset Types to filter.
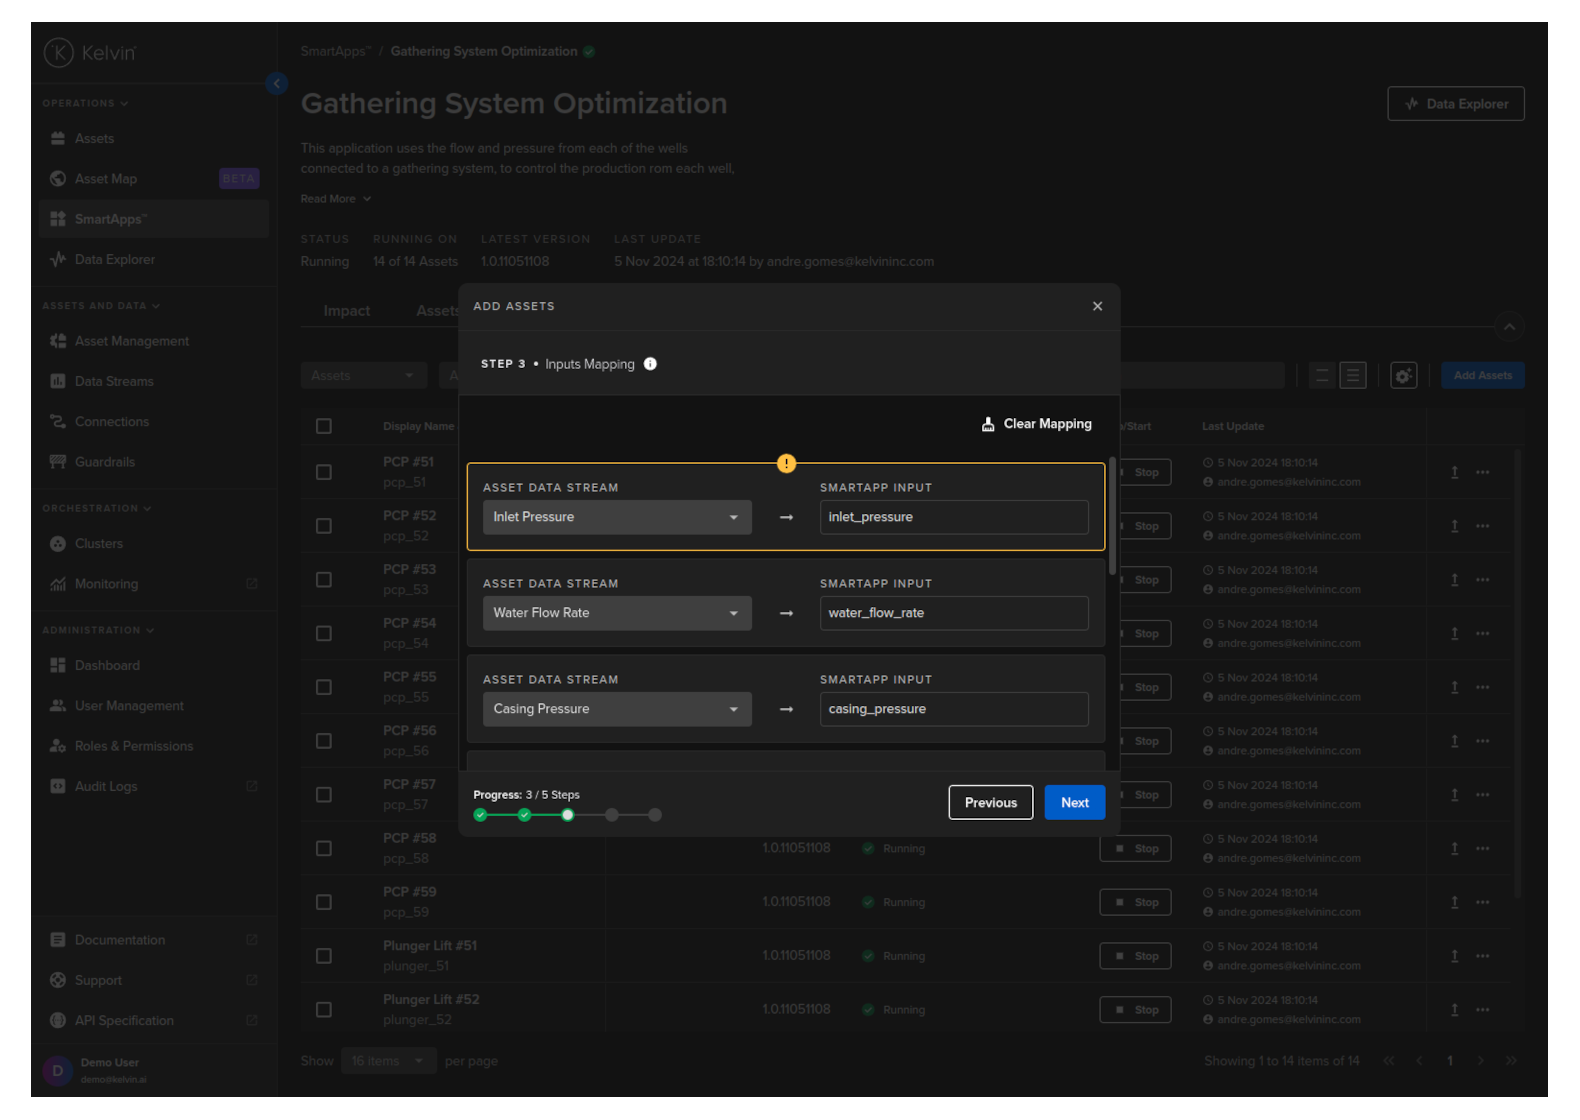
Step 3 - Inputs Mapping
Now ensure that all Kelvin SmartApps™ inputs are connected to the right Data Streams.
Kelvin UI will attempt to automatically match and connect the right Data Stream to the Kelvin SmartApp™ input. This helps speed up this matching step and avoid errors in the connections.
While Kelvin UI generally ensures accurate Data Stream to Kelvin SmartApps™ matching, users are encouraged to verify the connections for correctness.
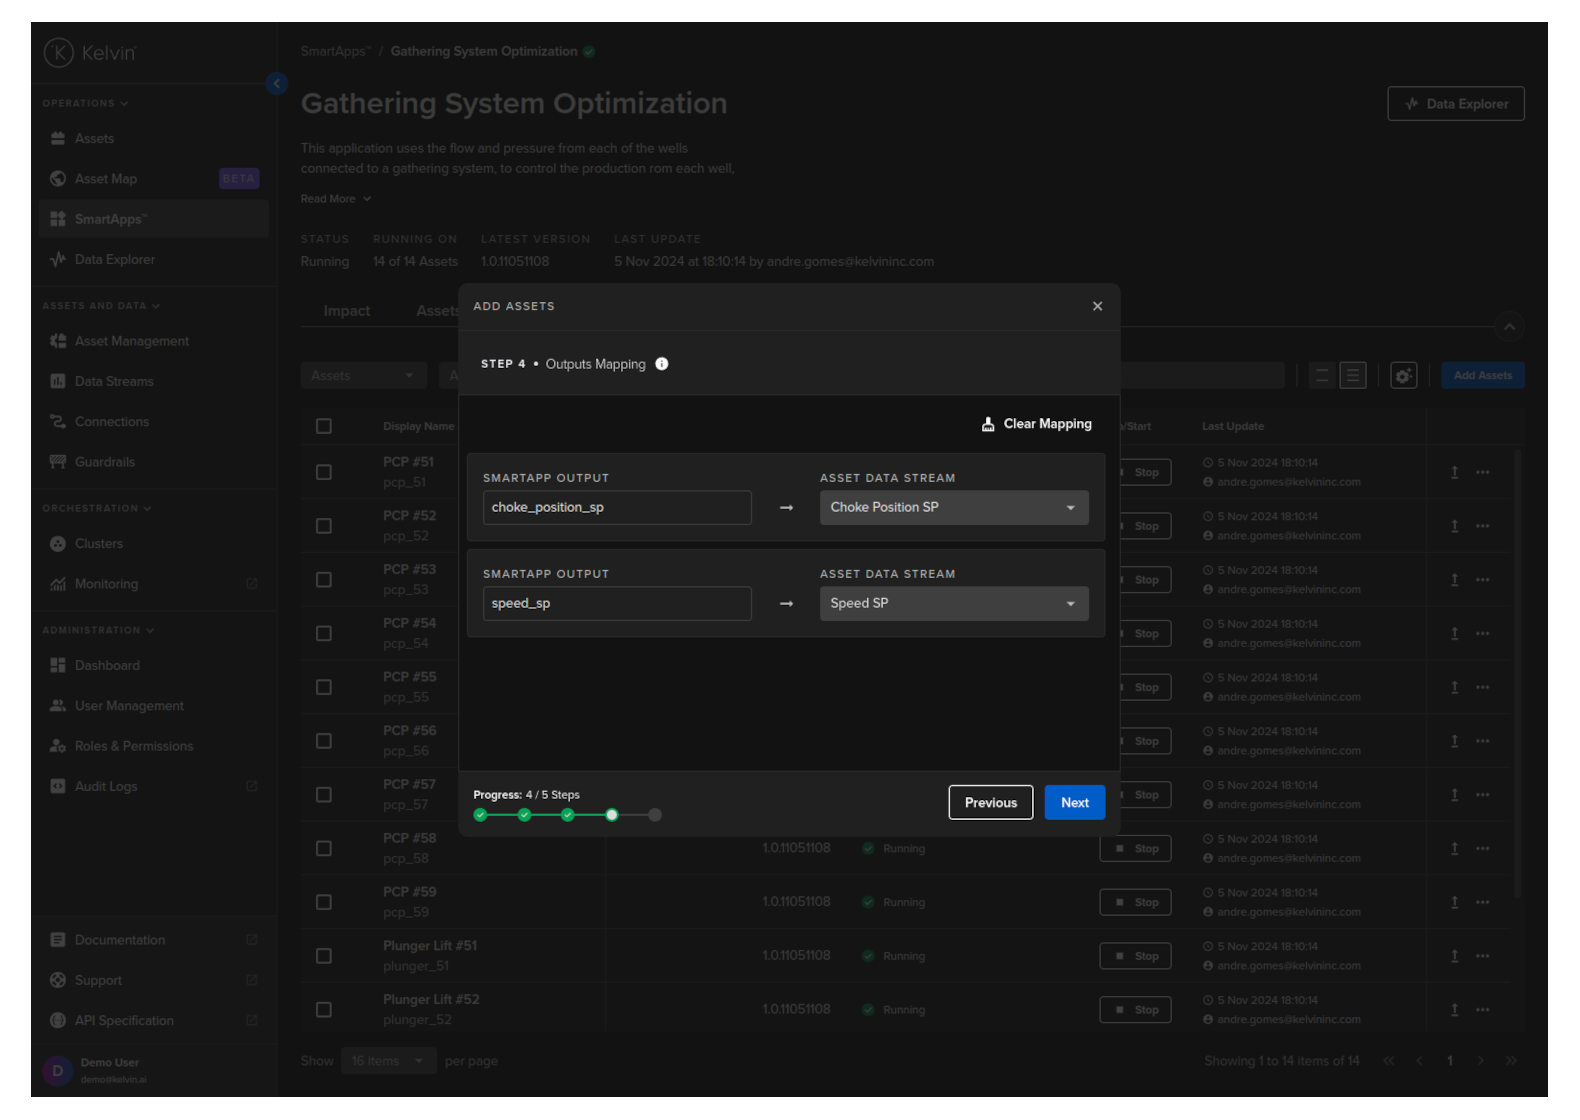
Step 4 - Output Mapping
Now ensure that all the Kelvin SmartApp™ outputs are connected to the right Data Streams.
Kelvin UI will attempt to automatically match and connect the right Data Stream to the Kelvin SmartApp™ output. This helps speed up this matching step and avoid errors in the connections.
While Kelvin UI generally ensures accurate Data Stream to Kelvin SmartApps™ matching, users are encouraged to verify the connections for correctness.
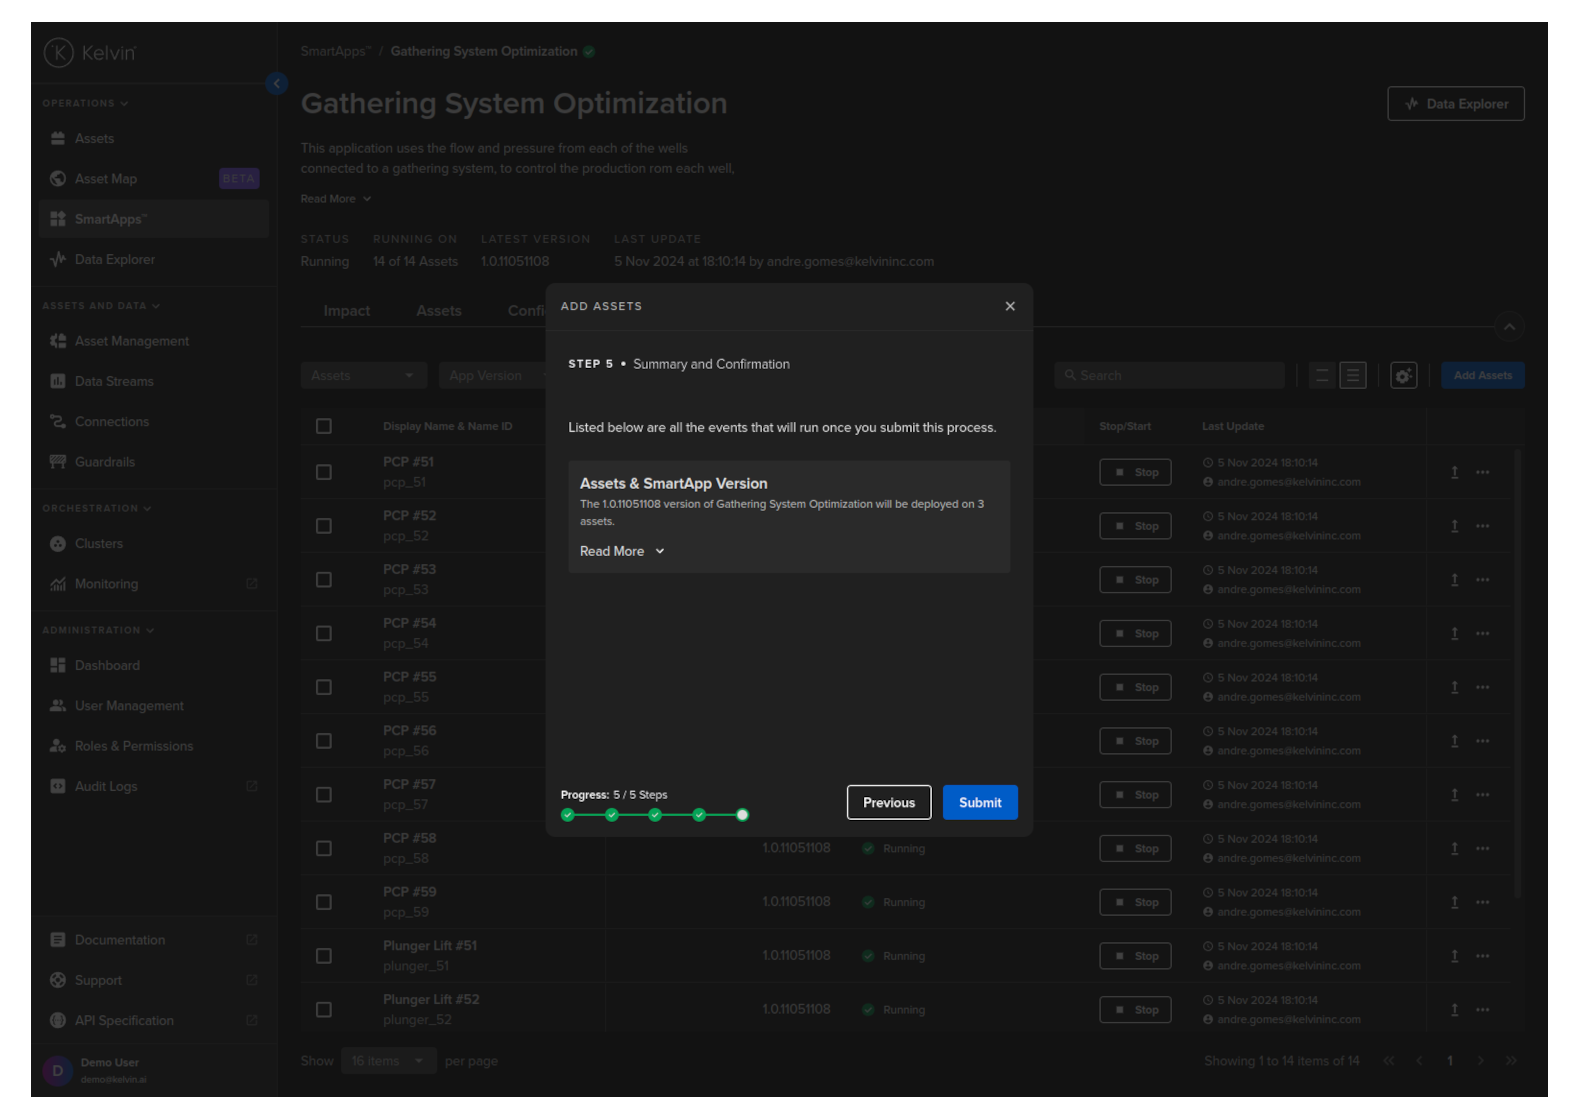
Step 5 - Summary and Submit
Finally you will have a summary of all the information you selected.
Check the information is correct, then click on Submit to add the Asset to the Kelvin SmartApp™.
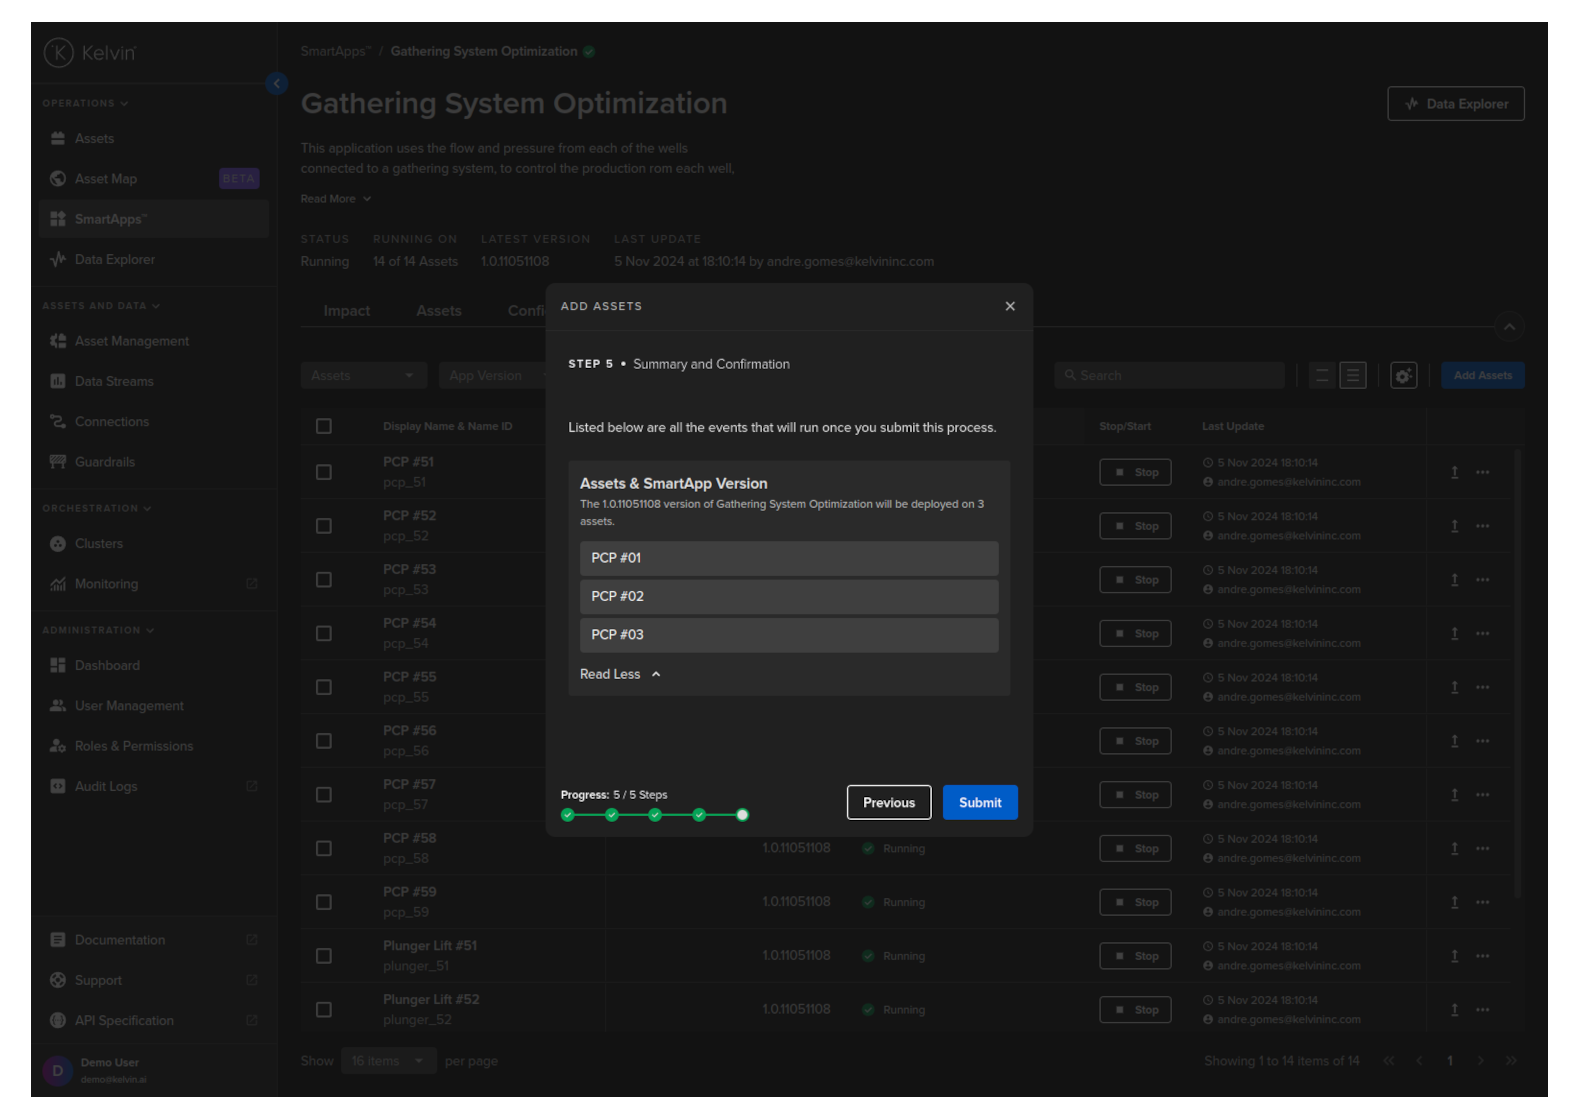
Click on the Read More to see a list of the Assets you have selected.
And if you click on the Read More link, you will see this expanded screen.
Congratulations ! You have now added new Assets to a Kelvin SmartApp™
Check Status
You can now check the status of the Asset in the Management Tab.
It will show Updating while the program is deployed with the connections to the new Asset(s). When it is all successful completed, then you should see it turn to Running.
If for any reason your edge cluster is offline, then Kelvin will wait and deploy the Asset when it next comes back online.
You will see the status stay on Updating while waiting for the edge cluster to come back online. No further action is required by you.