Nodes
A Node represents the hardware (memory, disk, CPU Cores) and the OS. A Node is usually an edge computer but can be anything up to server hardware (e.g. a server running in a data center). Kelvin Platform software installed on the Node enables deployment of Applications.
Minimum hardware Requirements
- x86-64 Processor
- 2GB Ram
- 10GB Disk
Info
Depending on how many devices you are connecting and the type of application, the RAM, Disk and CPU requirements may vary.
OS Requirements
Current supported operating systems:
- Ubuntu 18.04 LTS
- Ubuntu 20.04 LTS
Network Firewall Rules
Current list of network ports that need to be allowed in the firewall for the Node to work correctly:
- HTTP(s) - 80/443 TCP Outbound
- Registry - 5000 TCP Outbound
- Wireguard - 51820 UDP Inbound+Outbound
Network Reserved Ports
The Kelvin Orchestration system reserves the following ports for internal applications:
- TCP 6000
- TCP 6001
- TCP 8000
- TCP 8001
- TCP 9100
These ports should not be used by any other application or service running on the Node.
Preparation
Start by installing Ubuntu 18.04+, setting the machine name to be the desired Node name.
The Node name in Kelvin Platform will be your machine name so be intentional when naming the machine when installing the operating system.
Update your OS and install prerequisites
sudo apt-get update
sudo apt-get upgrade
sudo apt install curl -y
Installation Script
Copy and paste the installation script into the command line of your new machine. This script can be found in your Kelvin Platform Control Center under Nodes → Add Node
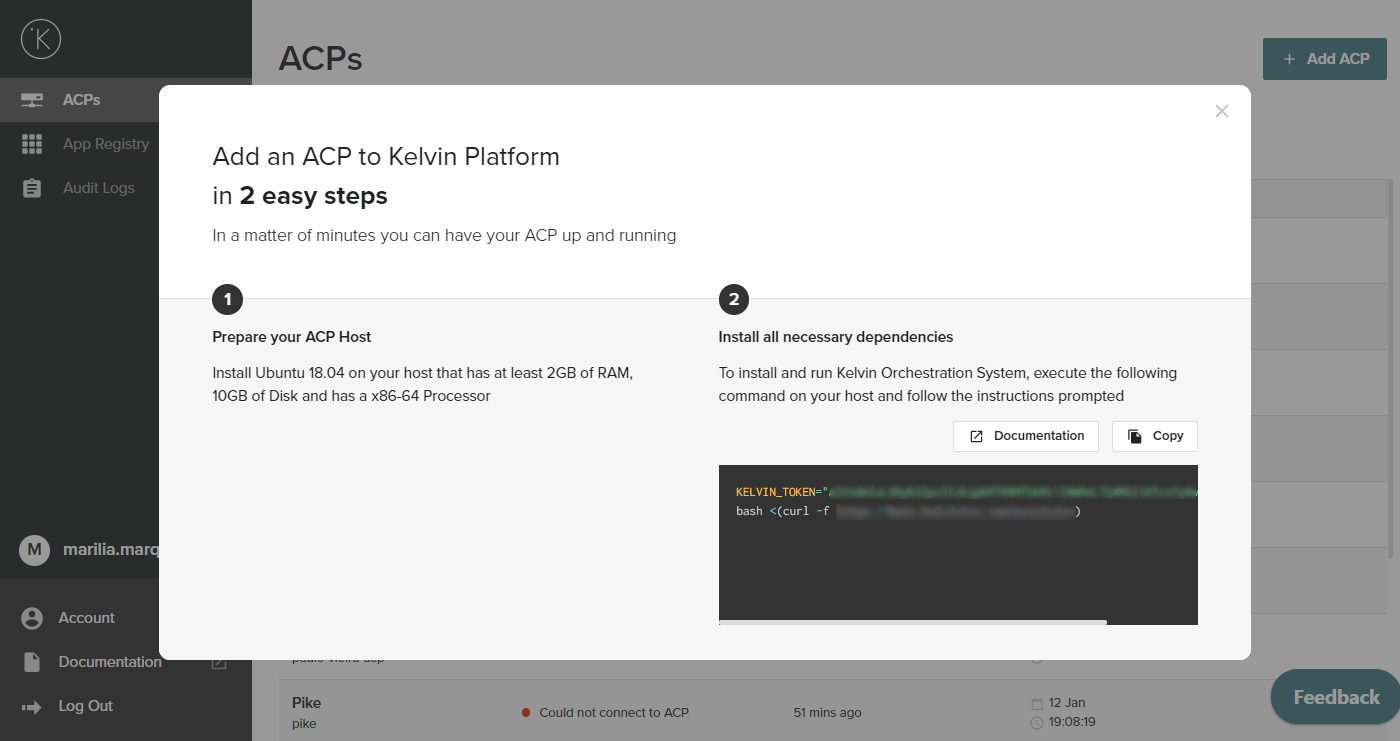
The provisioning script will install all required dependencies and configure the Node to be part of Kelvin Platform. After completing the software installation process, the Node will appear in the Control Center. Now, user will be available to deploy Applications from the App Registry to this Node using Kelvin SDK commands or through control center. Each Workload (application running on Node) exposes an OPC-UA server for communications between Workloads. These OPC-UA servers can be accessed from other applications on the Node and sometimes by other applications on the same local network.
Info
The Node name cannot start with a number, contain special characters, capitalized letters, or spaces aside from the underscore - character. Node names also must be unique in the system.
Info
It may take several minutes for the node to become available in the Platform
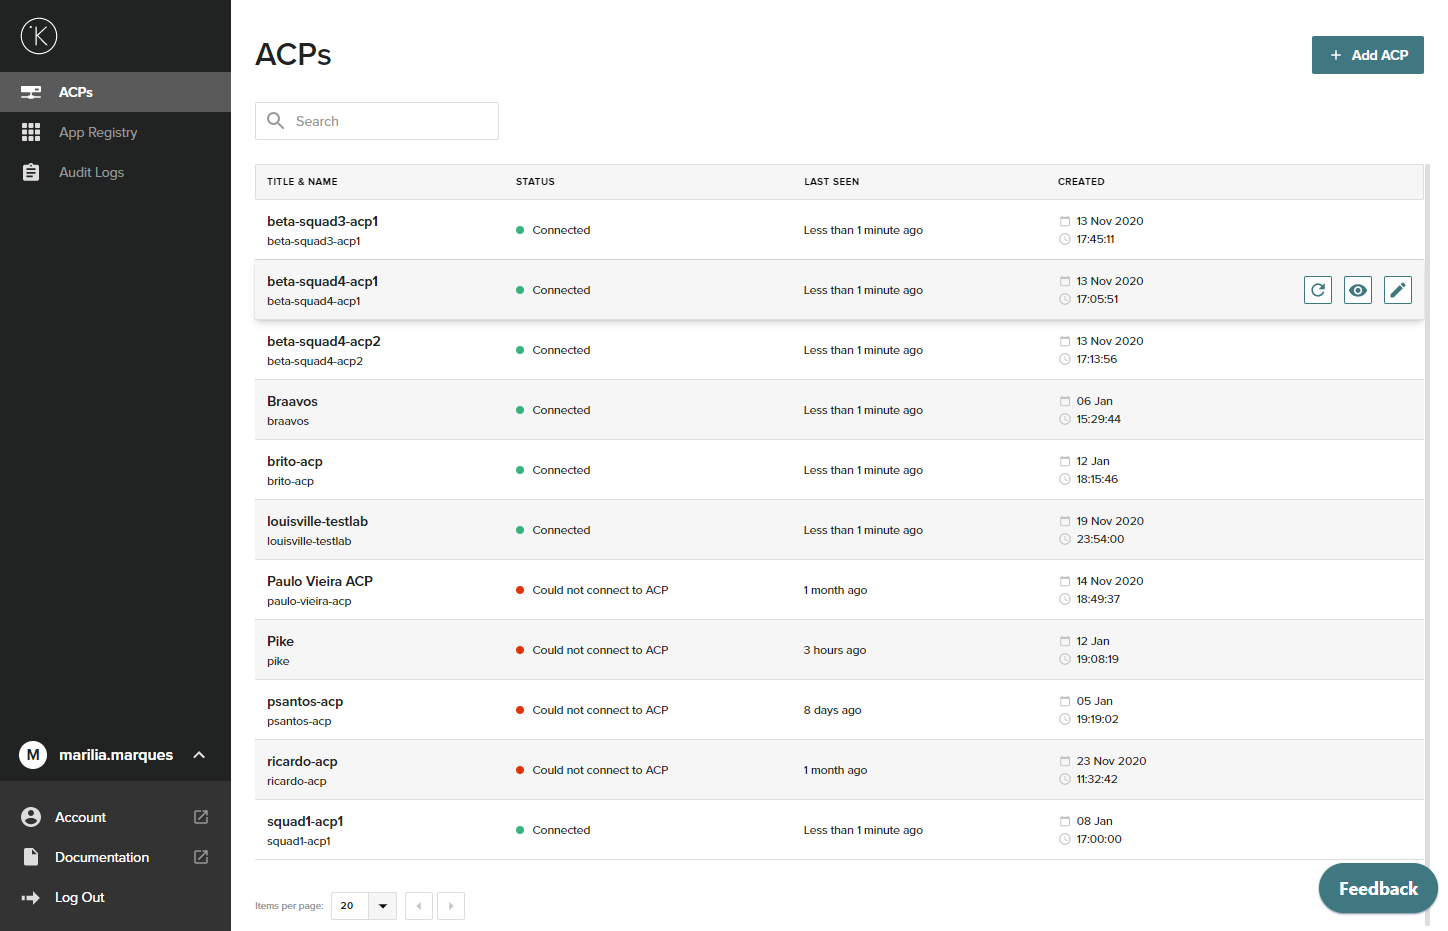
Node List in the Control Center
Nodes can be added, monitored, and modified in the Kelvin Control Center in the Node List page.
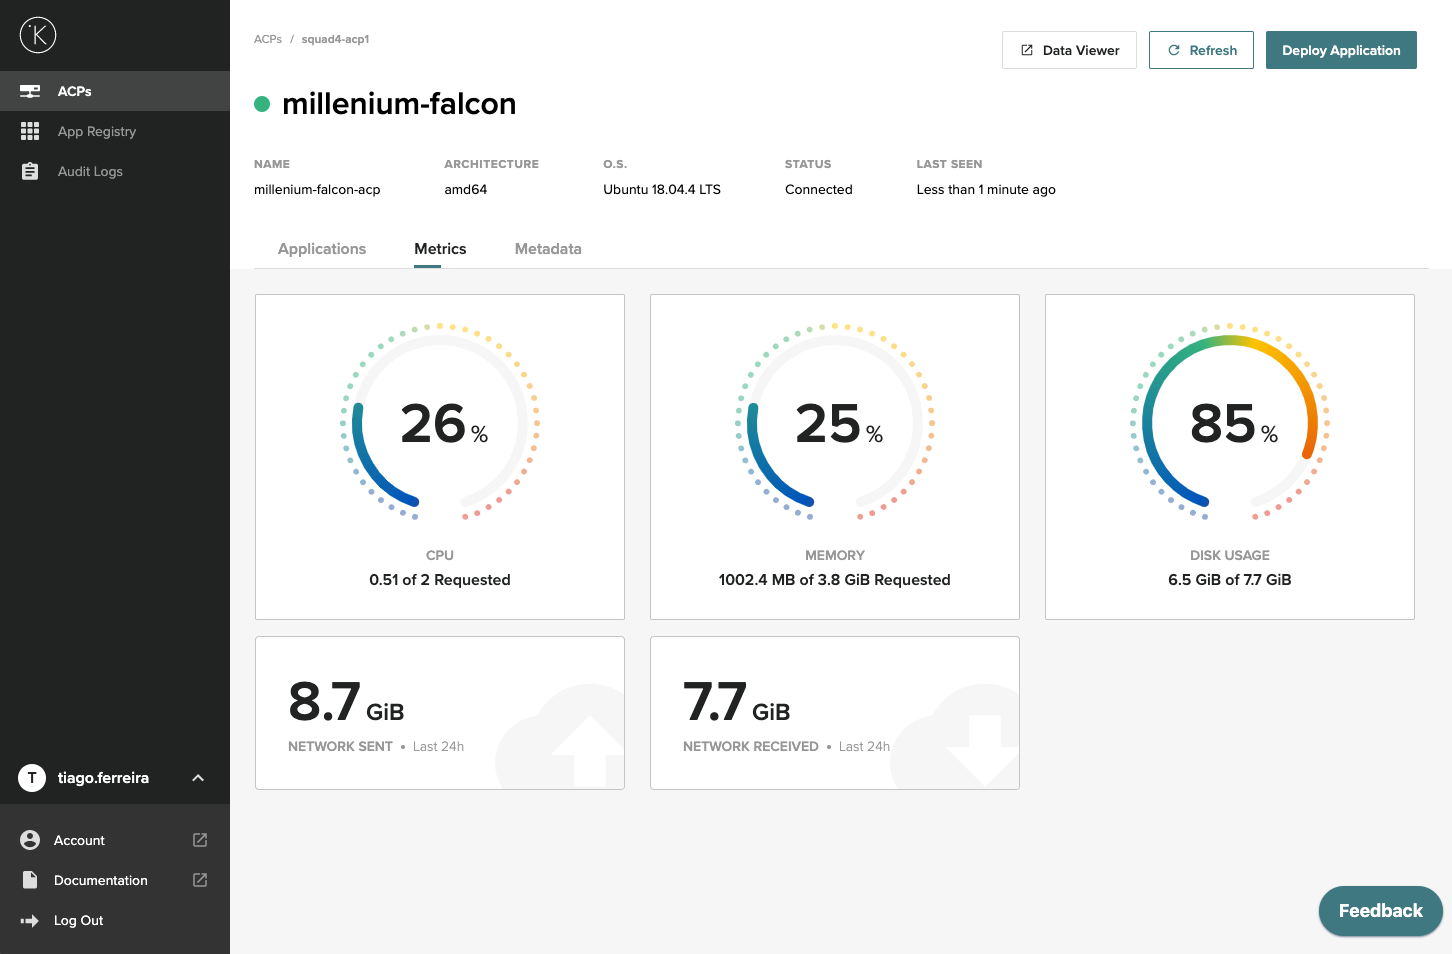
Node Metrics
After clicking on a Node in the list and then in the metrics tab the following screen will be shown. It displays information about CPU, Memory, and disk usage with graphical gauges.
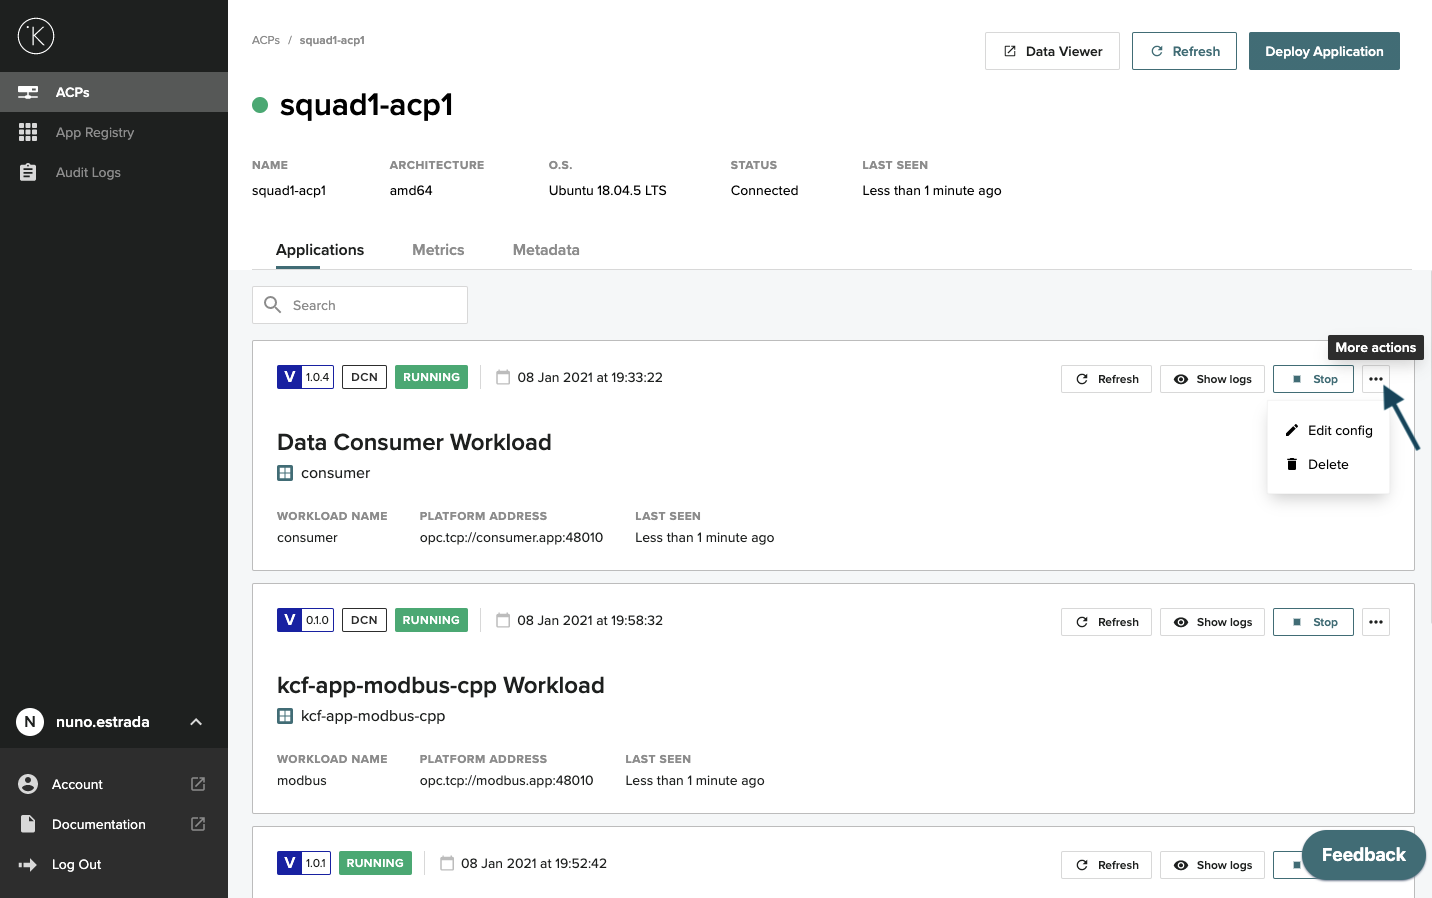
Node Applications
The Applications tab for each Node shows details of all deployed application instances (workloads). The dashboard displays the app version, status, deployment date and platform address. From this dashboard, you may also view logs, refresh the status, stop, or start the Workload, as well as edit the application configuration file.
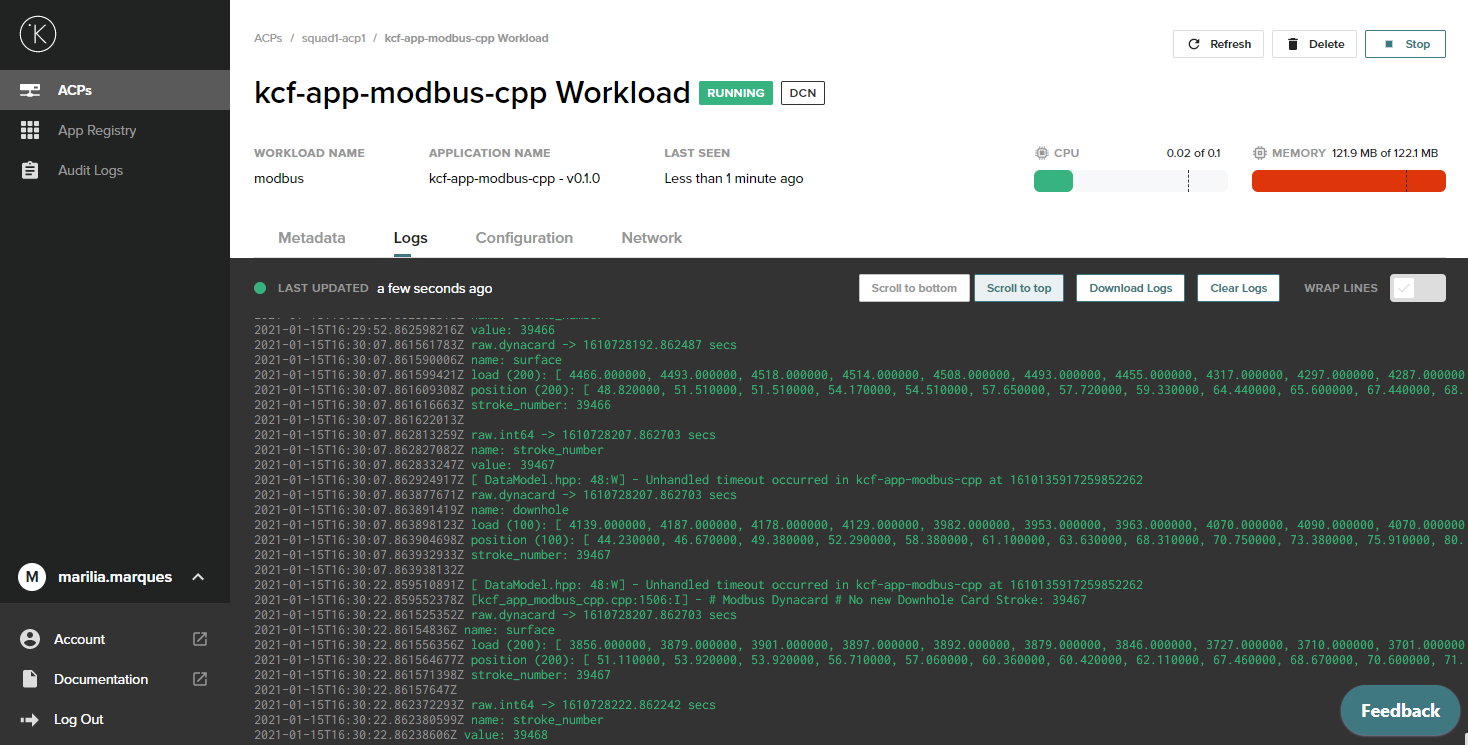
Application Logs
The Show Logs button launches the log viewer to view the active application log. Within the log viewer, there are additional utility buttons at the top to aid viewing. Additionally, there is an option to download logs to your workstation.
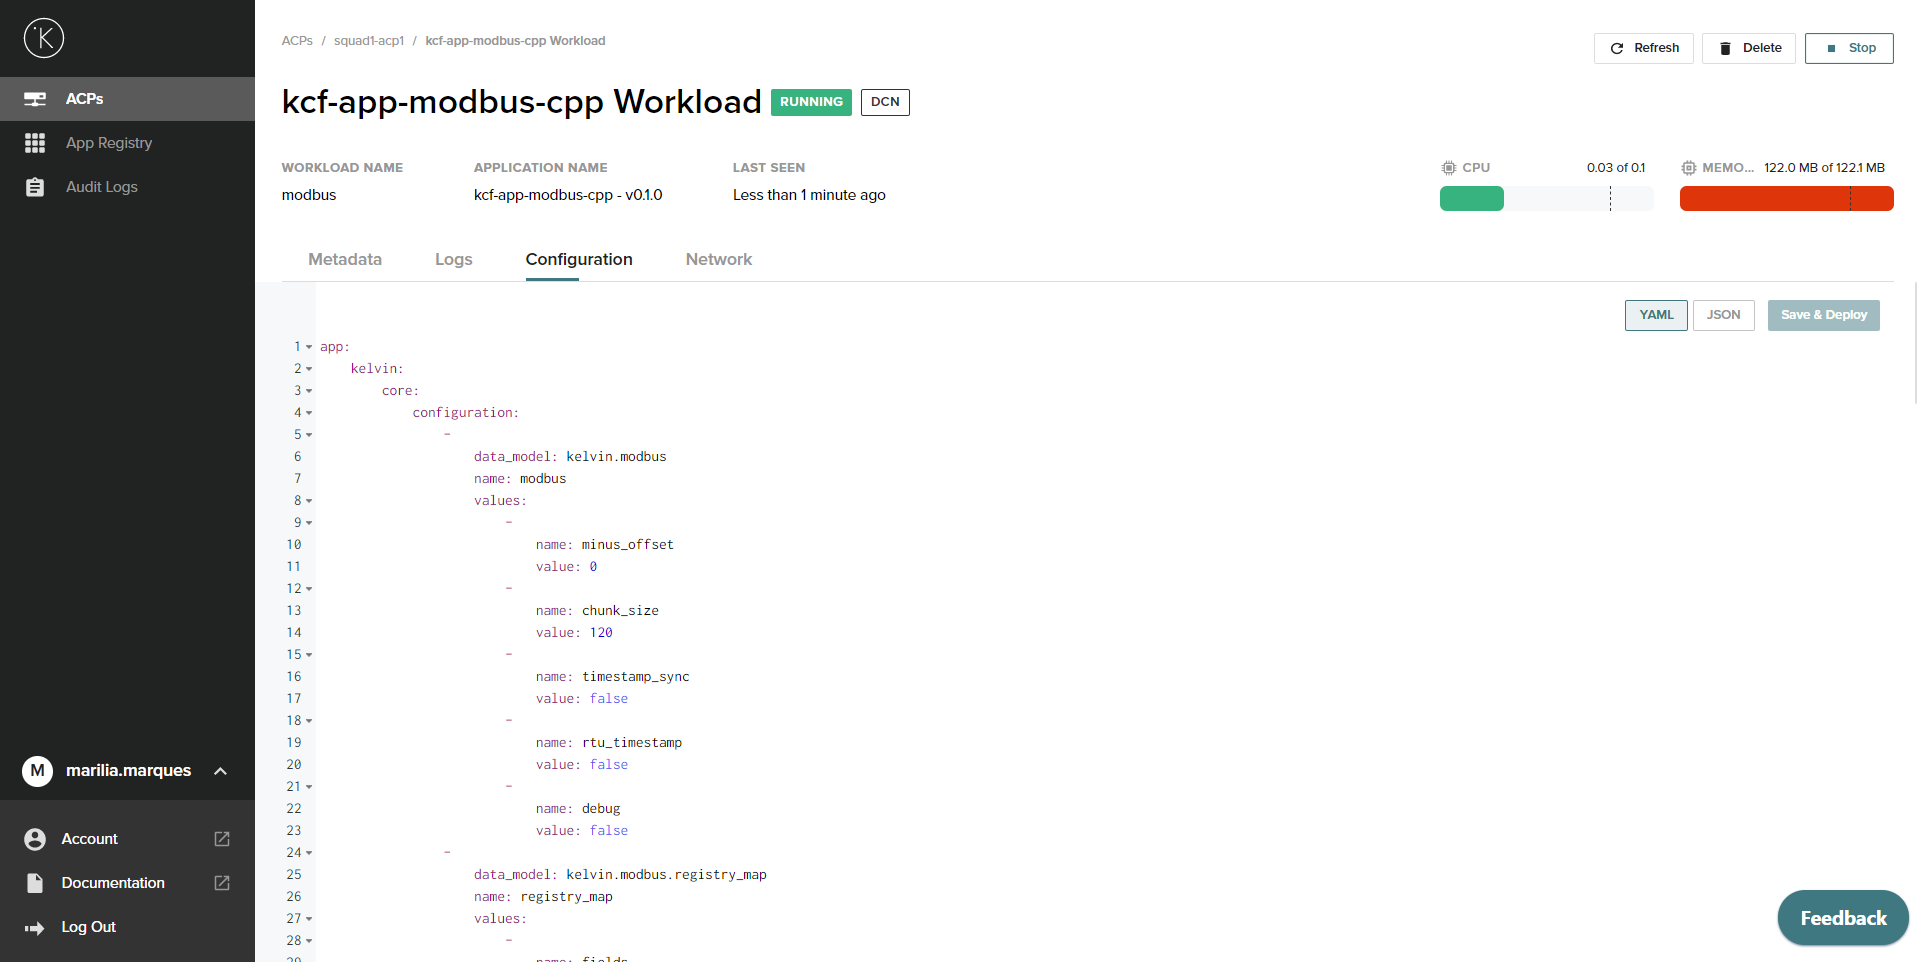
Edit Config
Application configuration files help make it possible to create dynamic and reusable apps. Various configuration options include file locations, application entry-point, along with app inputs and output definitions. Application configuration files (app.yaml) can be edited in Control Center by using the Edit Config menu on deployed application workloads.
Info
All configuration changes made from this location are local to Node workload. They will not affect the application in the App Registry.
Node Metadata
It is possible to store unstructured data on a Node, using the Node Metadata tab.
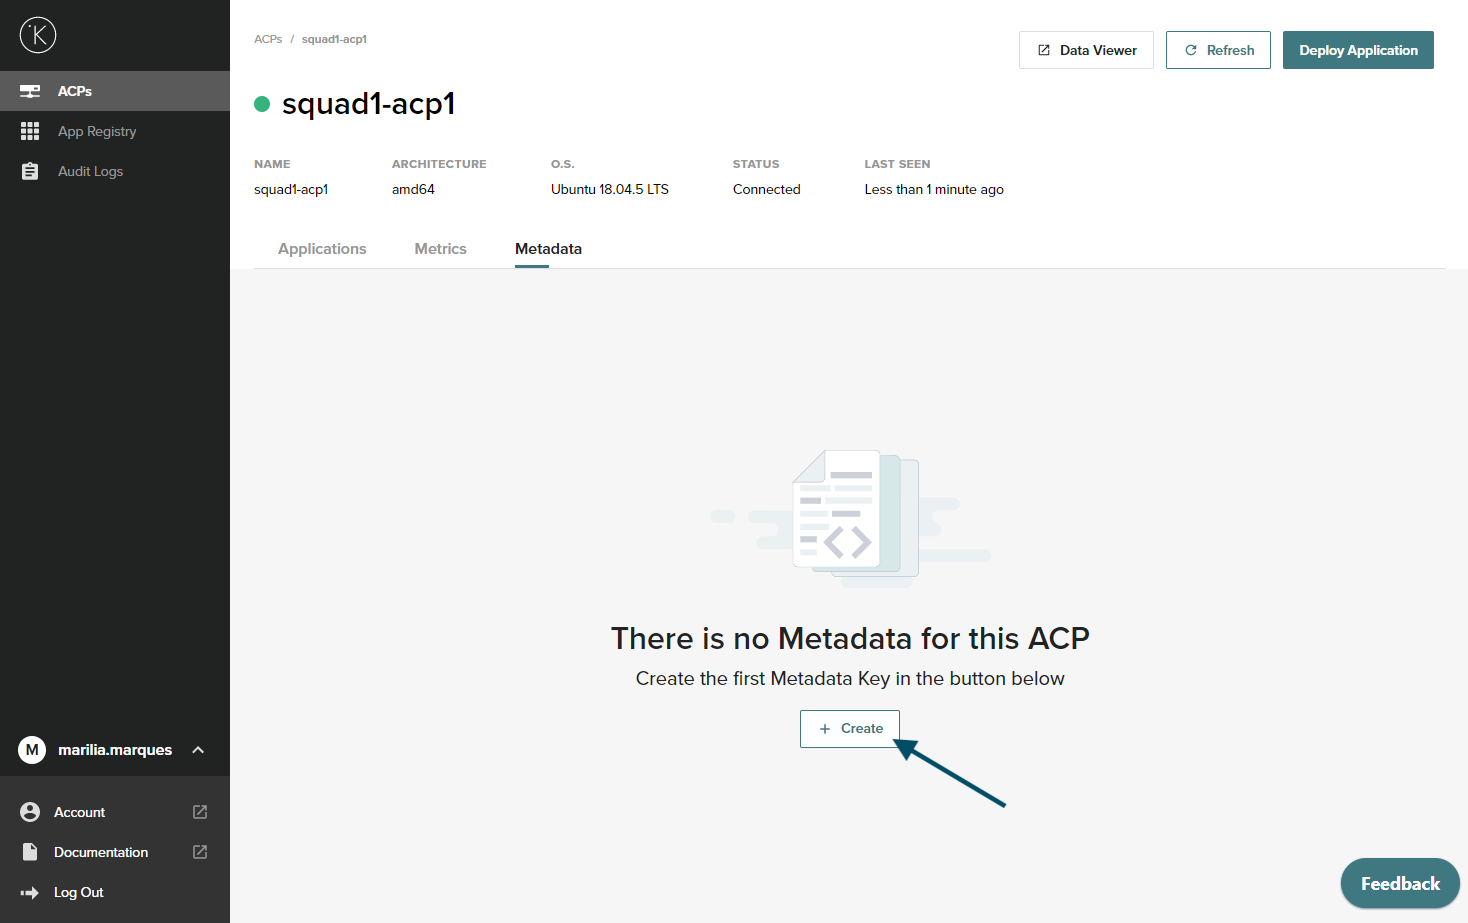
To create metadata for the Node:
- Click + Create
- Add a metadata key (Ex: "my-metadata")
- Add a value to the metadata key (Ex: "value: my metadata value")
- Click Save & Deploy
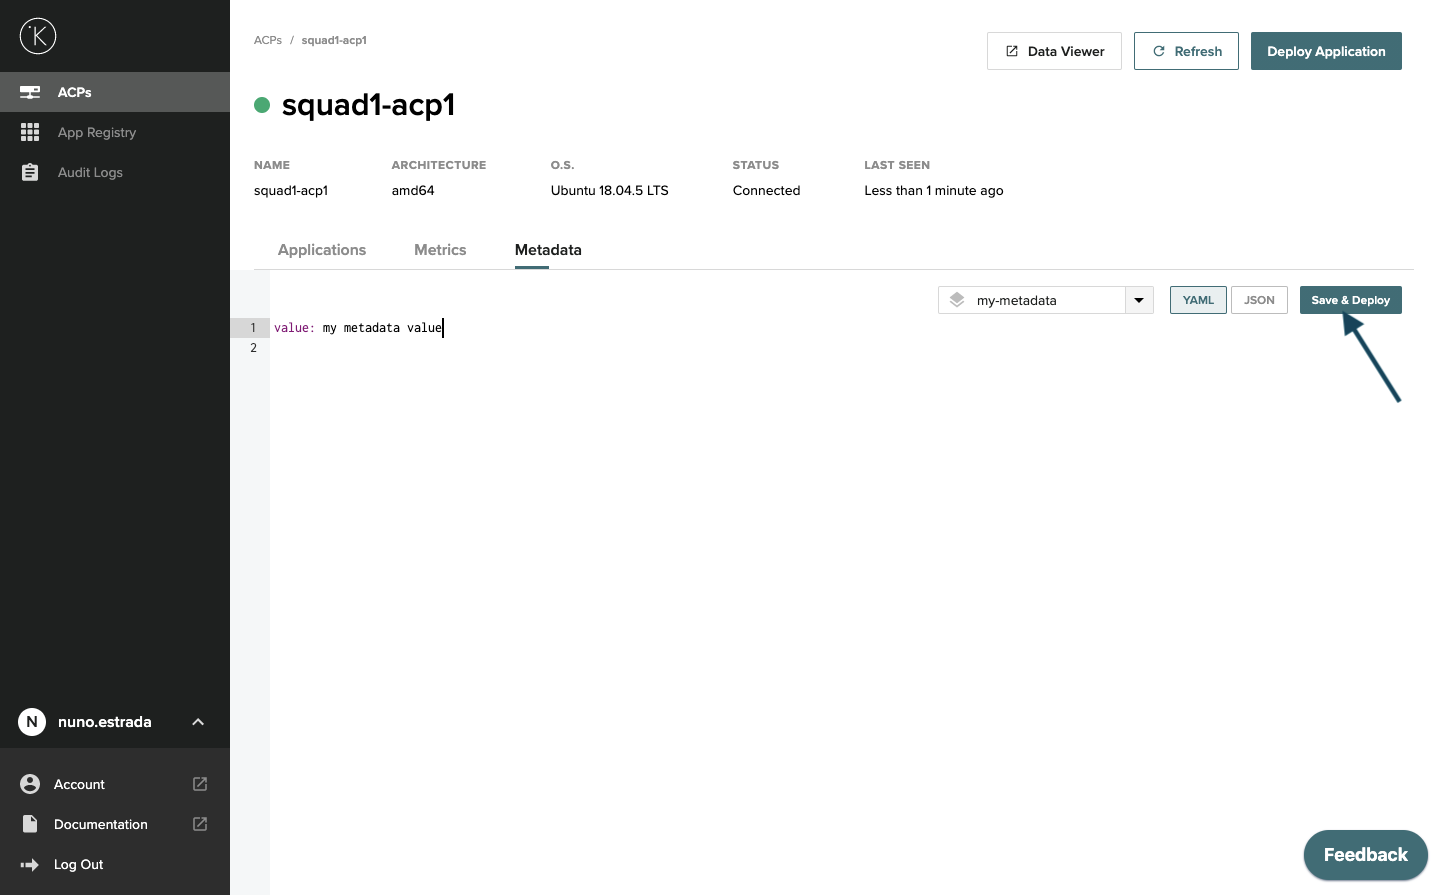
Info
The metadata can be consulted in the metadata tab of the Node or using the Node Metadata API