KICS Permissions Tutorial
The tasks bellow can only be accomplished by a user with access to the Administration Console (typically a system administrator).
Create a new User
To create a new user, follow these steps:
- On the Left Menu go to Manage -> Users
- On the right side, click on the Add User button
- Enter the Username, it is recommended to use the users email address
- Complete the empty fields by entering the email and first/last name.
- Change User Enabled & Email Verification to the ON position
- Under required actions you can select the following:
- Configure OTP - requires the user to set up two-factor authentication
- Update Password - requires the user to update their password for their first login. (Recommended)
- At this time Update Profile and Verify Email are not required.
- Click Save
Create a Group
User Groups are helpful when multiple users should have the same level of access in the system. By assigning one or more permissions to a group, all users in that group inherit those permissions.
To create a User Group, and add permissions to the group, follow these steps:
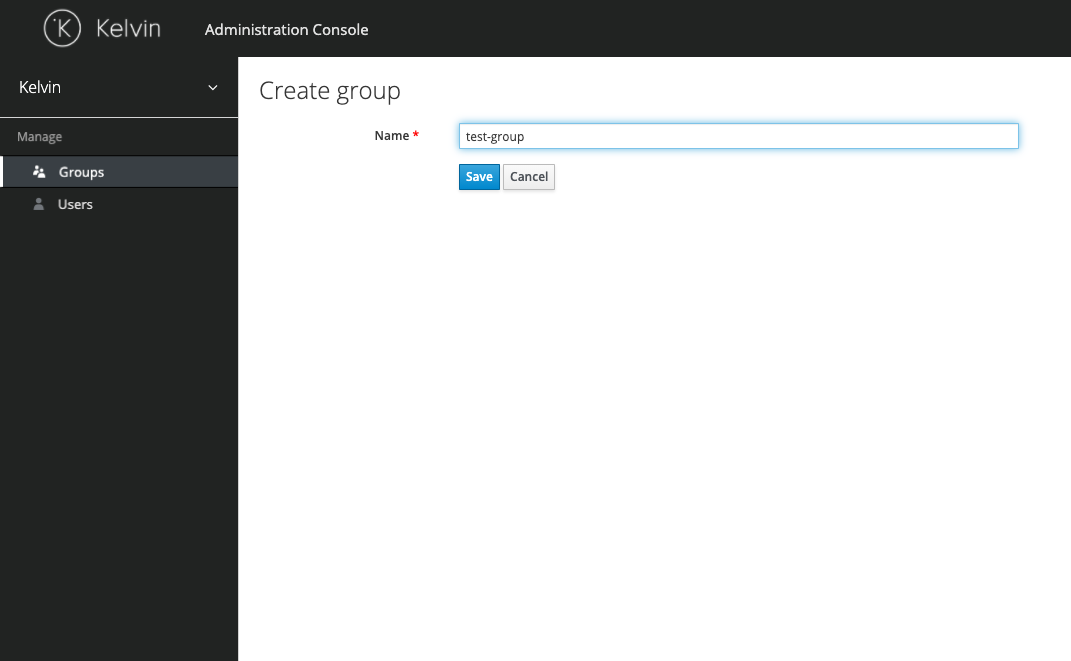
- On the Left Menu go to Manage -> Groups
- On the right side, click on the New button
- Type the desired name and click Save
- There is a success message, and you are immediately on the new group details page
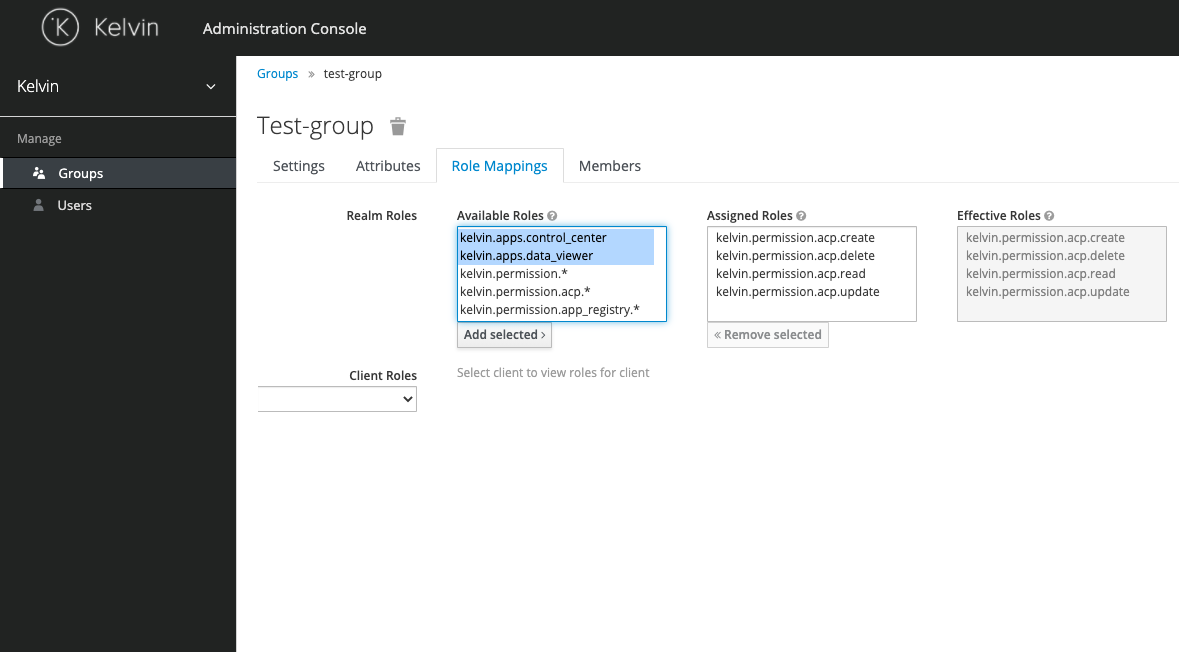
- Go to the Role Mappings tab and choose the permissions to be added to the User Group
- Select the permission(s) to assign on the Available Roles list (tip: hold down the control key to select multiple permissions). For detailed information on permissions see the Permissions List
- Click the Add selected button
Add User to a Group
To add a User to a Group, follow these steps:
- On the Left Menu go to Manage -> Users
- Search for the user
- Click on the link on the ID column to access the user detail page
- Go to the Groups tab
- Select a Group from the Available Groups list on the right
- Click the Join Button
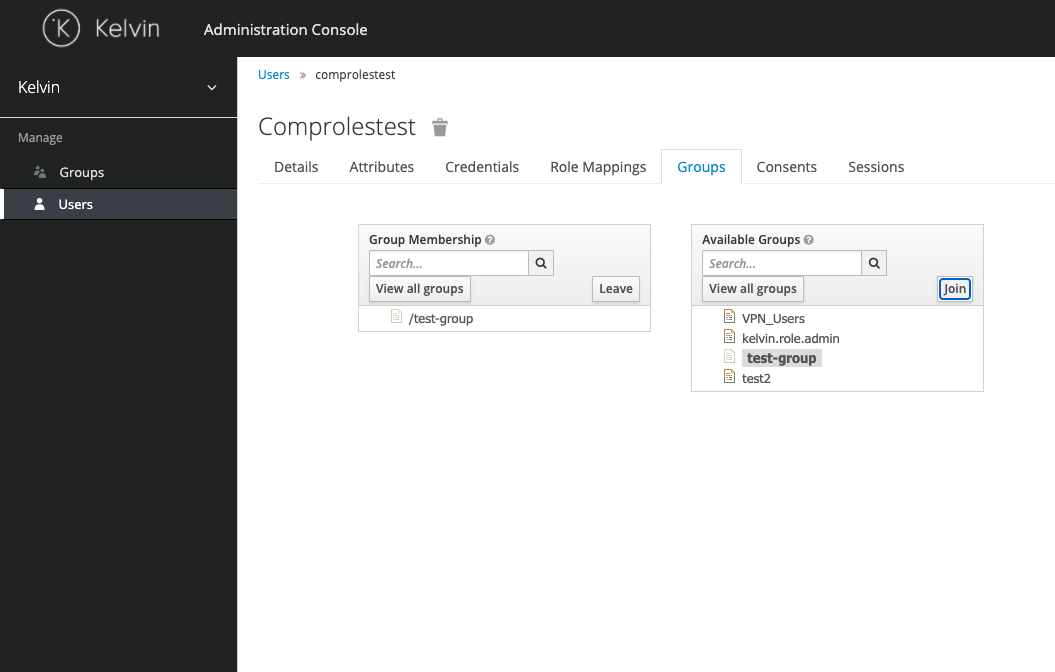
Note
To remove a user from a Group follow the same steps, but select a Group from the Group Membership list and click the Leave button
Assign a permission to a user
To assign a permission to a user, follow these steps:
- On the Left Menu go to Manage -> Users
- Search for the user
- Click on the link on the ID column to access the user detail page
- Go to the Role Mappings tab
- Select the permission(s) to assign on the Available Roles list (tip: hold down the control key to select multiple permissions)
- Click the Add selected button
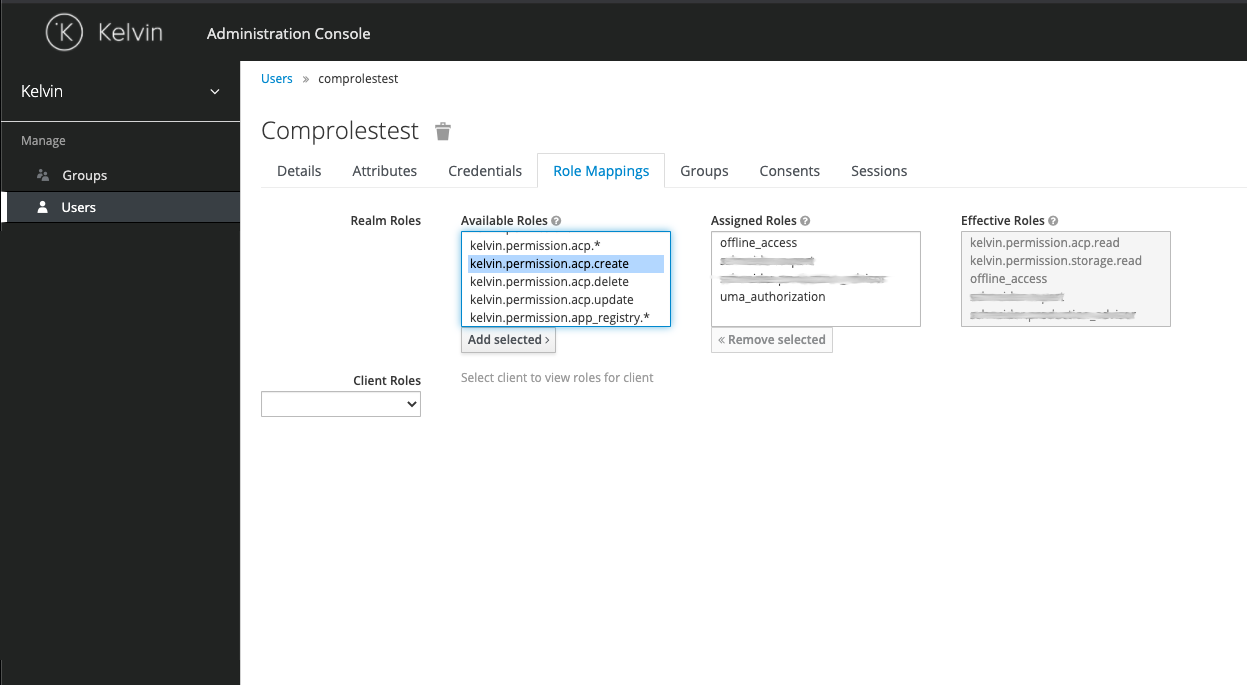
Note
To remove a permission from a user, follow the same steps, but select the permission(s) to remove from the Assigned Roles list and click Remove selected